
BLACK AND WHITE WATERCOLOR JEWELRY DISH
You have no idea how hard it is for me not to start off this post by singing a particular song from The Little Mermaid, that deals with an obsession with shiny treasures and trinkets. I too share a passion for shiny treasures, mostly in the form of rings, necklaces, and other cute trinkets! However, unlike my finned counterpart, I don’t have an organized cove in which to store them, so my rings and things tend to move all over the house…
But who cares, no big deal, I’ve figured out the perfect way to rectify this problem!
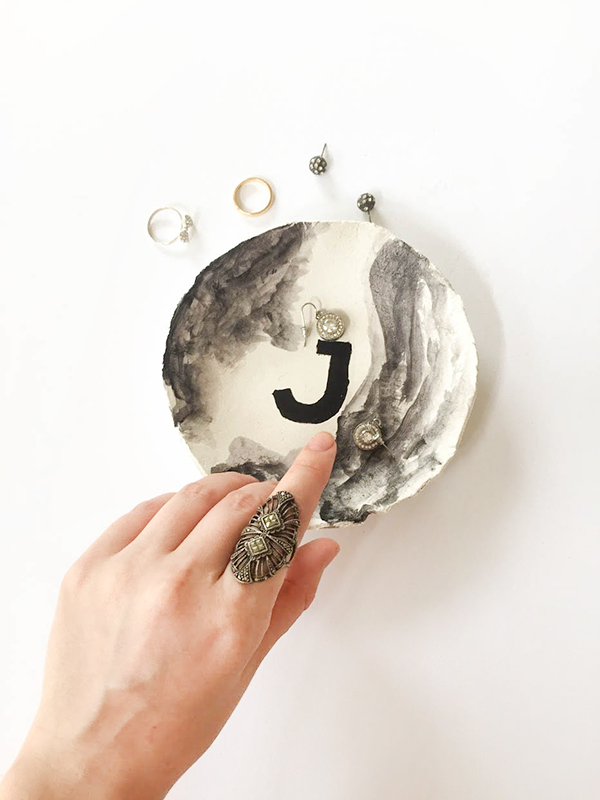
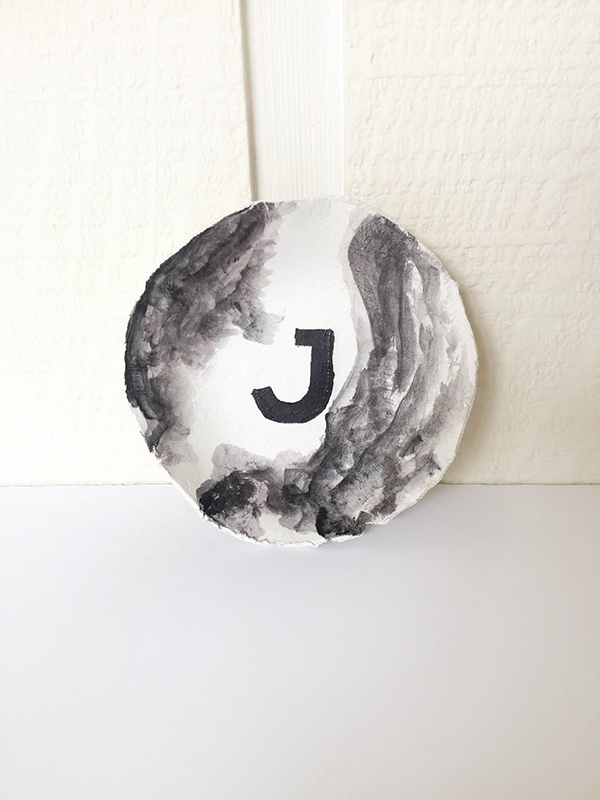
Which brings me to today’s DIY tutorial, which is all about making the perfect jewelry dish to hold your treasures! When designing my watercolor jewelry dish, I wanted to make something that would not only POP but would also let the jewelry shine on their own. If you’ve been reading my blog for a while, you will have noticed that I love black and white, and for my jewelry dish, I wanted something a little softer, so I went for a watercolor look. Smokey swirls of black for a dramatic look, but soft enough to let my jewelry be a star!
For an additional dash of personality, you will also see that my watercolor jewelry dish has a “J” for jewelry stenciled on the bottom, so I always remember not to put anything that doesn’t belong there! However, “J” could also stand for the name Jessica, or you can change it to any letter for some extra personalization!
For my watercolor jewelry dish DIY, I will teach you the basics of how to make a jewelry dish out of clay, and how to paint on your letter with and the watercolor effect! It is effortless to make, and if you are a disorganized treasure hunter too, you will finally have a place to make your whos-its and whats-its part of your organized world!
Supplies:
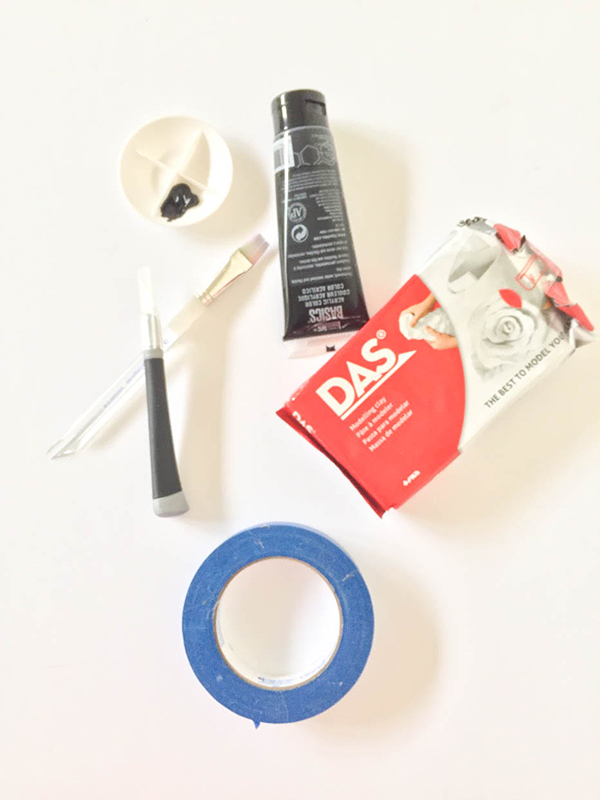
Rolling Pin
Bowl
Letter Template (Canva.com or dafont.com)
Painters Tape (Optional)
Paintbrush and Paint Tray
BLACK AND WHITE WATERCOLOR JEWELRY DISH:
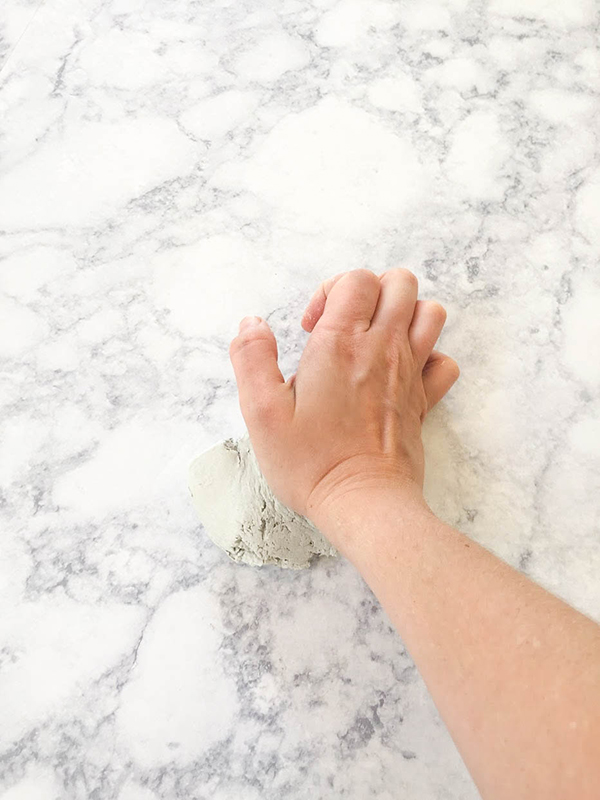
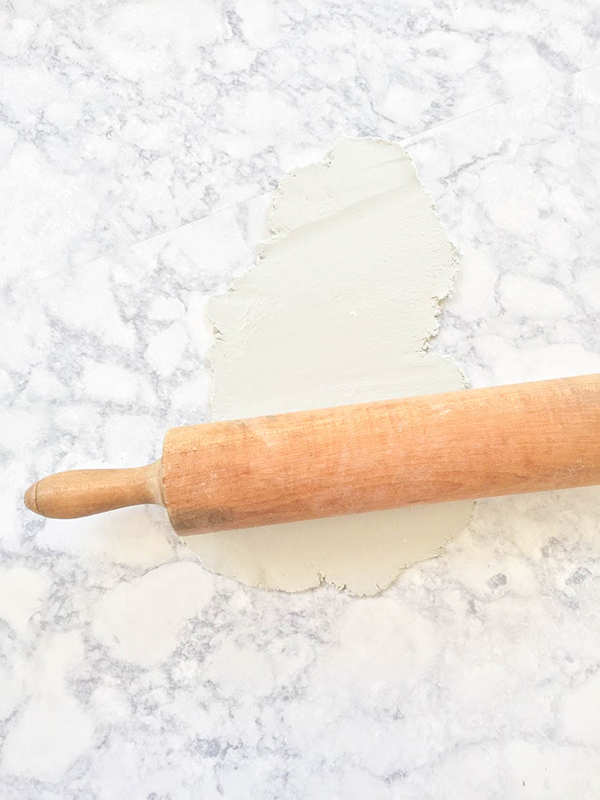
01. Knead and then roll out clay into a sheet about 0.39 inches thick
02. Place an averagely sized bowl on top of the clay and trace around, making a circle
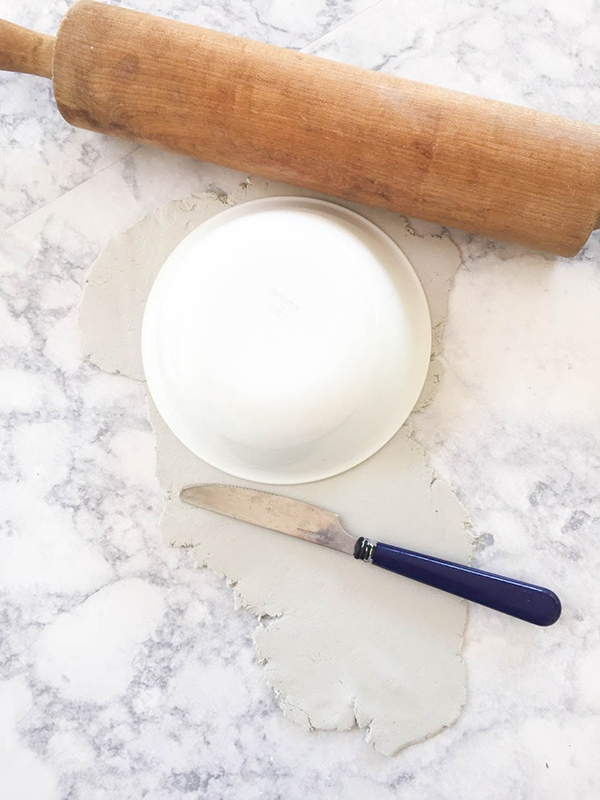
03. Remove bowl, and cut out the circle from the clay
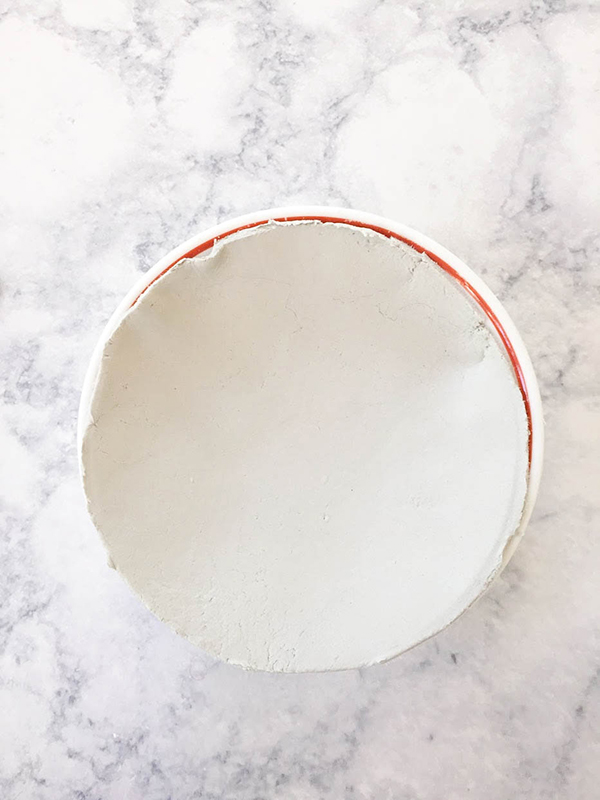
04. Rest the clay circle inside the bowl for about an hour
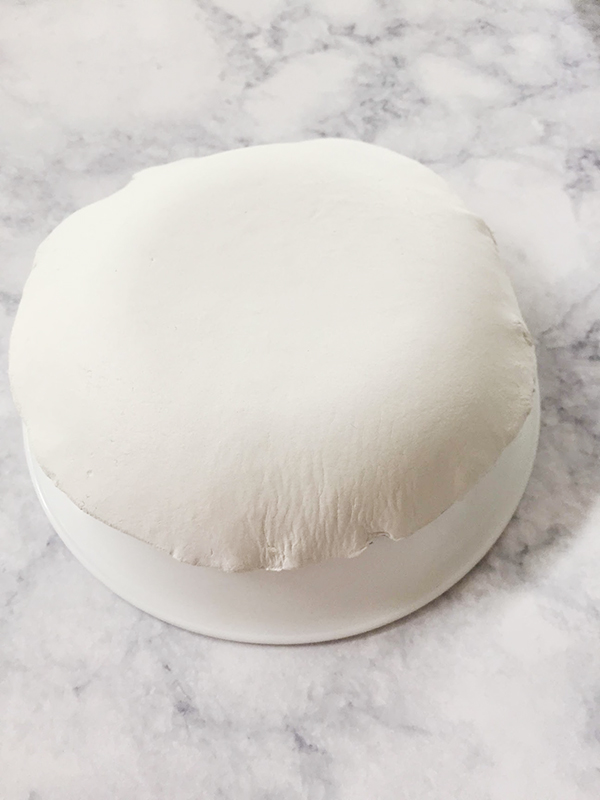
05. Remove the clay from the bowl. Flip the bowl upside down, and place clay on top of it, pressing it down to create a flat bottom. Let dry for at least 24 hours, or until dry
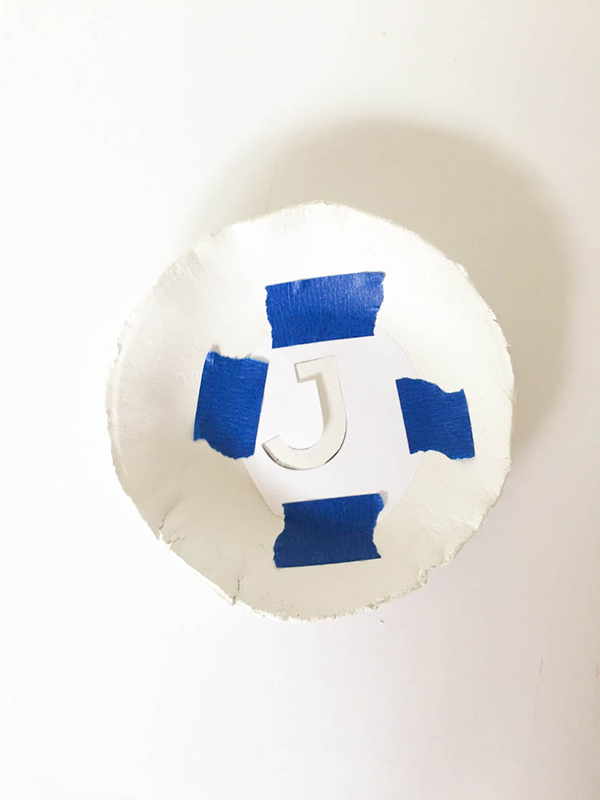
06. Find a font that is perfect for your style, and print a copy to use as a stencil. Make sure to size it so it will fit in the bottom of your dish
07. Using your X-Acto knife, carefully cut out the letter from the paper
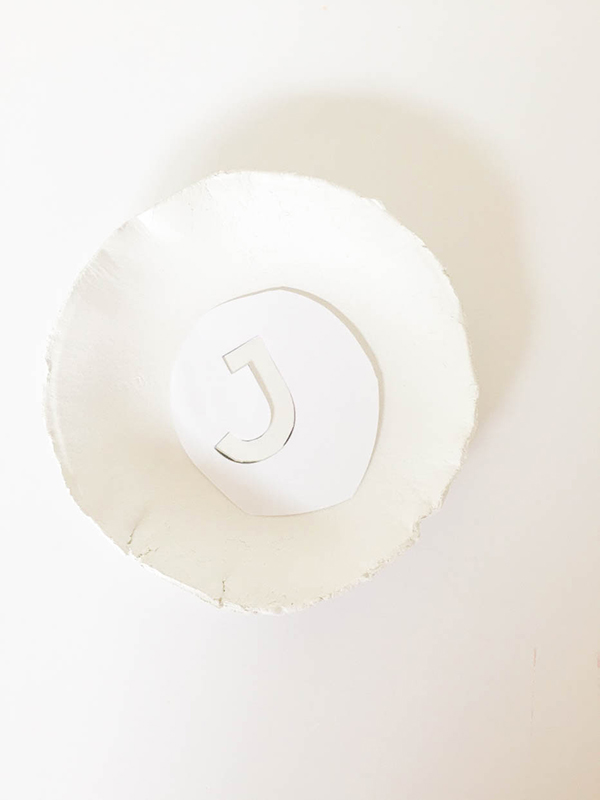
08. Cut off any excess of the paper, on the template, to a size that will fit in the bottom of your dish
09. Optional: Using painters tape, tape down the sides of the template to prevent shifting
10. Using a small amount of black paint, brush it on inside your stenciled letter
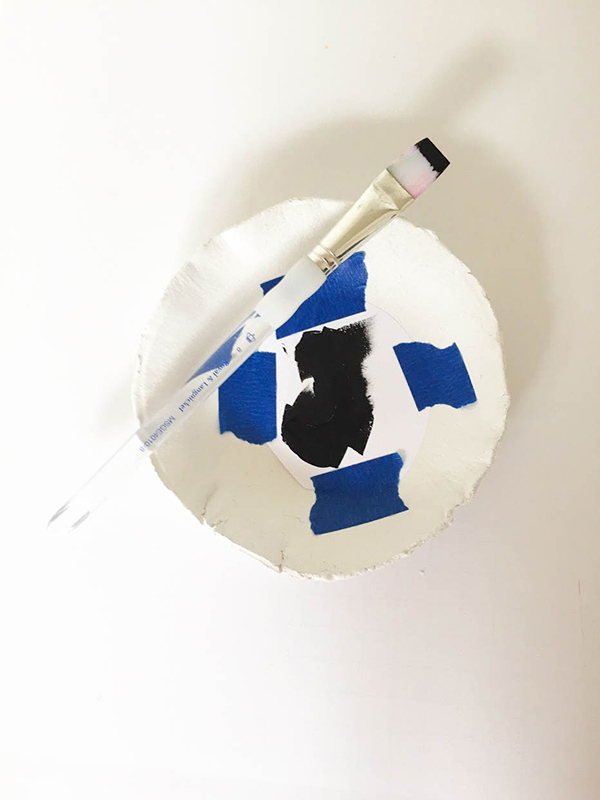
11. Let the paint dry before removing the stencil. Once the stencil is removed, you should have a crisp, lovely letter!
If you find that there was some paint seepage, after removing the stencil, there are a couple of things you can do to touch it up:
- With a smaller paintbrush, extend your letter to meet where the paint spread
Or
- Blend out the extra paint, and incorporate it with the watercolor design
12. Squeeze some black paint into your paint tray, and add water to another slot
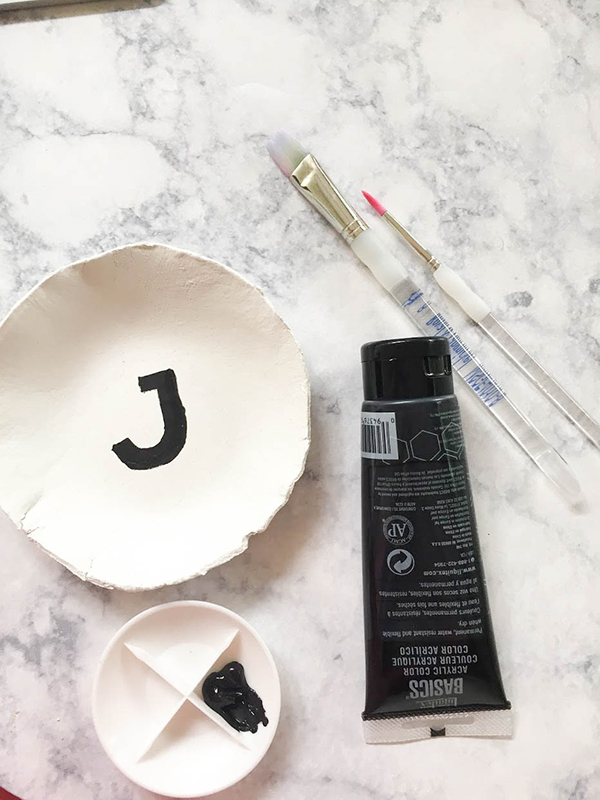
13. Dip your paintbrush into the water and in another slot mix a small amount of the black with the water. The consistency should be very light
14. On the dish start doing light washes of black, while carefully avoiding washing out the stenciled letter
- for a smokey look, apply the paint with the brush, and as it drys out lightly “feather” the paint outwards
- for a drippy look, apply the paint with a very wet brush and let the paint drip naturally
15. Start applying darker shades of black on top of the light wash, and build up areas as desired. Follow similar steps depending on if you want a smokey or drippy look
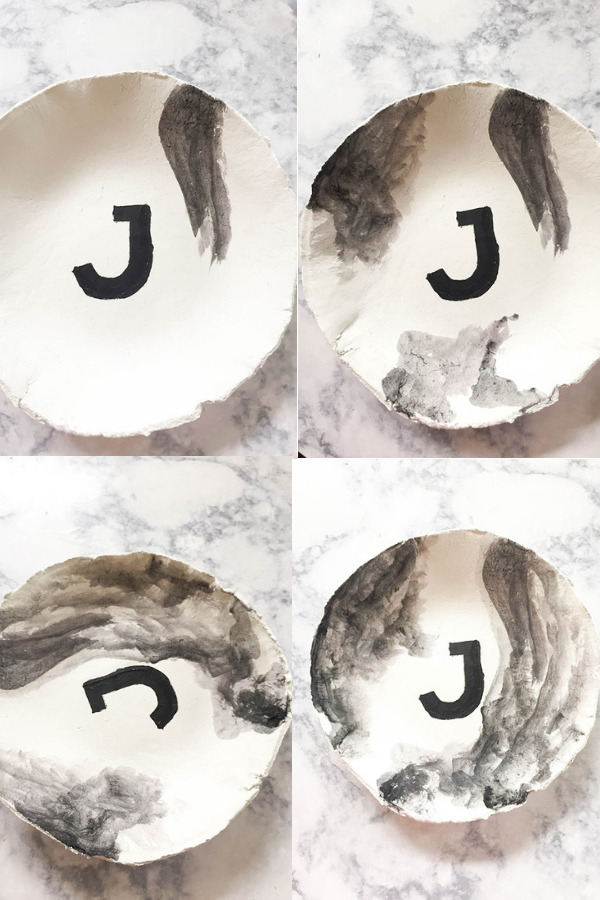
16. Let dry. The paint will lighten as it dries, so you may find you want to go back and pump up some of your blacks. Repeat this until you are happy
17. Once the paint is completely dry, give your tray two coats of Crystal Clear, on both sides, to give it a protective seal


I’m so grateful for the opportunity to share what I make with others! Thanks for stopping by my blog! If you enjoyed my Watercolor Jewelry Dish DIY, here are a few posts you may like: DIY Clay Coasters, DIY Bird Magnets, and DIY Marble Table! Also, you can follow me on Pinterest, Facebook, Twitter, and Instagram for more fun ideas!


7 Comments
N
September 20, 2018 at 11:48 am
These are so cute! Will have to try to see if I can make them too.
Deanna
September 20, 2018 at 1:25 pm
I’m so glad you like it!
Natasha @MrsChettyLife
September 20, 2018 at 12:16 pm
Beautiful
Deanna
September 20, 2018 at 1:24 pm
Aw, thank you so much!
Shelby
September 20, 2018 at 12:16 pm
What an awesome idea! I took pottery in high school and loved it. I’m going to have to give this a try!
Deanna
September 20, 2018 at 1:24 pm
Heck yes, high school pottery!
Ester kocht
September 21, 2018 at 6:19 pm
wow, very beautiful Deanne. I will definitely give this a try
Comments are closed.