
4 Colored Pencil Tips Every Artist Should Know
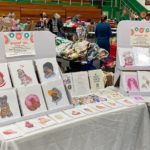
Last weekend, I debuted my colored pencil illustrations for the very first time at the South Bend arts and craft show Art Beat! To say it was an amazing experience would be an understatement! While I was there I got a lot of questions about my drawing process and I was able to share some of my tips and tools of the trade.
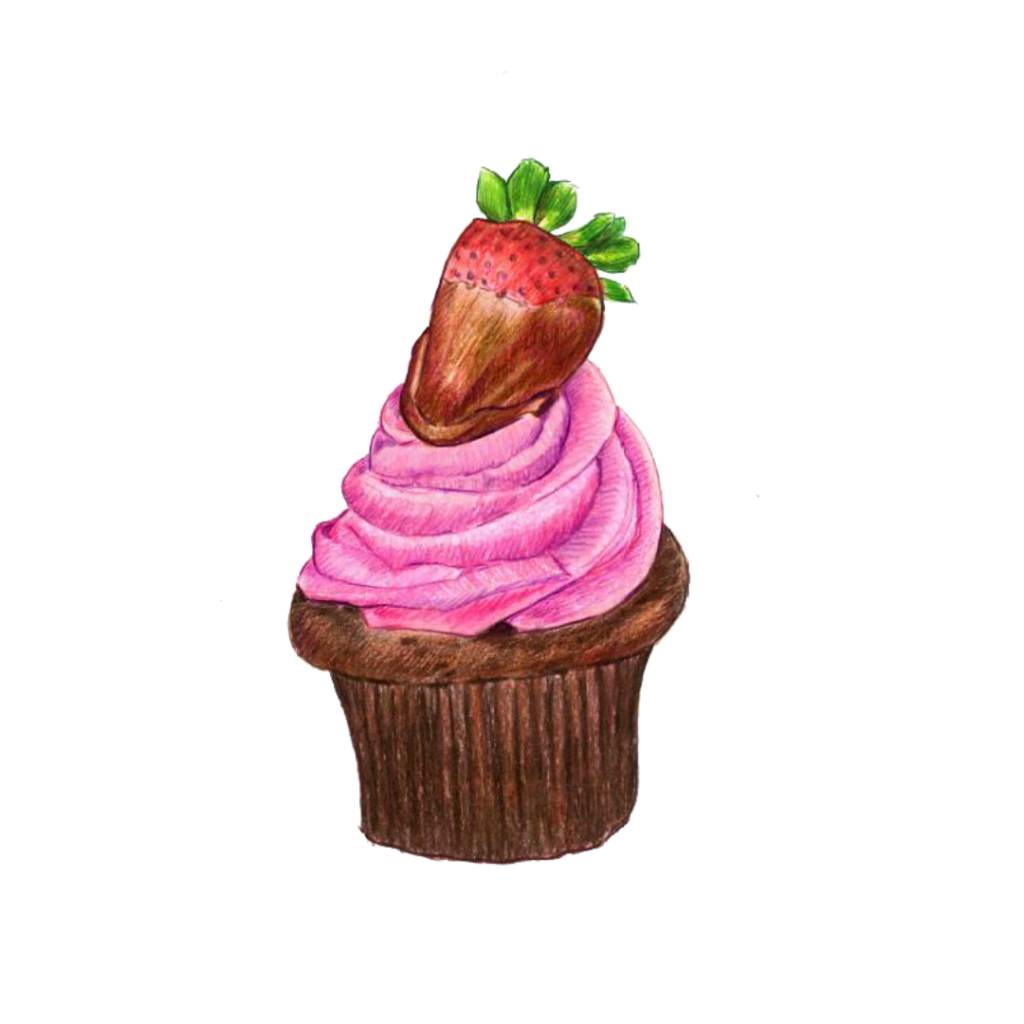
It was great being able to share my colored pencil tips with local artists, but I’ve been thinking that I bet that there are some tips/hacks that I’ve learned along the way that would help other artists outside of my community.
Whether you are new to the medium or have been using them for a while, you are bound to find these four colored pencil tips really useful to save time, money and energy in the long run!
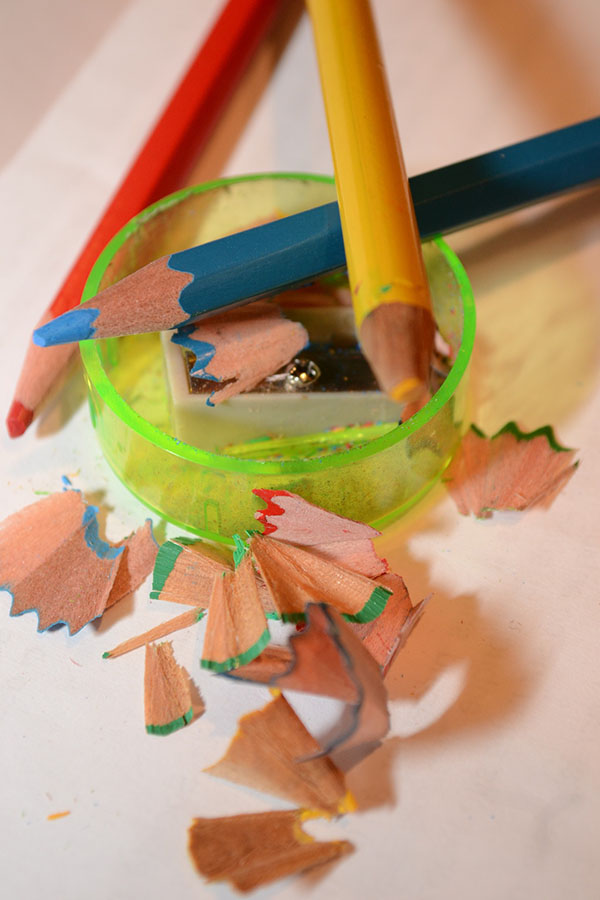
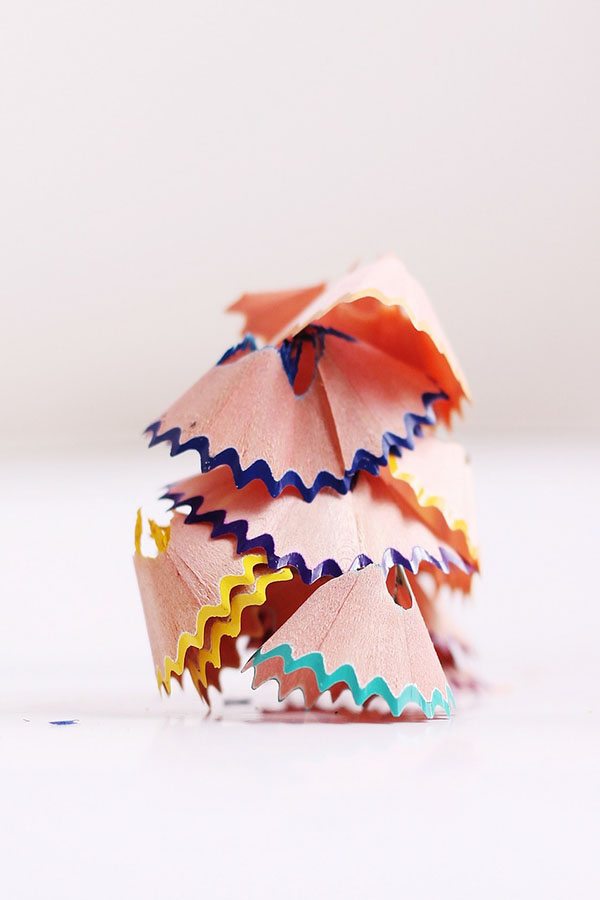
1. How to fix broken pencils
My preferred colored pencil brand is Prismacolor pencils. I find that the wax and wood of the pencil are superior in quality. BUT, like all colored pencils, the core of the pencil tends to break when dropped on a hard surface. Which results in a lot of sharpening, only to have the lead break again and again….and again *frustration intensifies*
This is a big waste of these expensive pencils and is EXTREMELY frustrating! How to fix this? Pop your pencil in the microwave for 10-20 seconds! The heat melts the core back into one solid piece, and once you let the pencil cool off and harden, you can continue like nothing ever happened. Just don’t microwave your beloved pencils for too long!
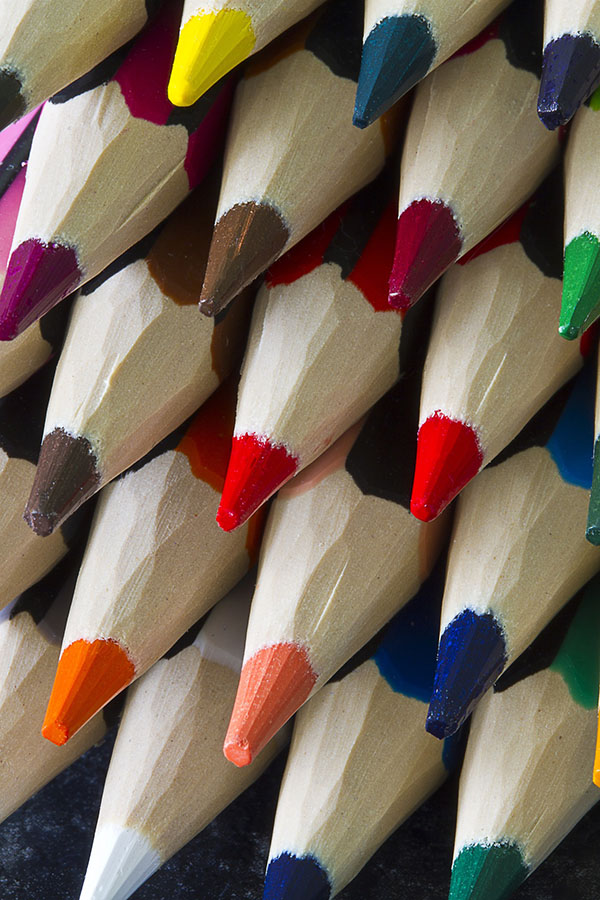
2. Use blenders
One of the reasons I love colored pencils so much is their capability to build up different layers of color. This gives me the ability to control the depth of color and shading, but sometimes there can be a certain graininess to the art with the white of the paper showing through. To fix that, I like to use colored pencil blenders. Blenders can come as a marker or a wax pencil, and they move the pigment around to fill in those spots. They are also a good way to mix colors together on the page, they are called blenders after all!
3. Avoid using black
One of the things they taught us at art school was to avoid using the color black. Just about every kit you get, from paints or colored pencils, comes with the color black! Now you might ask, “What, why?? Don’t I need black to create dark darks in my artwork”? Unless you are making a piece of black and white artwork, you absolutely don’t!
If you take a look around the natural world, you will see that the “blacks” you see (shadows, etc) aren’t a true black. They are made of a variety of different colors and tones. Dark areas have a depth to them, warmth or coolness depending on where they are. If you take a black colored pencil and add it to your colorful drawing, that area will quickly look flat and unnatural.
The second reason you don’t want to use black is it “muddies” the surrounding colors of your piece. Whether you are using paint or blending colored pencils, the pigment of the black will mix and ruin your colors.
So, what should you use? My go tos for darkening areas are usually a dark brown or a deep navy. Or layer several dark colors over each other. This will obviously depend on your color scheme, but I find that brown or blue work for most pieces. If those aren’t right for your piece, consider building up your dark areas using a complementary color. This will create more natural-looking darks/shadows. Example: Use purple to shade a yellow area

4. How to Erase
The majority of colored pencils are not 100% erasable, but there are things that you can do to help minimize a mistake:
– an electric eraser -This is probably my favorite method, as it can remove some of the actual surface of the paper
– White Eraser – this can fade pencil strokes, but you will still probably need to go over it with another color if you didn’t lay the color down lightly
–Kneaded Eraser – Similar to the white eraser, this works best on light pencil strokes. What is great about this product is that you can shape it to get in little areas or rock it back and forth to pick up larger areas.
Want to see more finished drawings? Please be sure to check out my Instagram and my Etsy store!


4 Comments
Jenny
August 22, 2019 at 7:38 pm
Gosh. I never knew any of these tricks. I love the adult coloring books as a stress relief. I didn’t realize how calming it is to color. Thanks for the tips.
Deanna
August 23, 2019 at 2:41 pm
I love adult coloring books! There is a very calming zen quality to them!
Gracie coppell
August 23, 2019 at 7:57 am
This is so useful! I’ve been trying to get back into drawing and will definitely be making use of these great tips.
Thanks
Gracie
Deanna
August 23, 2019 at 2:42 pm
I really hope you get back into it! Drawing is such a rewarding practice
Comments are closed.