
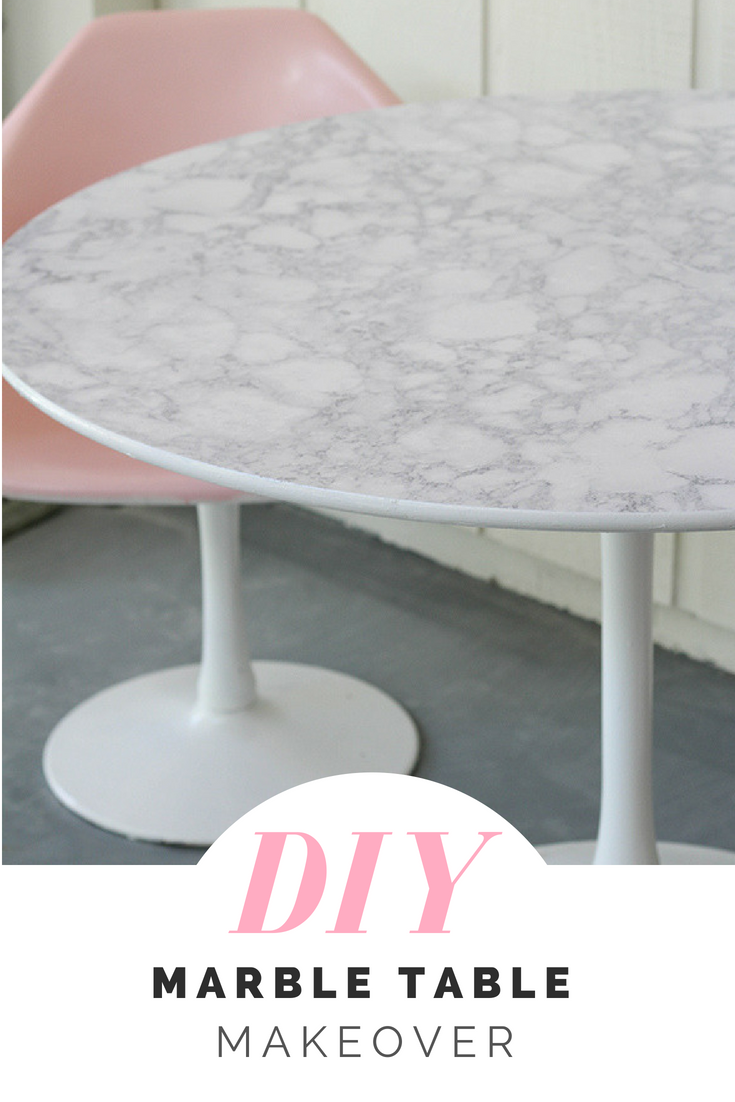
MARBLE TABLE DIY
If you are looking for a way to give an old piece of furniture a second life cheaply, I highly recommend contact paper! It comes in a variety of patterns and designs, but I particularly love the look of the marble. In this marble table DIY, I will break down how I gave my old roundtable a fresh new look using contact paper!
This marble table DIY is also the first in a new segment that I will be doing, which features renovations that I will be doing around my home.
This is our first house, and we are about to start our third summer here. And as newbie homeowners, we have gone through a lot in our short time while living here (Sometime I will tell you all about the flood!), and we’ve learned and grown a lot. Playing Fixer – Upper in our house has become a passion, and we’d like to include you on our progress as we continue this journey!
I wanted to kick off this new segment with this marble table DIY because it this table is very special to my heart, and it is a part of why I fell in love with our house when we first looked at it.
Purchased by my grandparents in the 1970s, we used to sit at this table on their screened in porch every summer. There were countless nights of us gathered around with friends and family playing cards, listening to music, and enjoying meals at that table. I think part what made my house feel like it was my home was the fact that it had its own three- season room, and it felt like a special place to spend time with family.
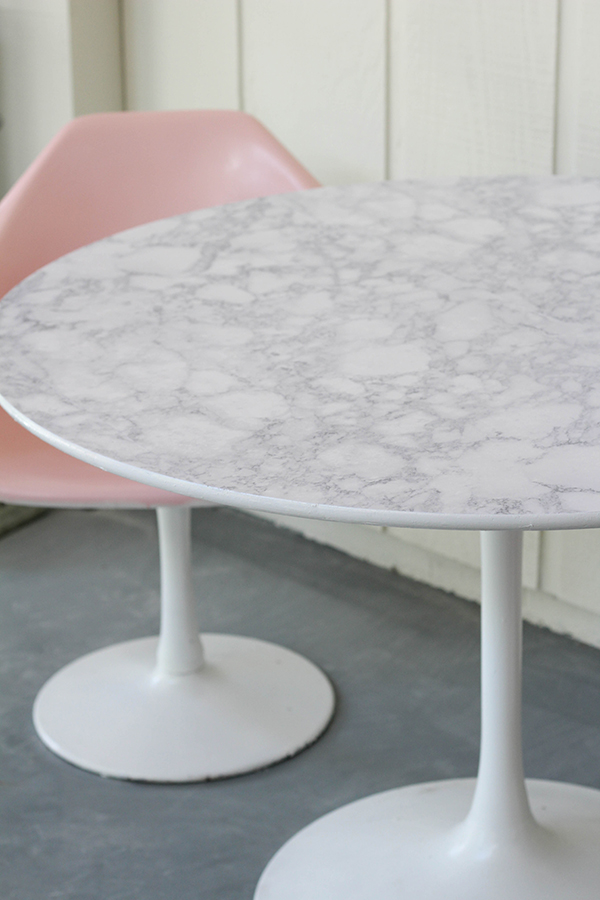
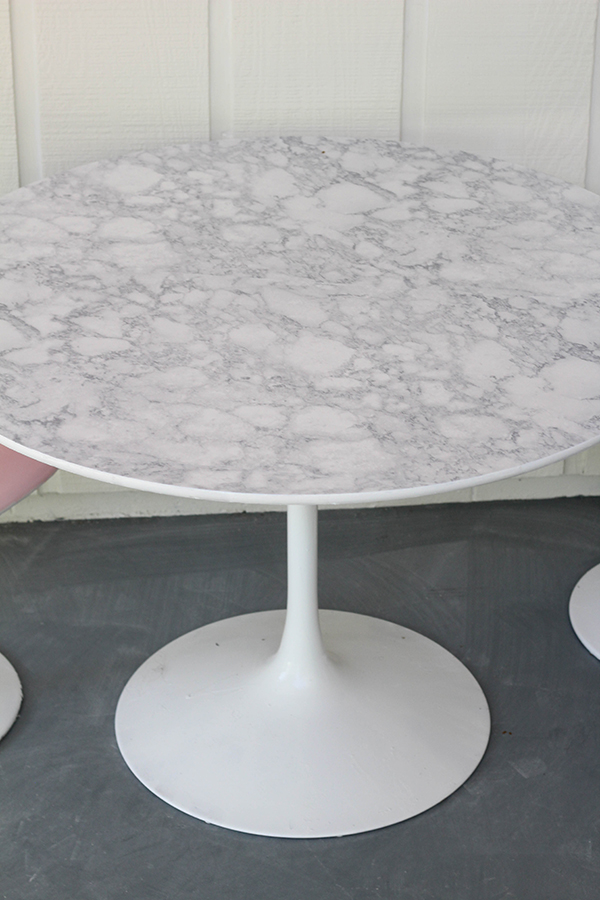
The roundtable, as we call it, came into my possession last spring, and after a lifetime of being exposed to the elements, it was looking rough. I knew that I wanted to give it a new fresh feeling, and I feel like I accomplished that with just a little bit of sanding, spray paint, and contact paper!
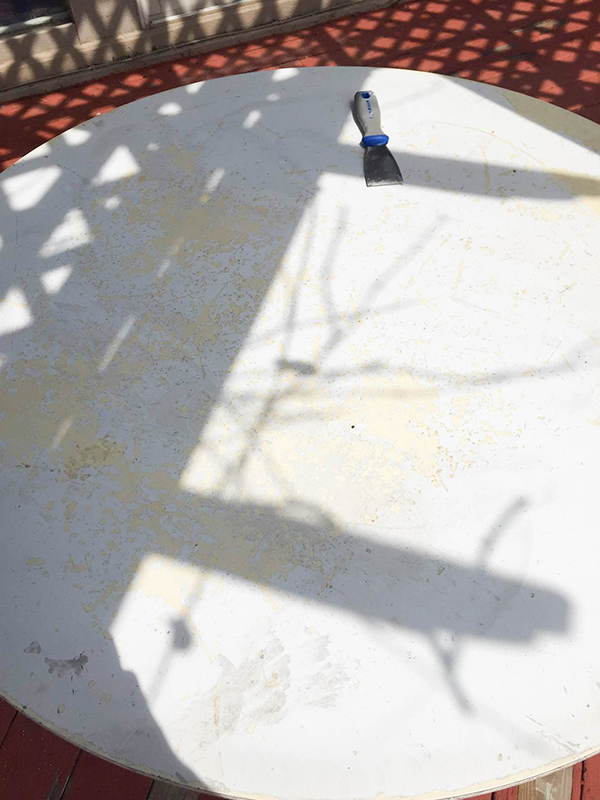
Before
I also wanted to mention the chairs that it came with. These are the original chairs that came with the table, and they too were in need of a facelift. After sanding them down to remove the old paint, I spray painted the base and the back of the chair with a fresh coat of white. Then I took a light pink spray paint and painted the inner seat and the armrests. I love pink and marble together, and they ended up complementing each other perfectly!
Supplies
Table
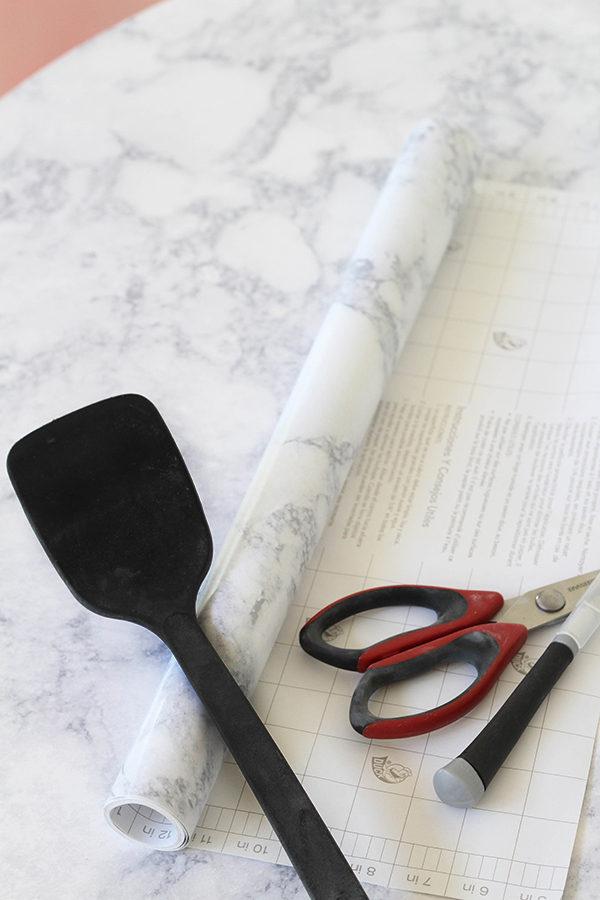
Scissors
Smoothing Tool (credit card, spatula, etc..)
Optional
Instructions
01. If needed, use a sander to remove old paint/rust from your table
02. Unroll the contact paper to measure how much will be needed. My contact paper had grid lines on the back, so I was able to mark this on the back. Cut according to size
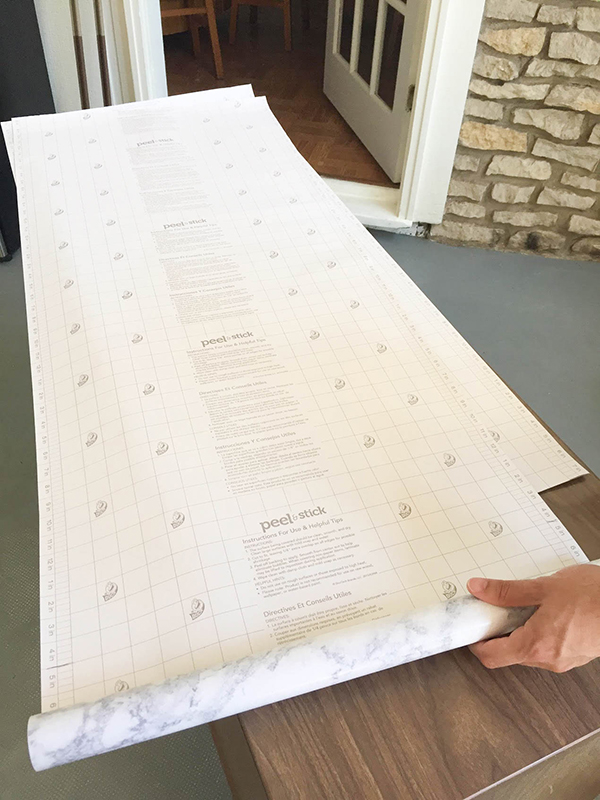
03. For my table, one sheet wasn’t big enough to cover the entire width of the table, so additional pieces had to be used. Repeat steps above if this is the case for your table
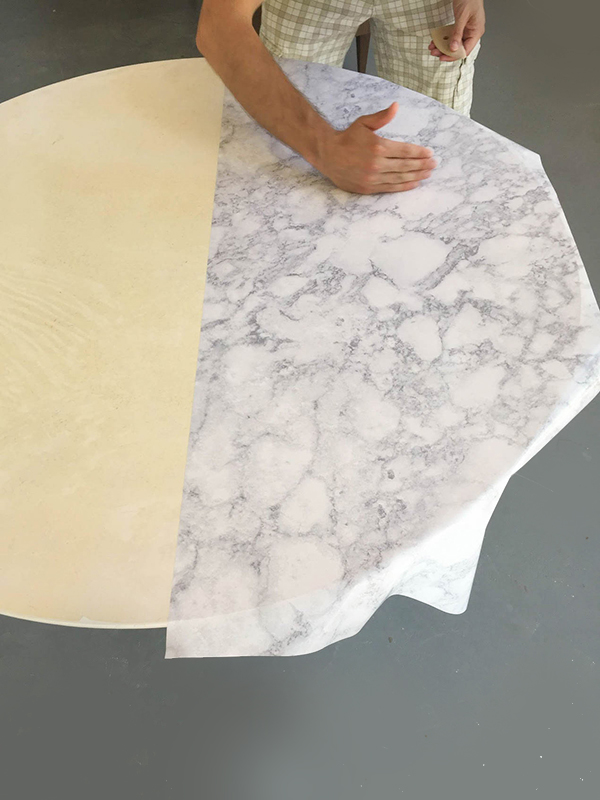
04. With a helper, start peeling the backing off of the contact paper. While holding it tightly, lay the contact paper down making sure to cover past the table’s edges
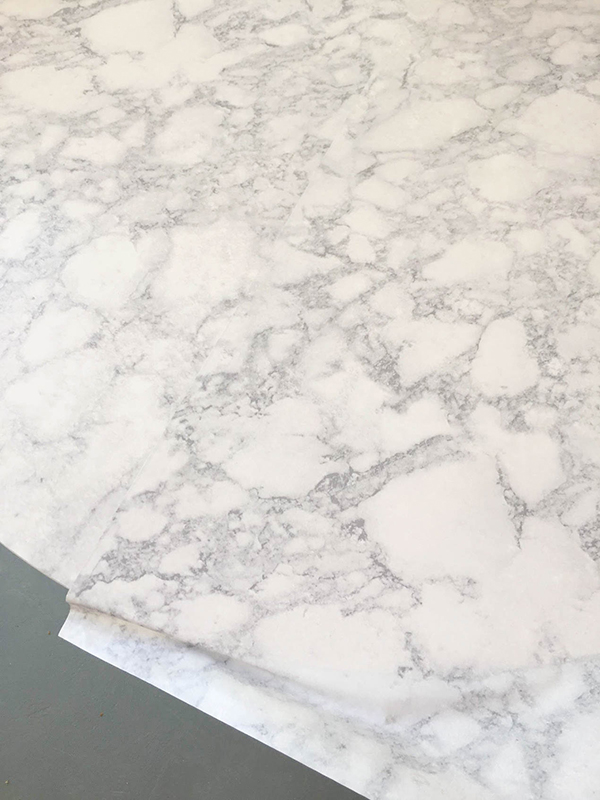
05. Use an X-Acto blade to cut off the excess contact paper that is draped off of the table. It helps to poke the blade close to the table and move it in a smooth gliding movement
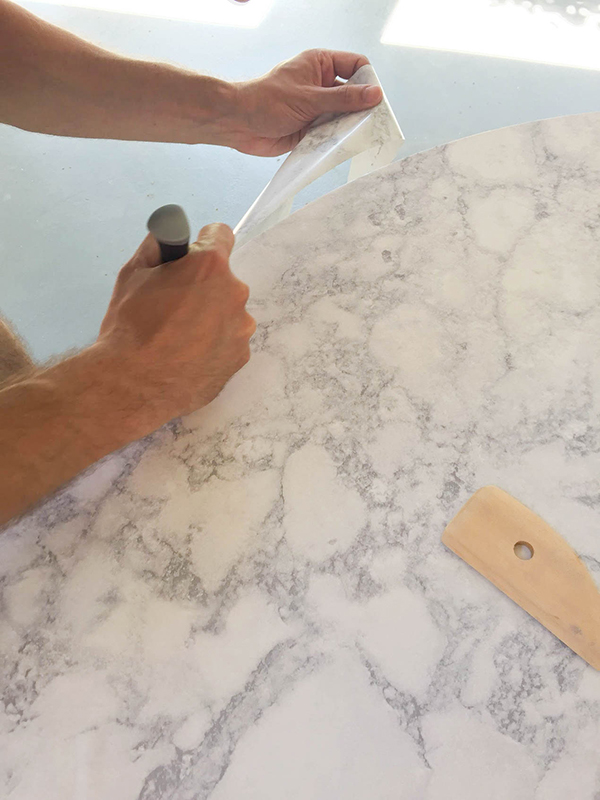
06. Using a smoothing tool, start smoothing out any air bubbles. We tried out a few different options for this, but we thought the spatula worked best for the size of the table
07. Repeat steps for any additional sheets needed. I didn’t want the table to be lumpy, so instead of overlapping the seams, we lined the pieces up flush next to each other
08. Once you’ve worked all those air bubbles out, relax and enjoy!
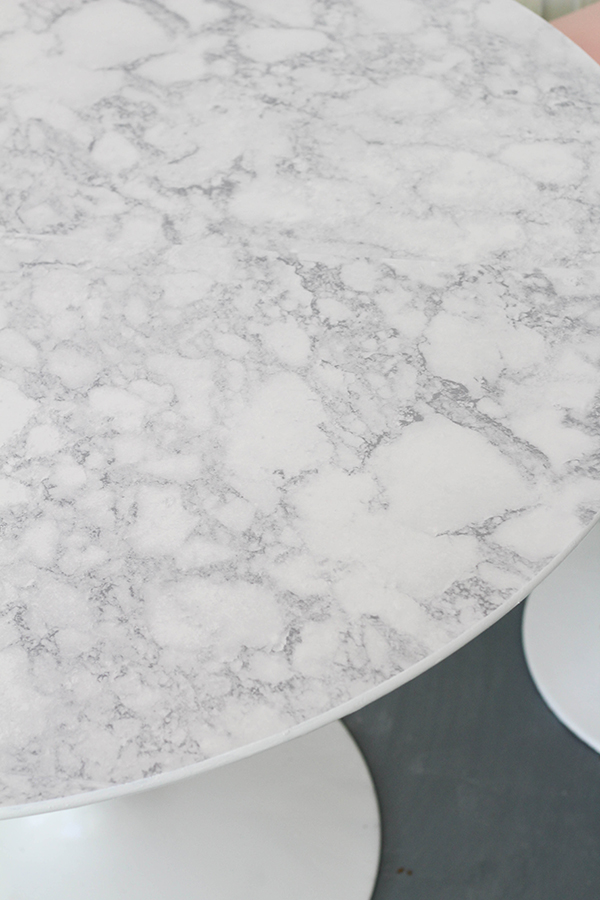

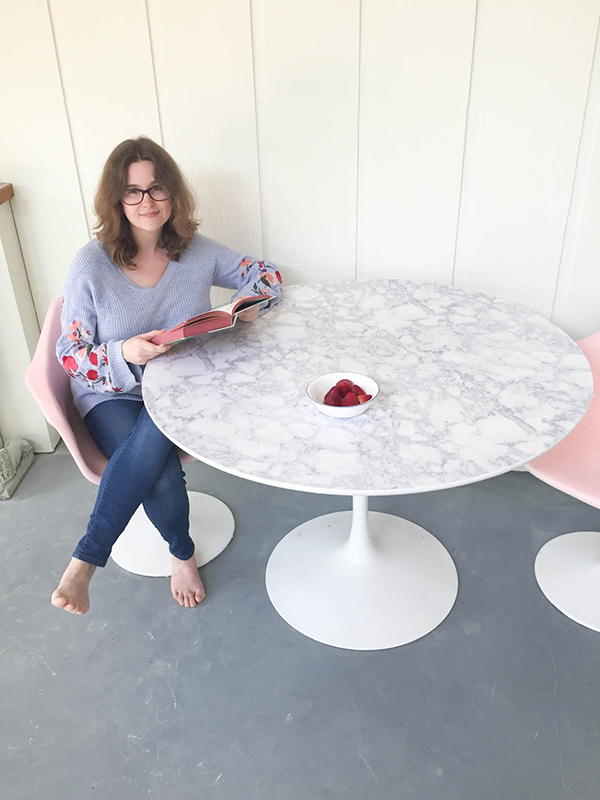
I hope you enjoyed this marble table DIY! I’m kind obsessed with marble contact paper now! Stay tuned for more marble makeovers and more home renovations!
Like what you see here? Follow along on Instagram and Pinterest and don’t forget to subscribe to the newsletter for exclusive access to the latest news!


4 Comments
DANIELLE
June 7, 2018 at 12:37 pm
That was a incredible transformation! I love the way you laid out the steps making it seem pretty simple of a task. I have a few tables in need of some tlc to make them look more attractive. I love your finished look here! Thanks for sharing.
Deanna
June 8, 2018 at 12:34 pm
Thanks so much, Danielle! I’m glad you liked it. Good luck with your table makeovers!
Kendra
June 7, 2018 at 2:31 pm
Absolutely love this project! Such an awesome idea! I am constantly looking for new ways to repurpose old furniture! I can’t wait to try this out!
Deanna
June 8, 2018 at 12:35 pm
Thanks, Kendra! Be sure to share your furniture transformations with me!
Comments are closed.