
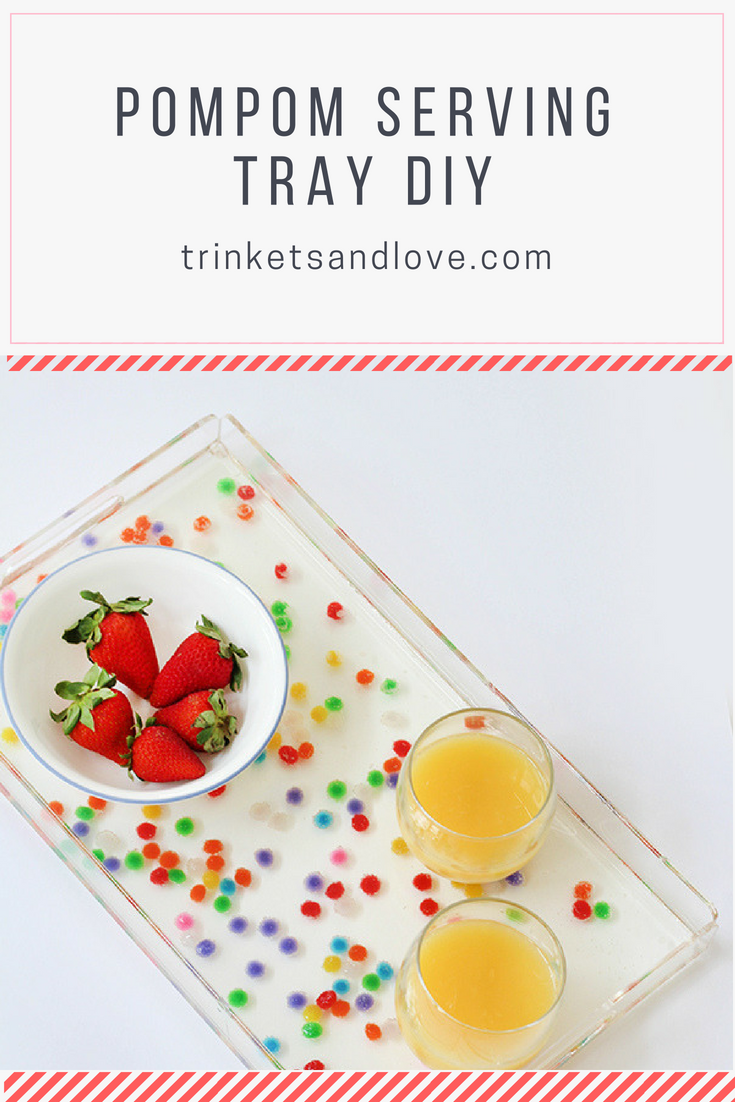
POMPOM SERVING TRAY DIY
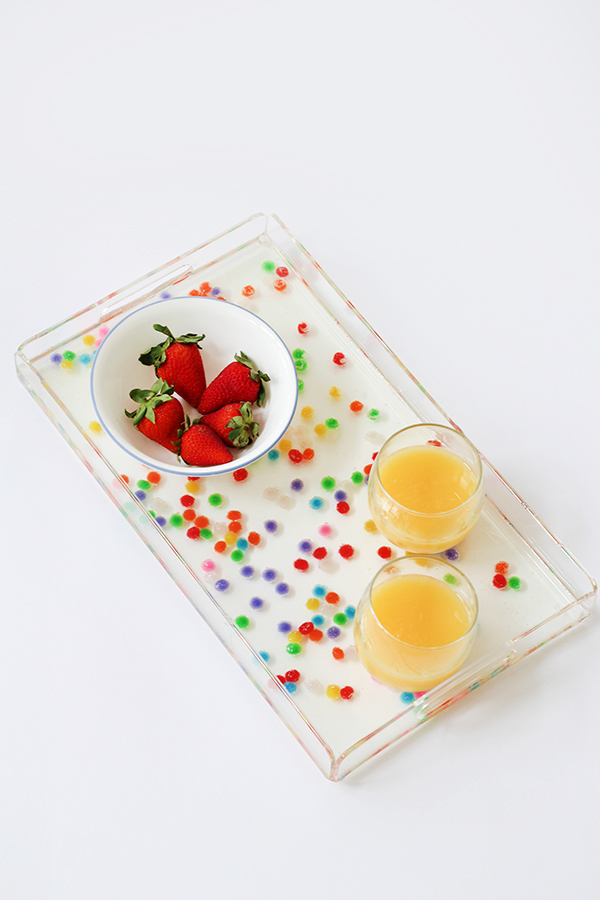
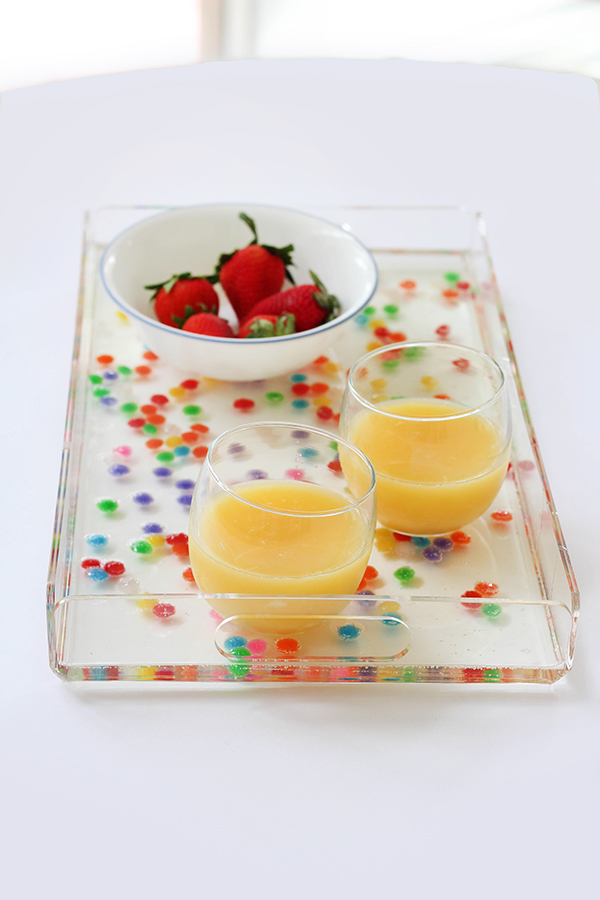
Are you ready for a serving tray DIY that will bring your breakfast-in-bed experience to maximum adorableness? If so, you are going to love this pompom serving tray DIY! Not only is it adorable and easy to make, but it is the perfect way to add a little l-o-v-e to any breakfast-in-bed occasion.
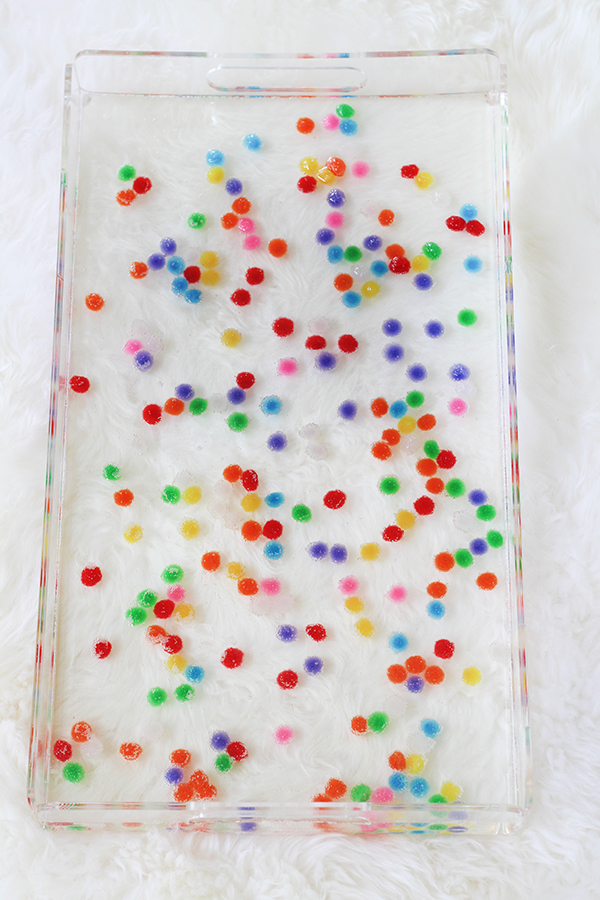
This pompom serving tray DIY will make it look like happiness was sprinkled onto your breakfast, and that, my friends, is the perfect way to start the day!
Pompoms, now part of a complete breakfast!*
*warning: Do not eat pompoms. I know they look good, but just say no!
Supplies
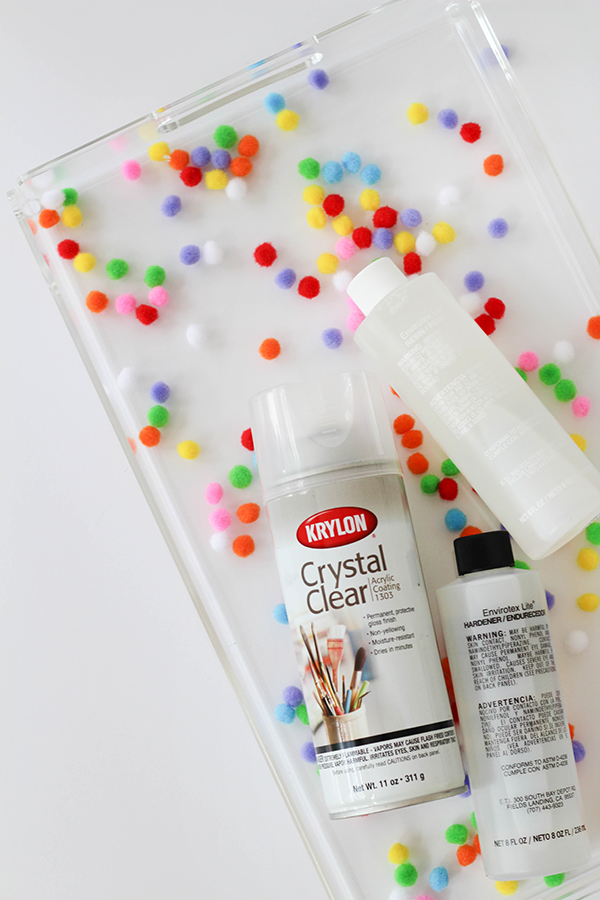
The amount needed for the resin kit will depend on the size of the tray, you may need 2 or more
Protective Gloves
Pompom Serving Tray DIY
01. Prep the serving tray by washing it. This will give you a nice dust bunny free surface to work on!
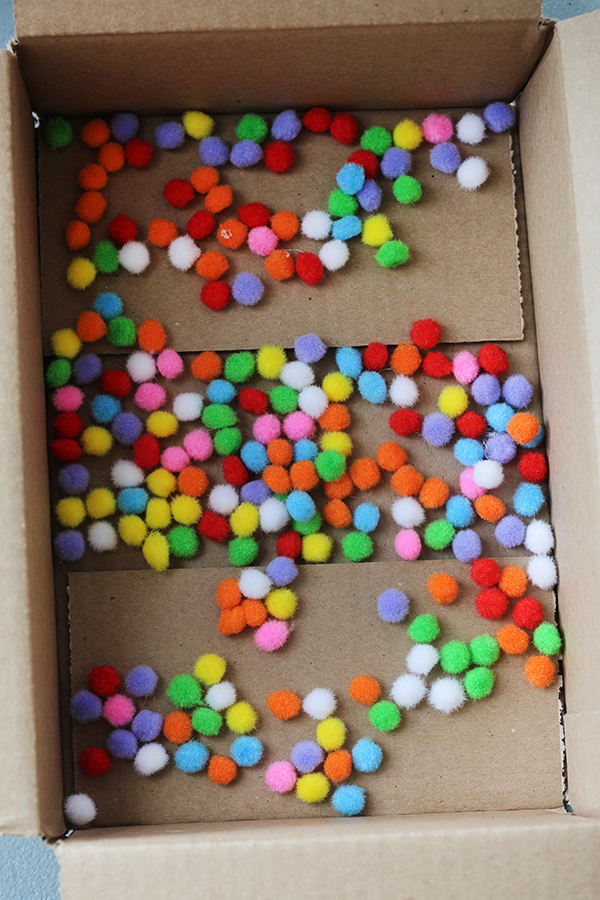
02. Place pompoms in a cardboard box and spray them with Crystal Clear spray. Spray them down 6-7 times, being sure to let them dry between each coat, tossing them and breaking clumps of pompoms sticking together
(The point of this is to give the pompom a protective shell, so it maintains its shape while it is submerged with resin. An untreated pompom will start to absorb the resin and will turn into…a mushy dud..which is not cute)
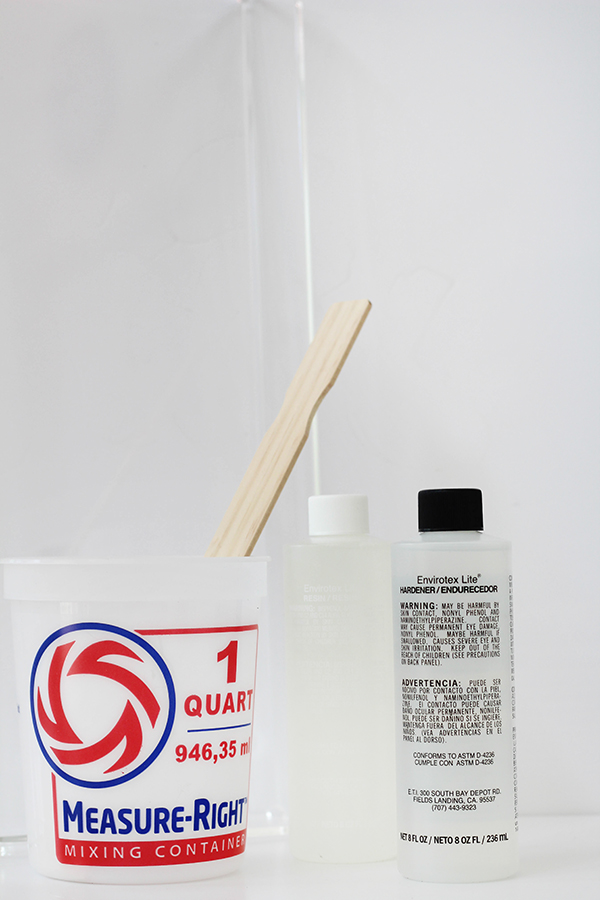
03. Now it is time to get the resin ready. Be sure to read your instructions thoroughly BEFORE starting! To mix and pour, follow the instructions, and pour a thin layer into the tray, spreading the resin evenly
(For the brand of resin I used, it called for 4 ounces of resin per square inch. My tray measured out to 1 square inch, so I mixed together 4 ounces of the resin and hardener each)
Follow your product’s directions on how to reduce air bubbles
Note: If you look at my pictures you will see that there is blue painter’s tape on the corners of my tray. It’s a little hard to describe, but when the tray arrived I saw that the bottom corners weren’t closed, and instead had a little opening. Not a big deal! I just securely applied the tape, to prevent resin from leaking out.
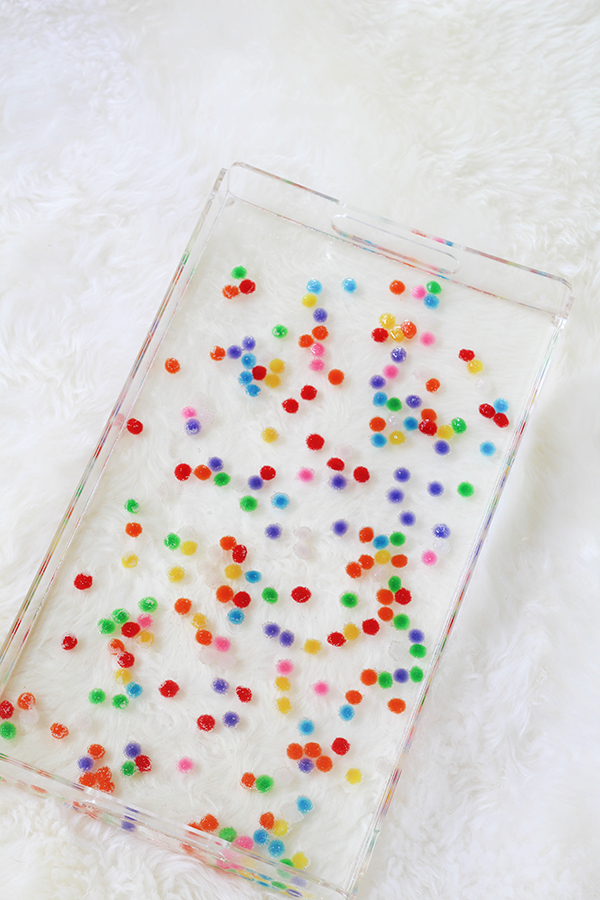
04. Next, while the resin is still wet, take the dried pompoms and start sprinkling them in

05. Lightly tap the pompoms into the resin with a stir stick
06. Let the resin set. The time to let dry depends on your resin’s instructions
07. With this next step, we want to make sure that we are accomplishing the following: the pompoms are completely covered, there are minimal air bubbles, and the top layer is even and bump free
To accomplish this, we are going to add thin layer by thin layer, until the pompoms are completely covered
Mix up the same amount used for the first layer (for me it was 4 ounces of resin and 4 ounces of hardener) and then spread it evenly over the pompoms, and let dry like before
You will be repeating this until you have your smooth even top
08. Let the tray rest until the resin completely dries, and then treat a loved one to a nice breakfast in bed!
I’d love to see your Trinkets and Love DIYs. If you’ve made your own pompom serving tray, show me on Instagram using #mytrinketsandlove. Like what you see here? Follow along on Twitter and Pinterest and don’t forget to subscribe to the newsletter for exclusive access to the latest news!
Can’t get enough pompoms? Me Either! Be sure to check out these crafts for more pompom fun// Lil Momma Tote Bag // Dog Collar DIY


6 Comments
Mel
May 24, 2018 at 12:57 pm
I love this idea! Will definitely have to try it. ✌🏼
Deanna
May 25, 2018 at 12:10 pm
Thanks, Mel. I’d love to see it if you give it a try!
Lynneah
May 24, 2018 at 2:10 pm
What a cool idea! I have never thought about making something like this on my own! Maybe I’ll give it a try!
Deanna
May 25, 2018 at 12:10 pm
Thanks, Lynneah! I hope you do!
Stephanie
May 25, 2018 at 9:35 am
This tray is so cute! I’m pinning this for later when I have a DIY moment!
Deanna
May 25, 2018 at 12:09 pm
That makes me happy to hear, Stephanie! If you give it a try, be sure to show me pictures of how it turned out!
Comments are closed.