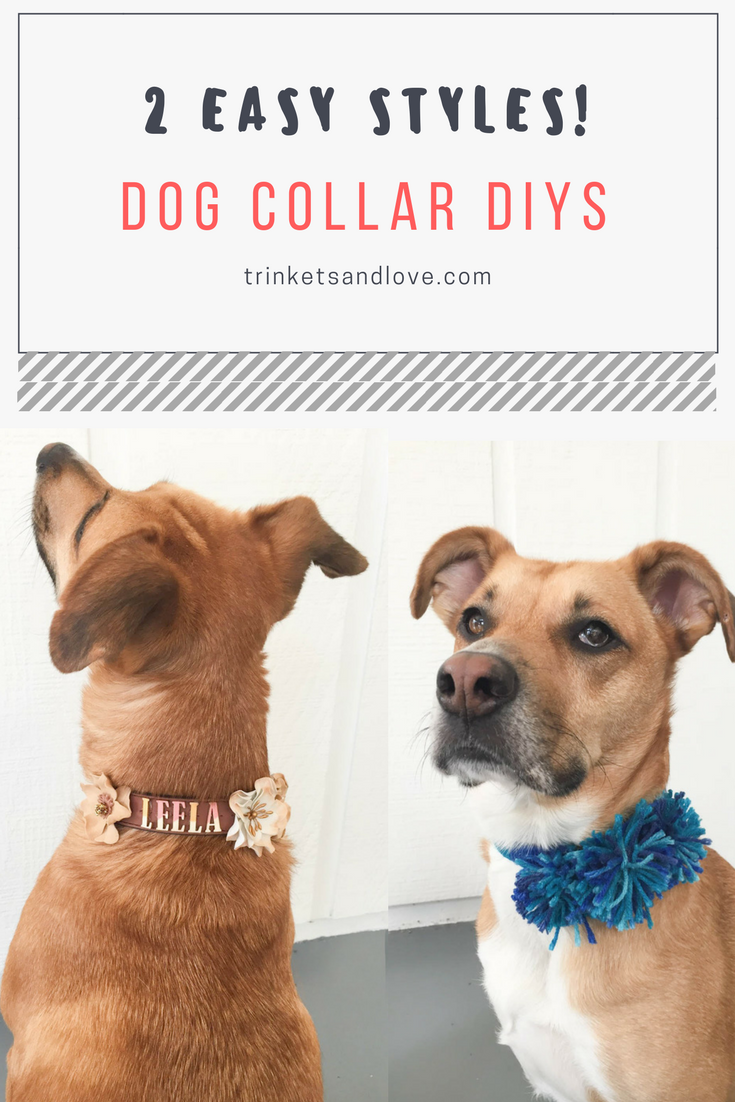
DOG COLLAR DIY
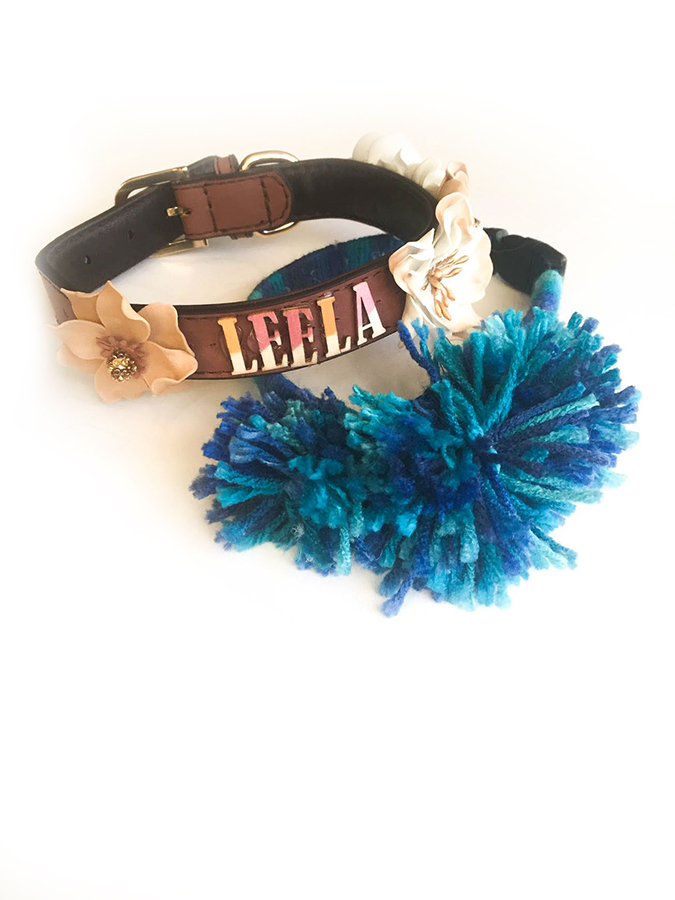
We are pretty excited for spring in my household after being cooped up during the bitterly cold winter. To celebrate the return of warm weather, I came up with two dog collar DIY ideas that will turn any dog walk into a mini fashion show. Imagine your dog strutting their stuff with florals and brightly colored pom-poms!
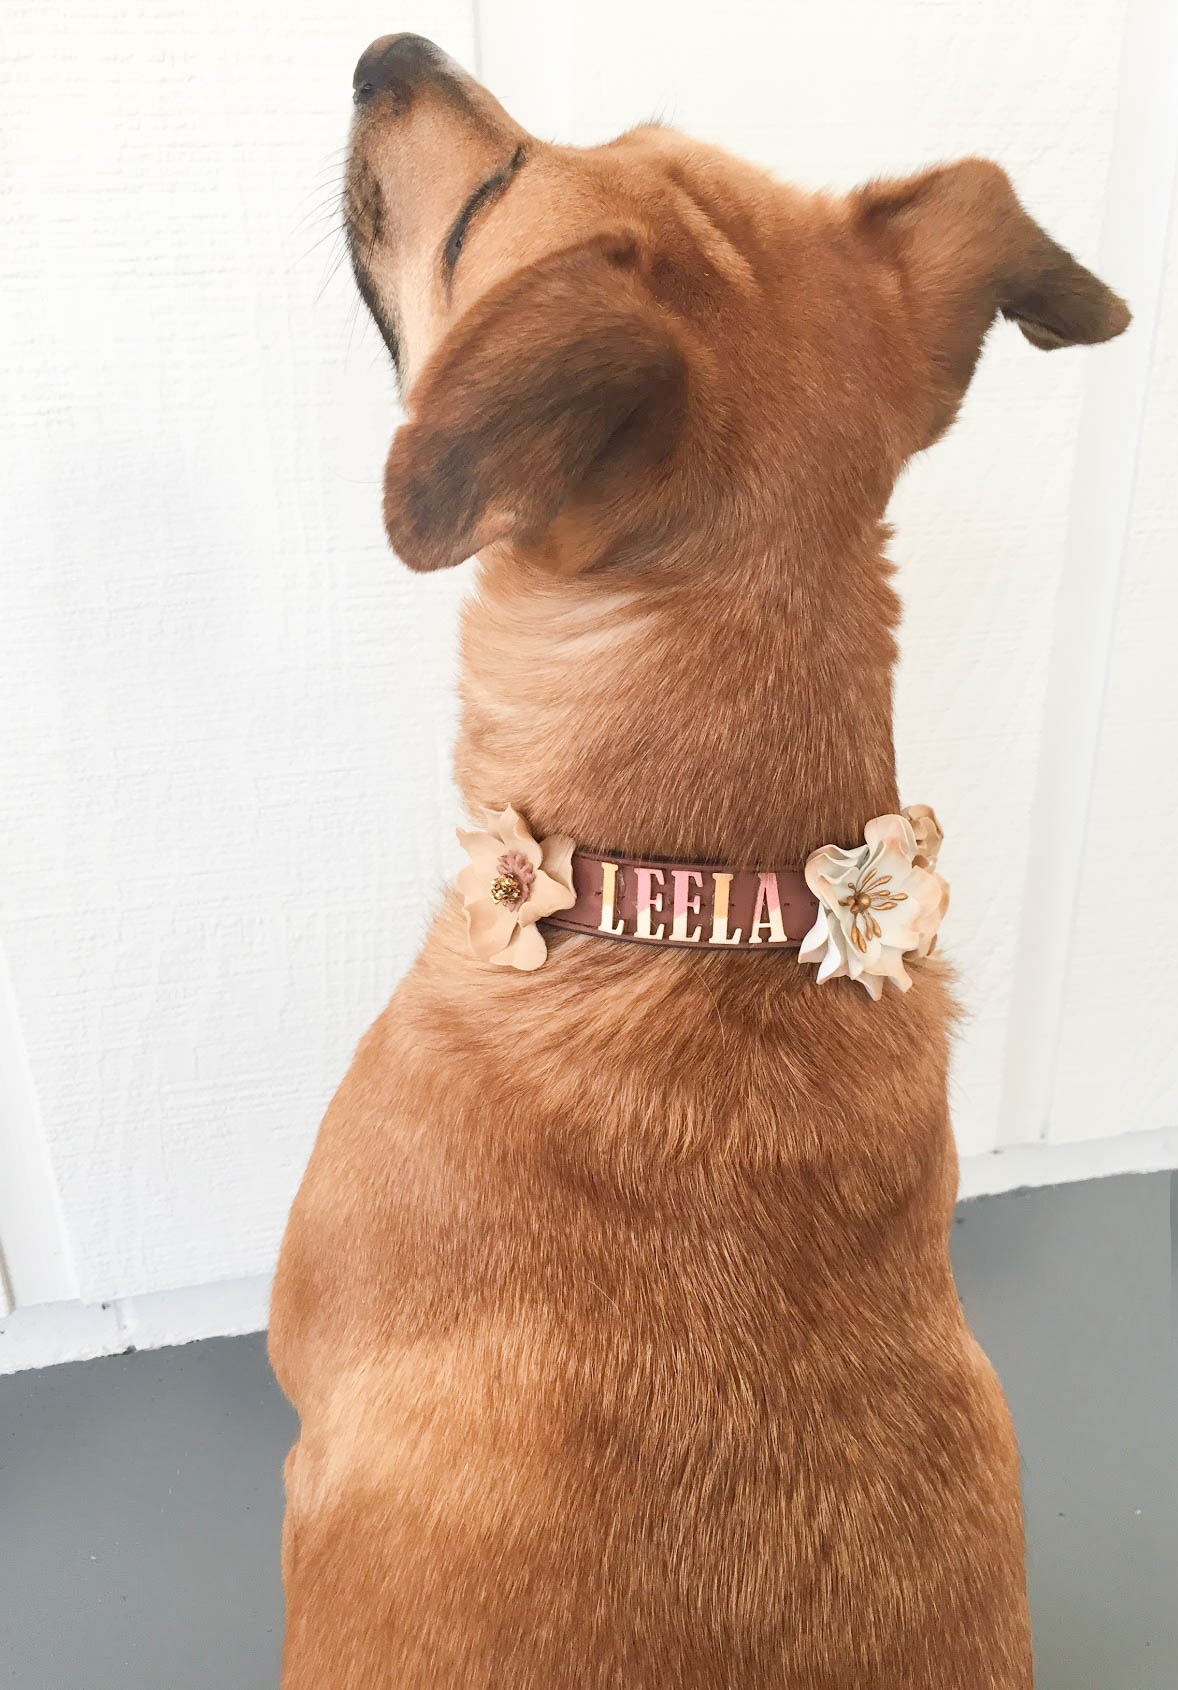
Personally, I could spend hours and hours dreaming up different cute dog collar DIY ideas. I’m like kind of obsessed with my dog, Leela. My boyfriend and I had been going to local adoption events for months looking for the right dog. Finally, a little over a year ago, we met Leela. When we first met her, she was very timid, but as we continued to pet her, she started to lean against us and cuddled up on my boyfriend’s feet. As you can imagine, it completely stole our hearts, and we knew she was the forever dog we had been searching for! Today she has blossomed into the happy-go-lucky, energetic goofball who is our dog child (she is licking my feet as I write this). She definitely deserves some pampering, and so does your pooch!!
Dog Collar DIY Supplies
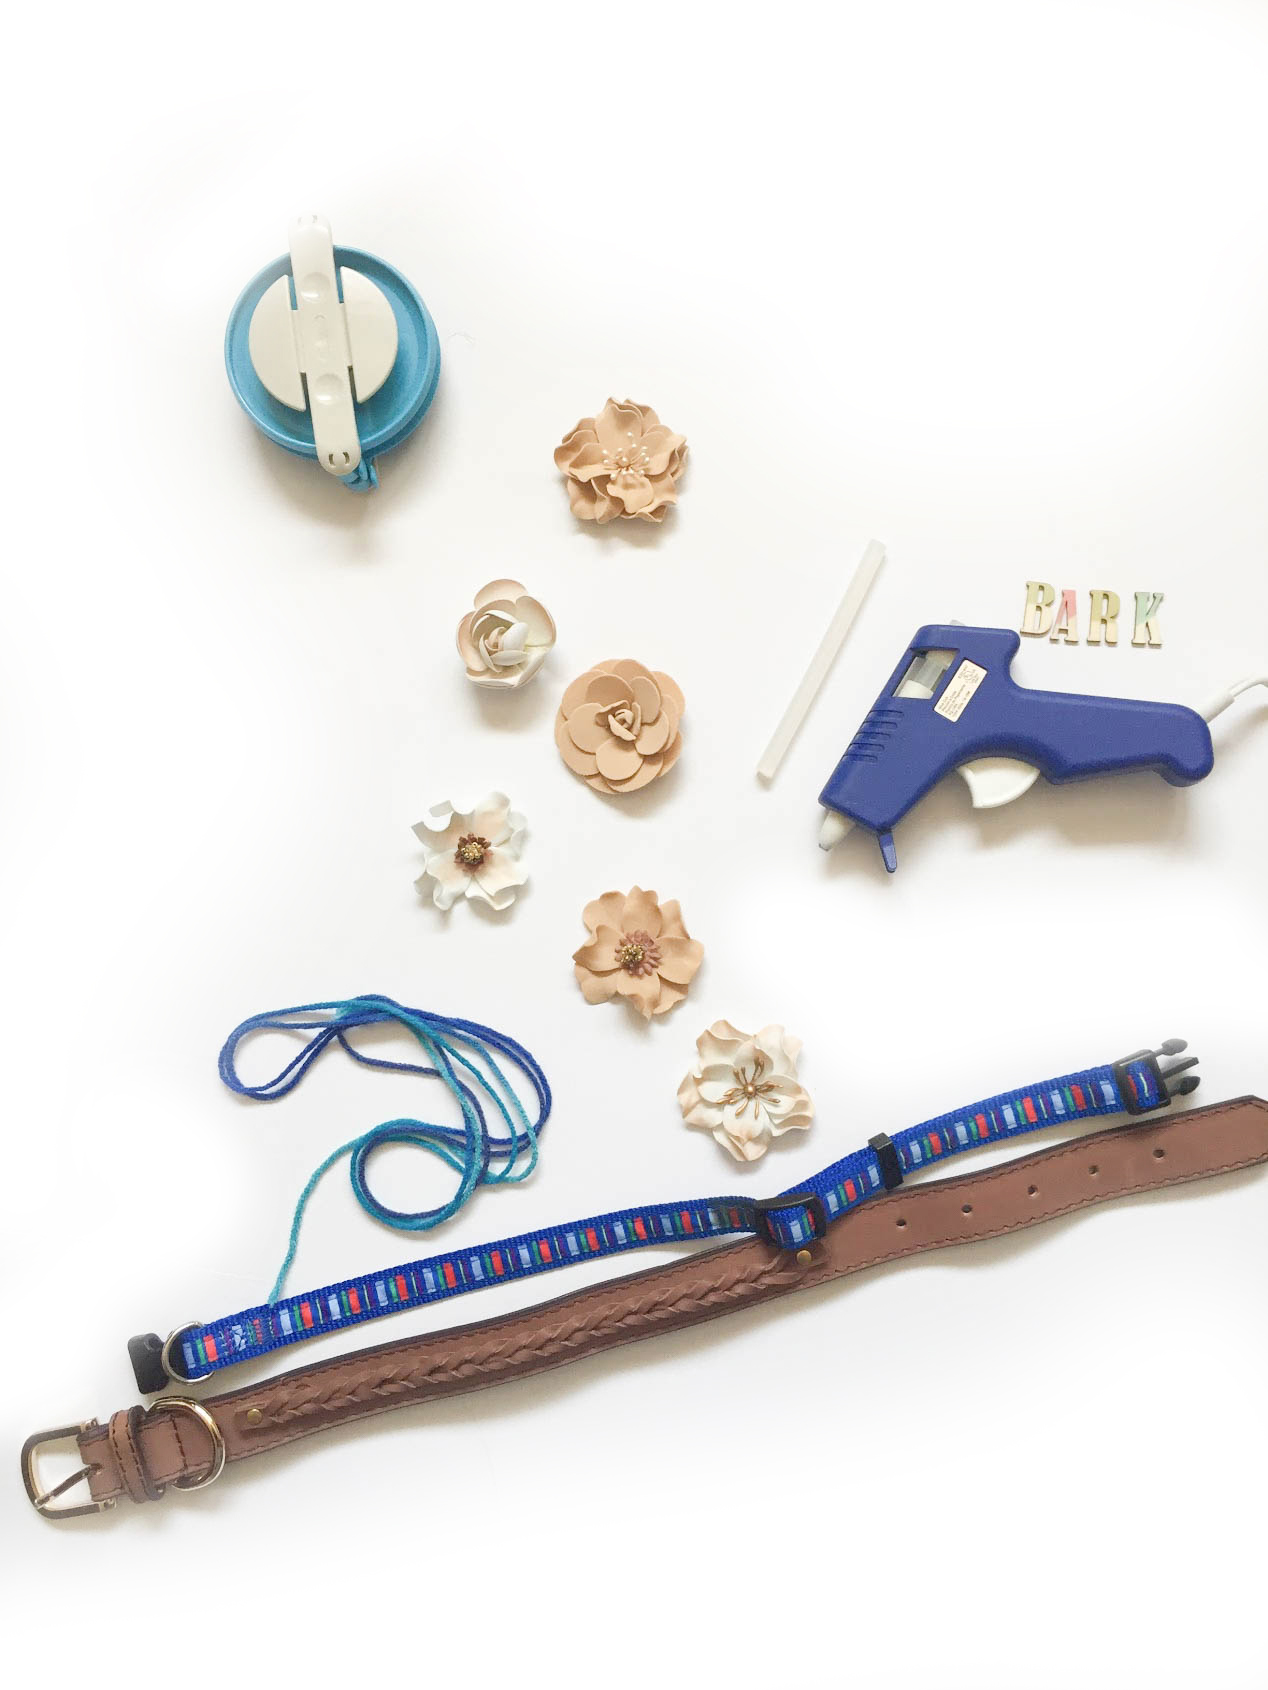
Two collars – I chose collars with colors similar to the decorations that will be added
Hot Glue Gun and Glue Sticks
Letters
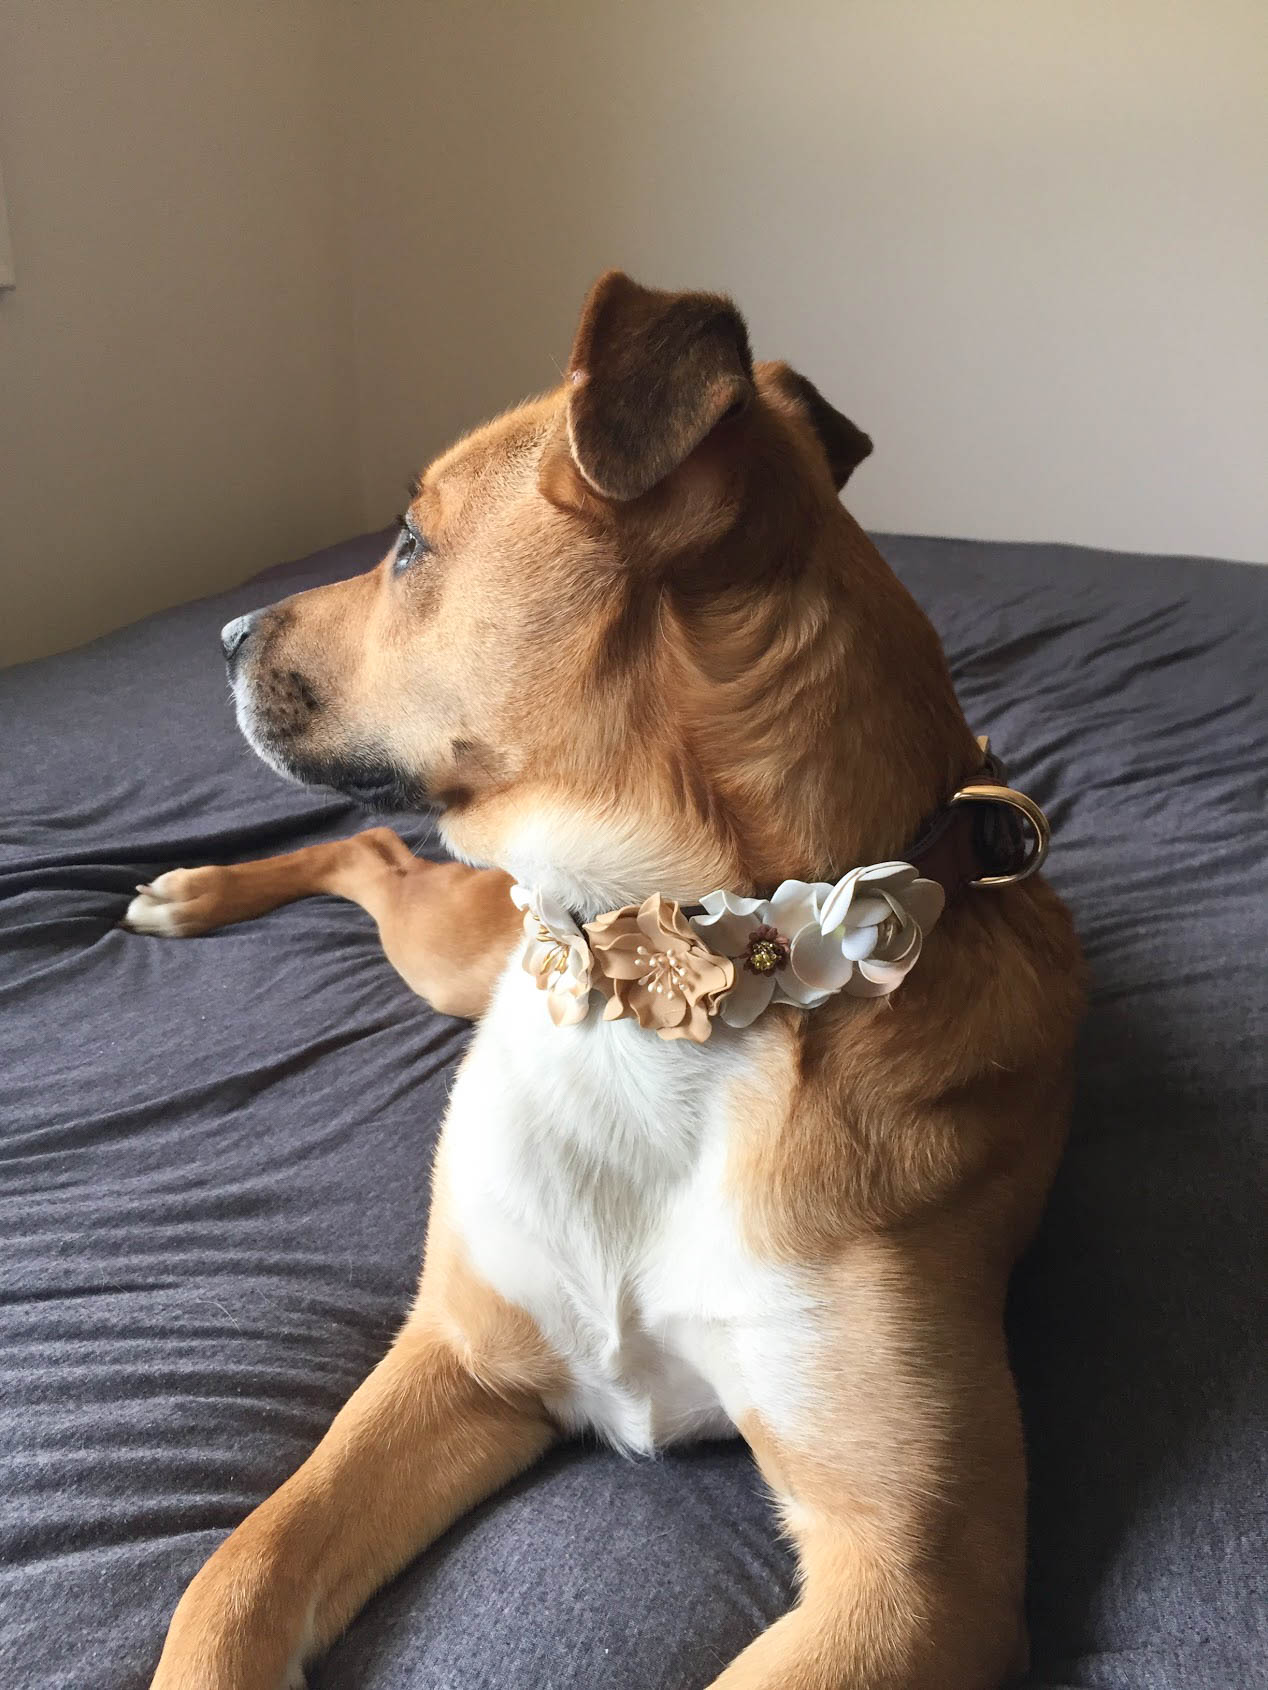
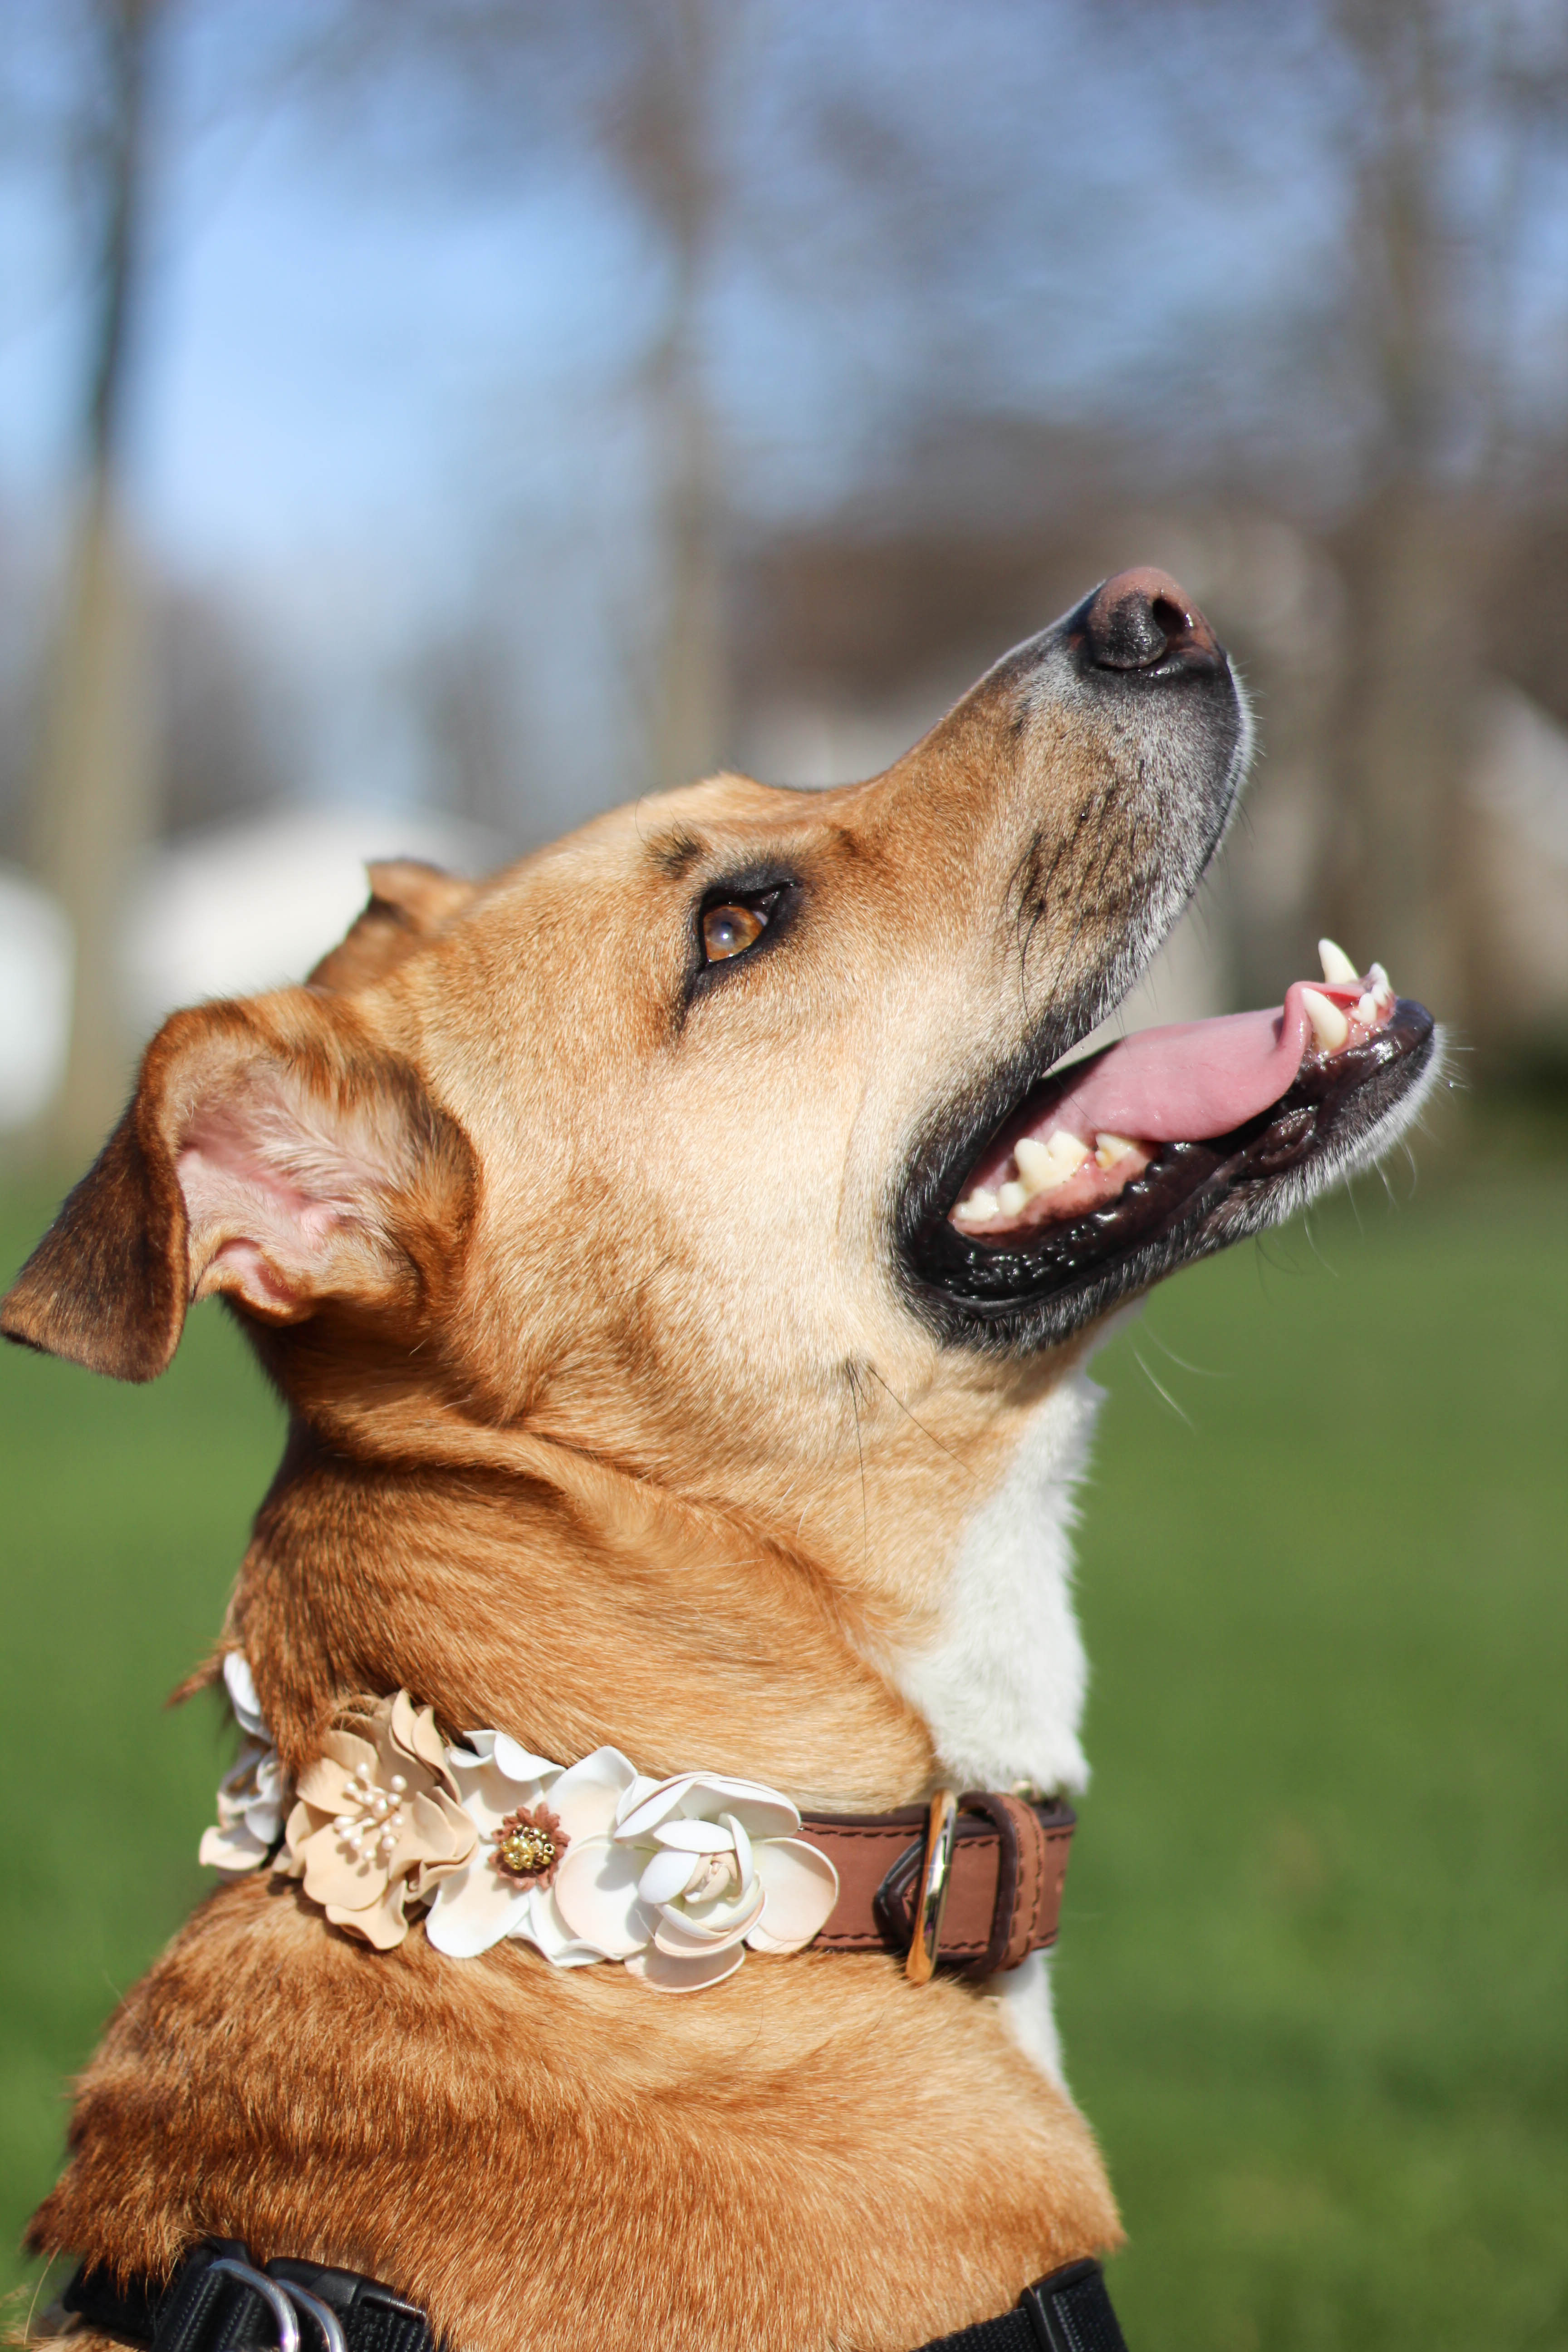
Floral Dog Collar DIY
01. Find the best fit for the collar on your dog
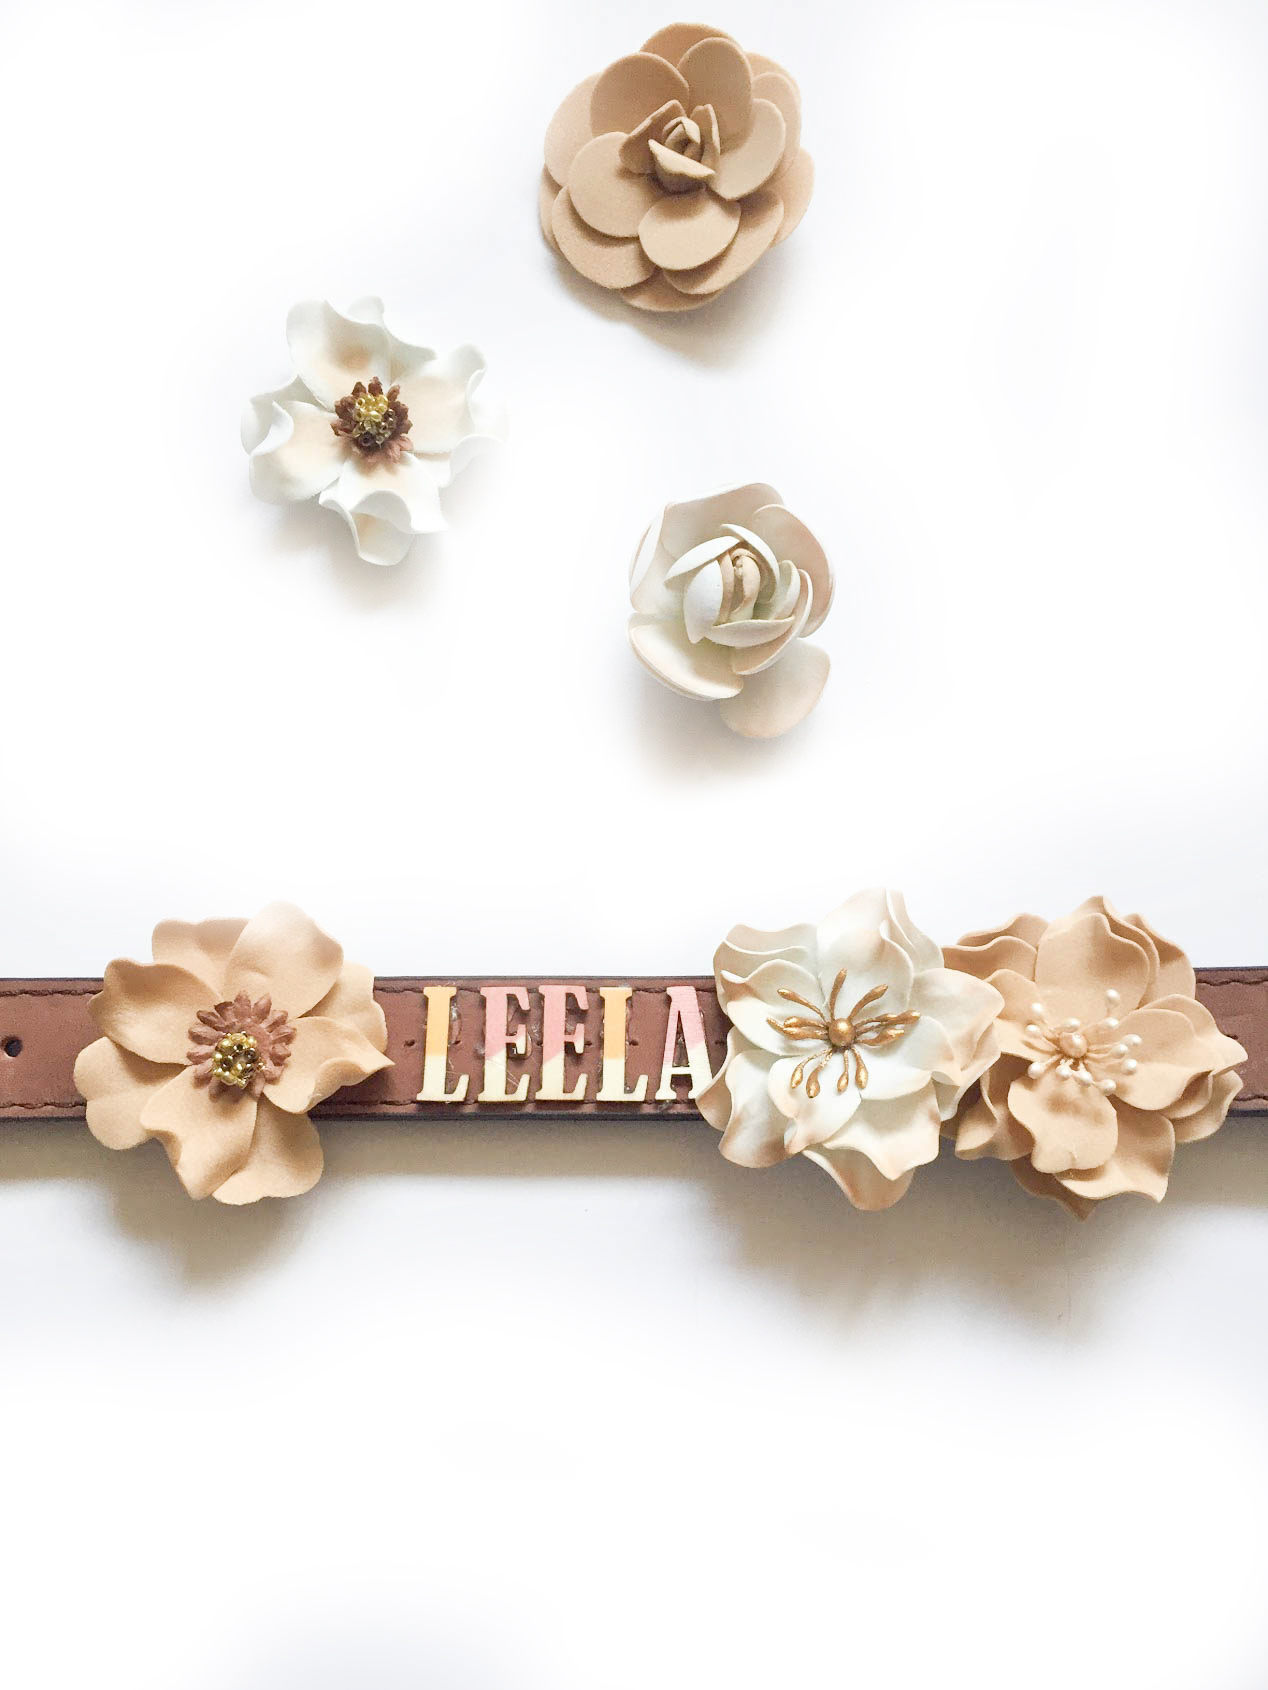
02. Start laying out the flowers and letters on the collar to find your preferred placement.
(I like the look of layered flowers, so I placed mine slightly under and on top of each other )
03. Apply a generous amount of hot glue to the backs of the flowers and start applying to the collar, leaving room for the letters
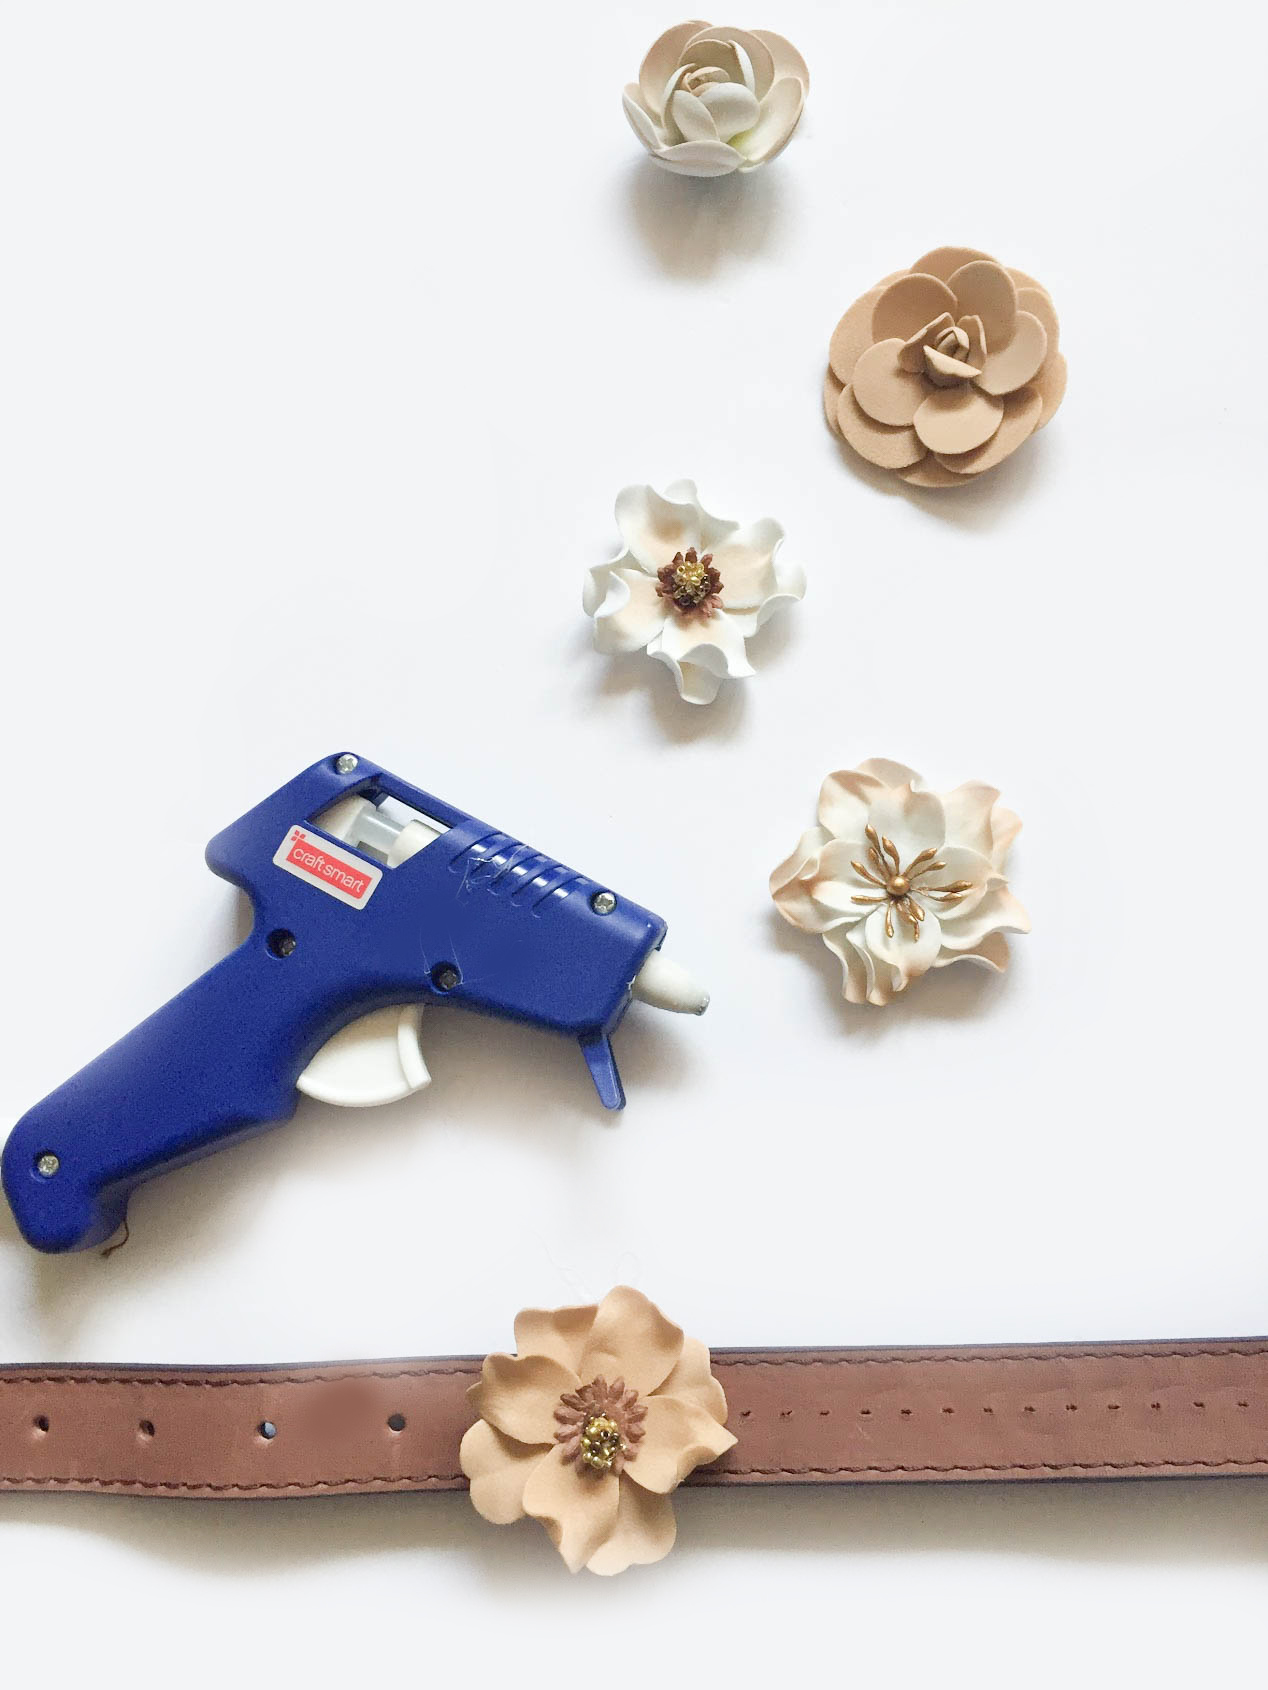
04. Glue on the letters for your dog’s name
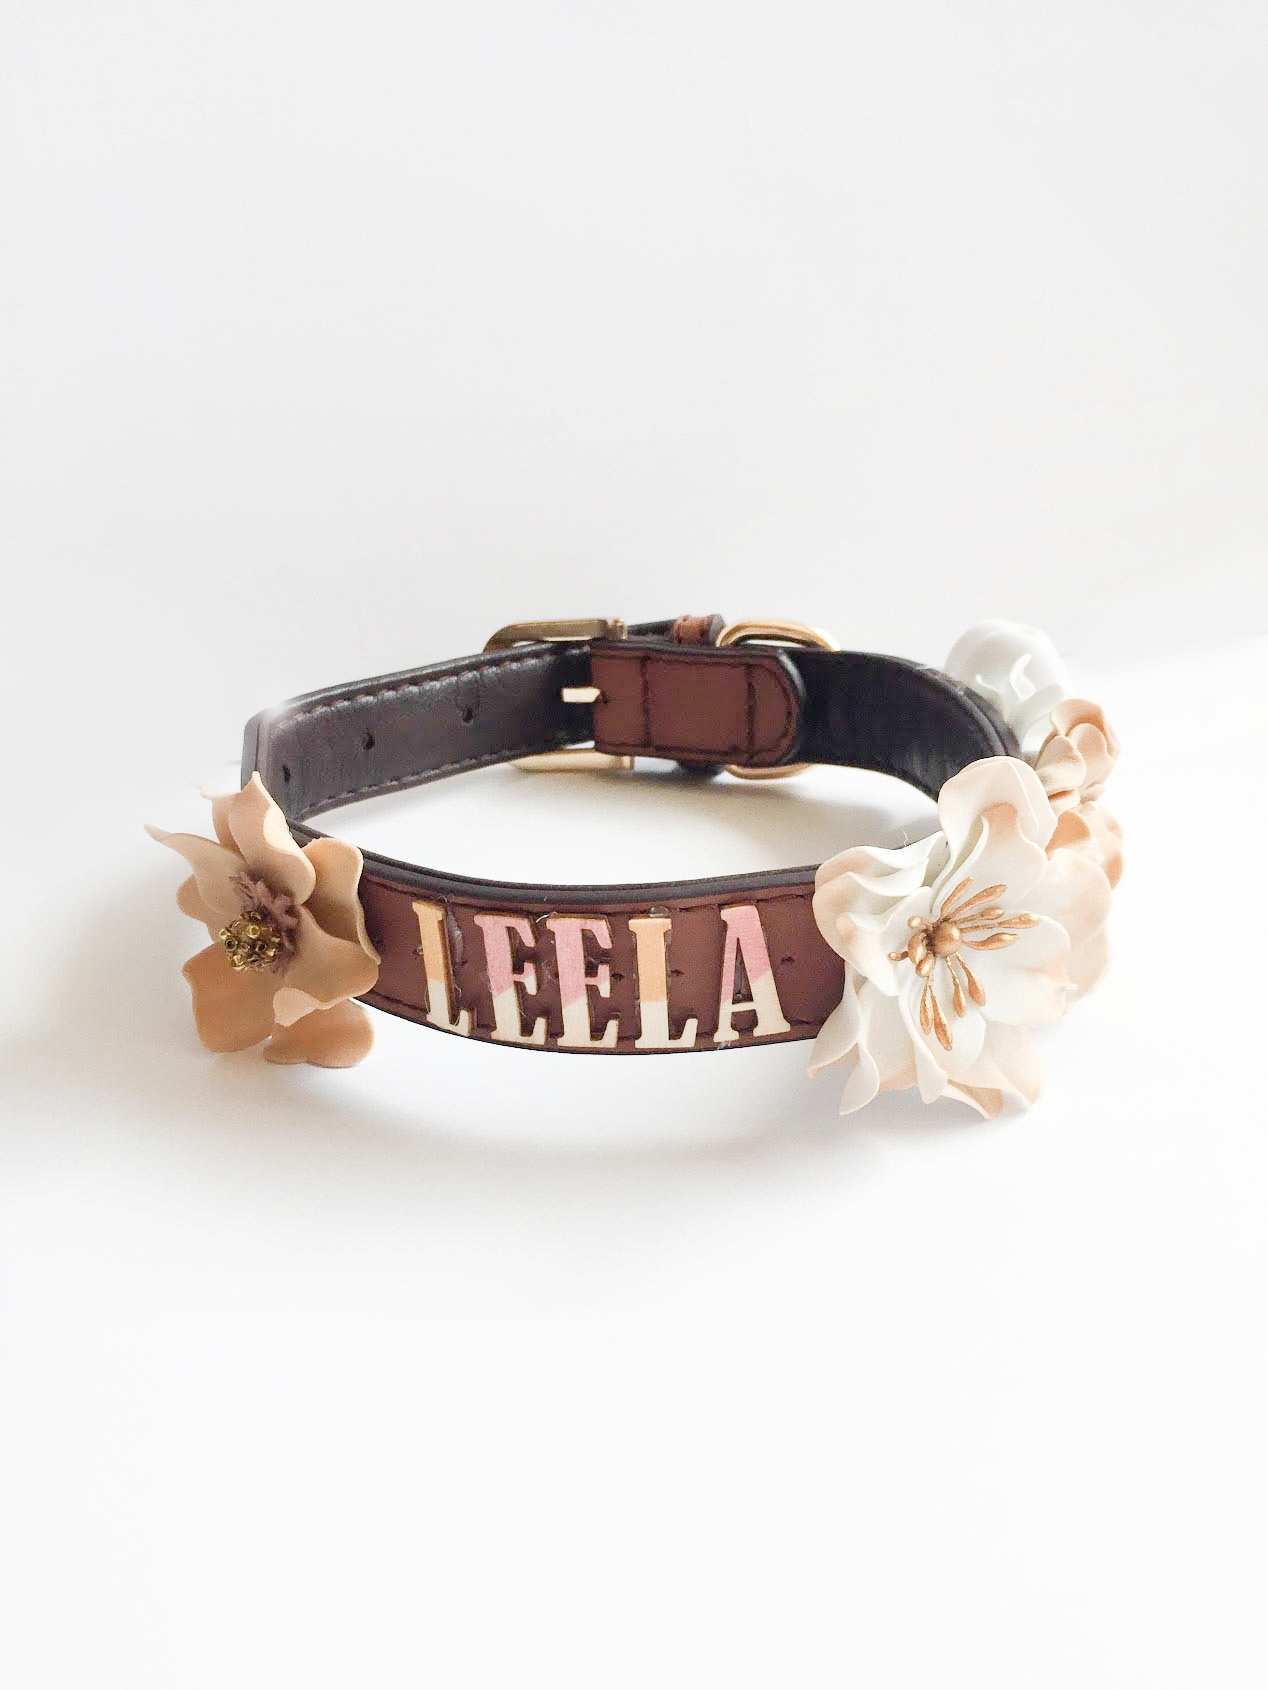
05. Snip off any excess glue strands
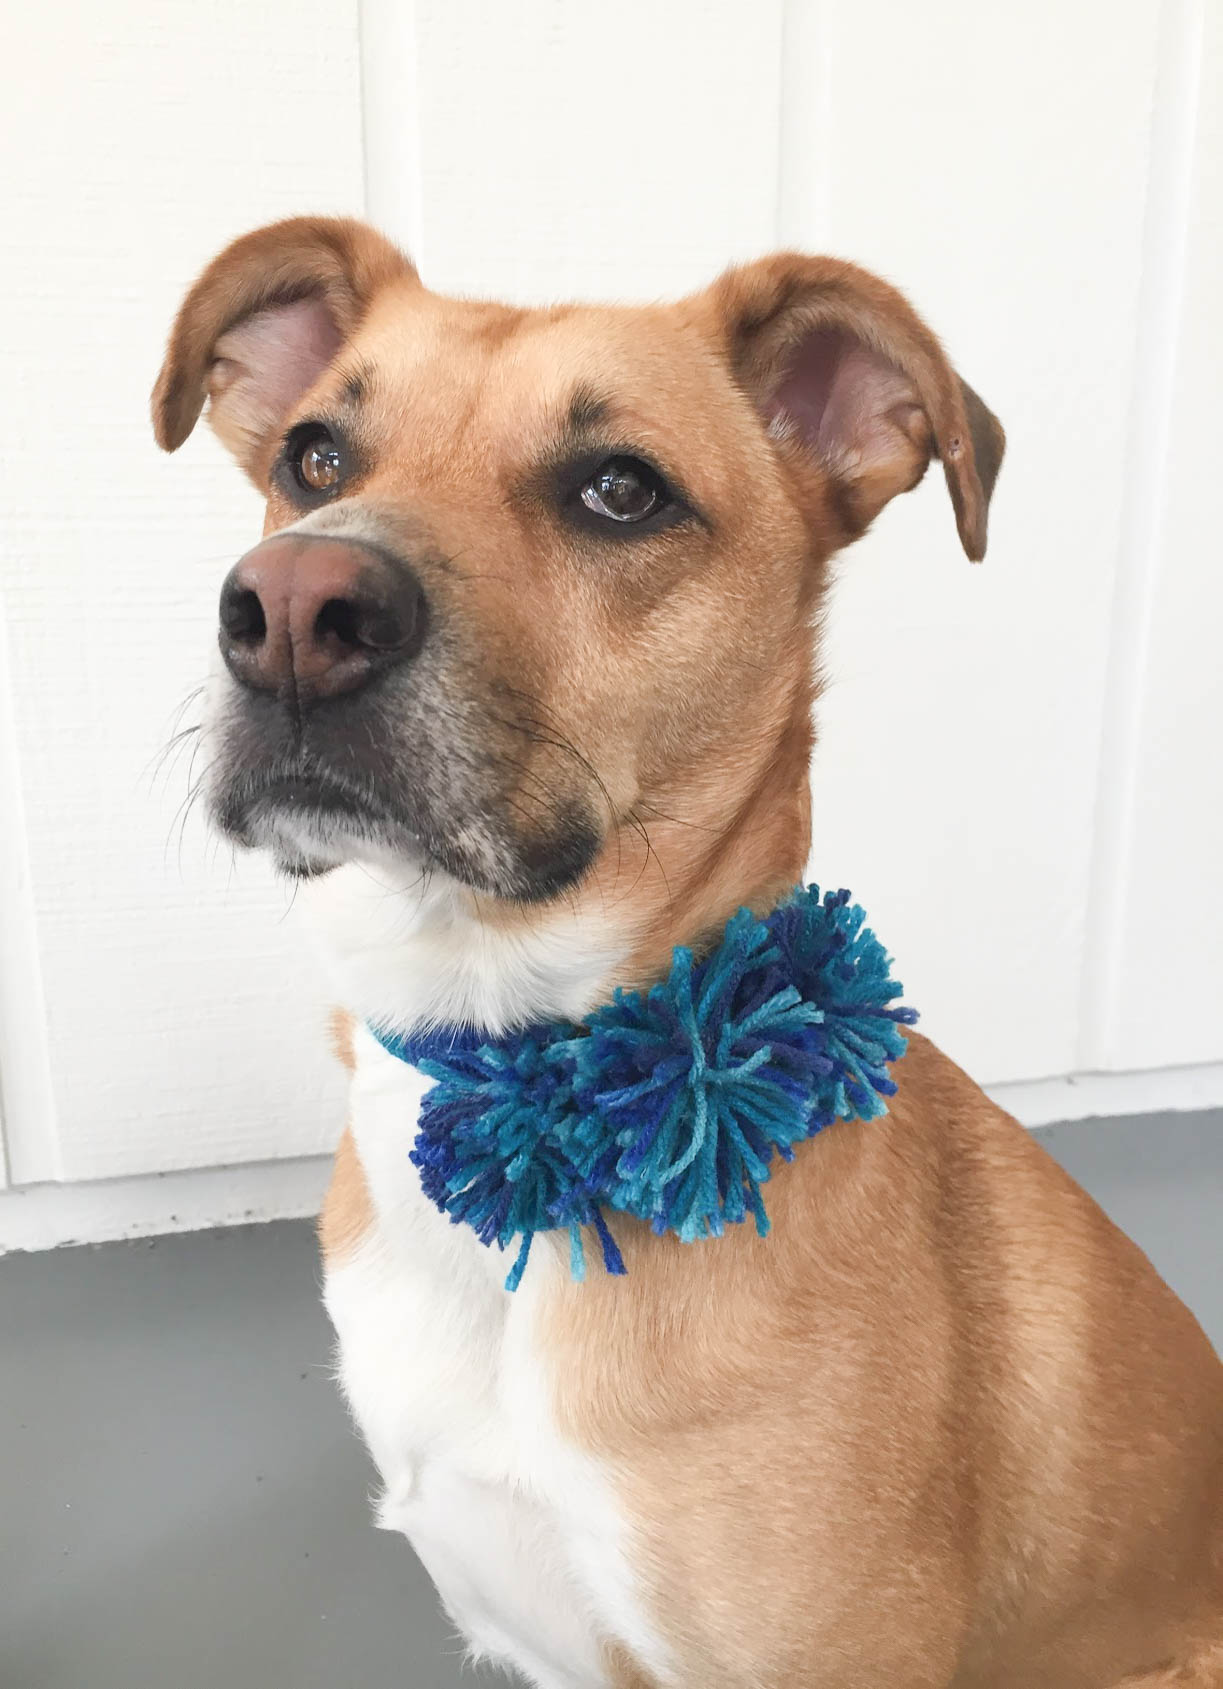
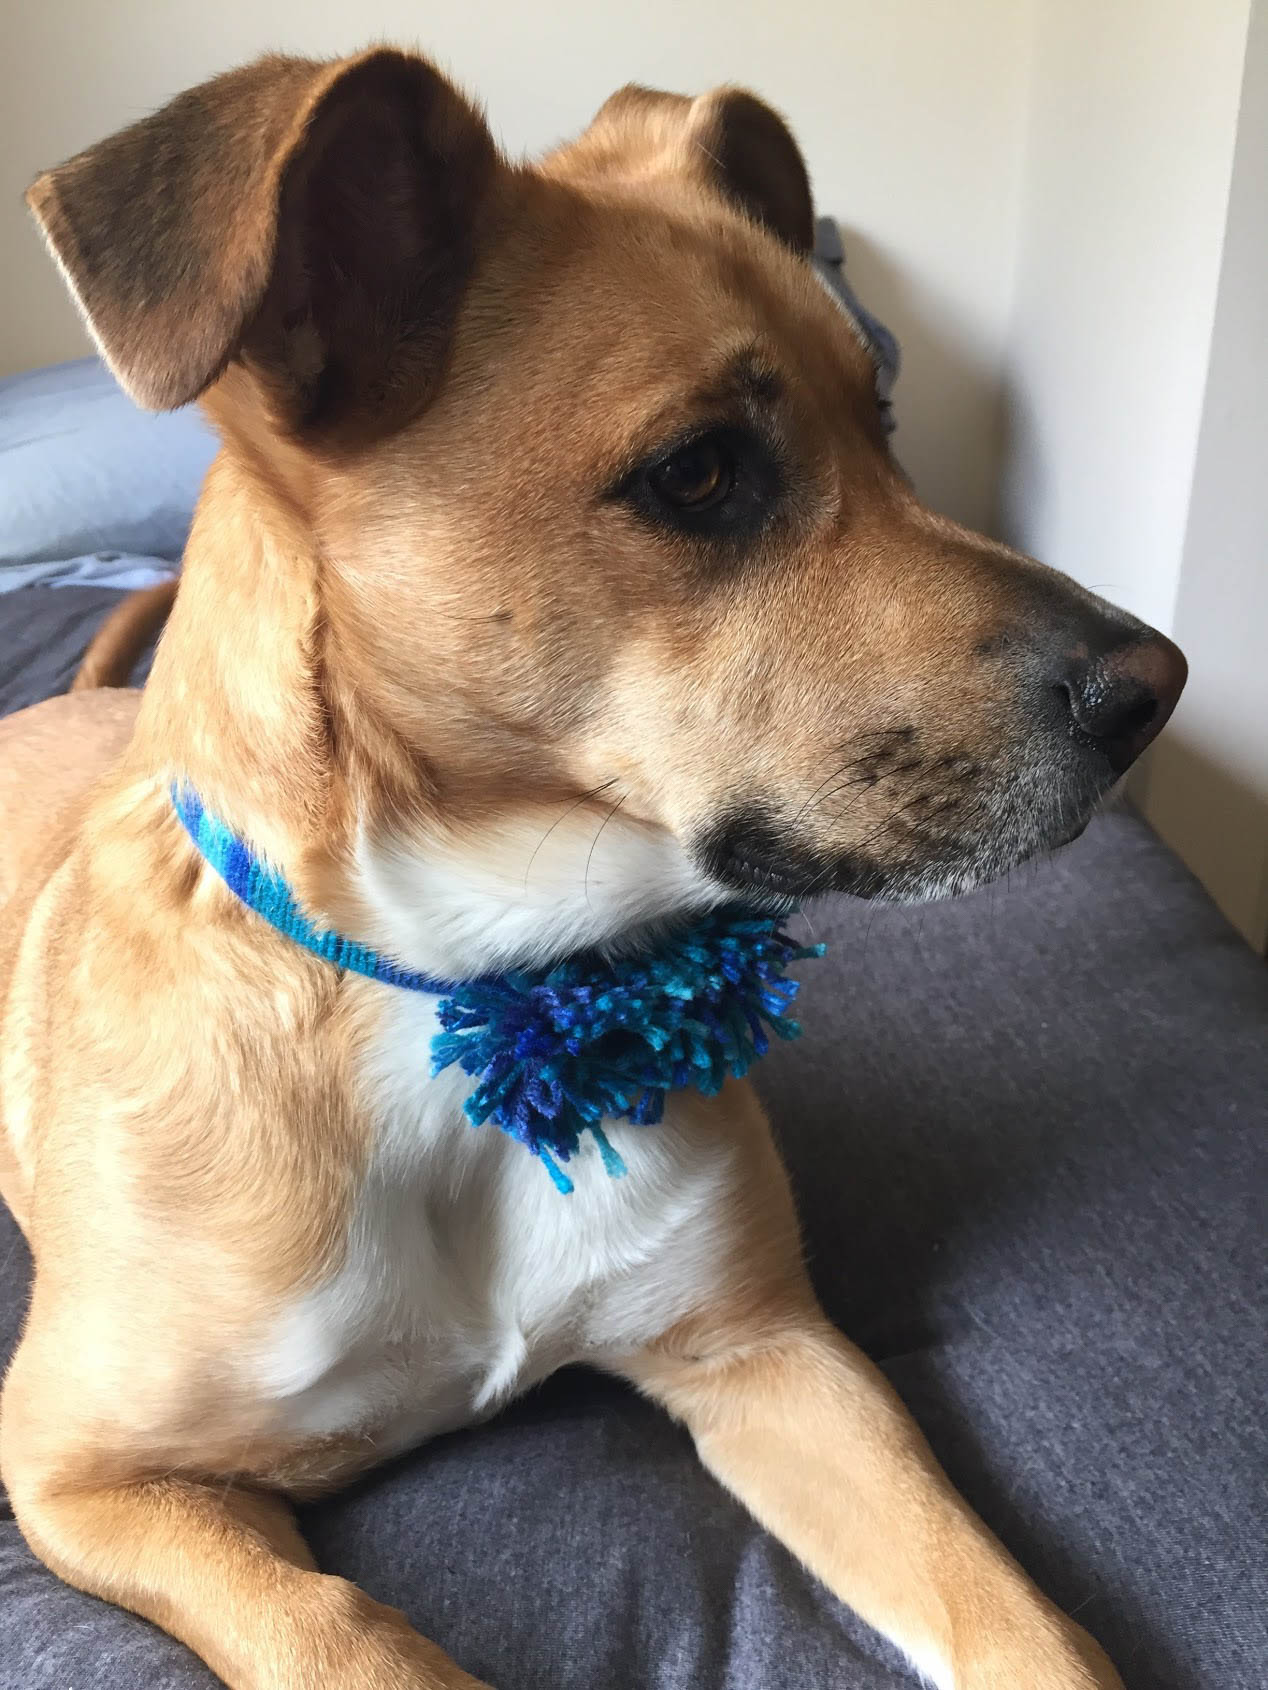
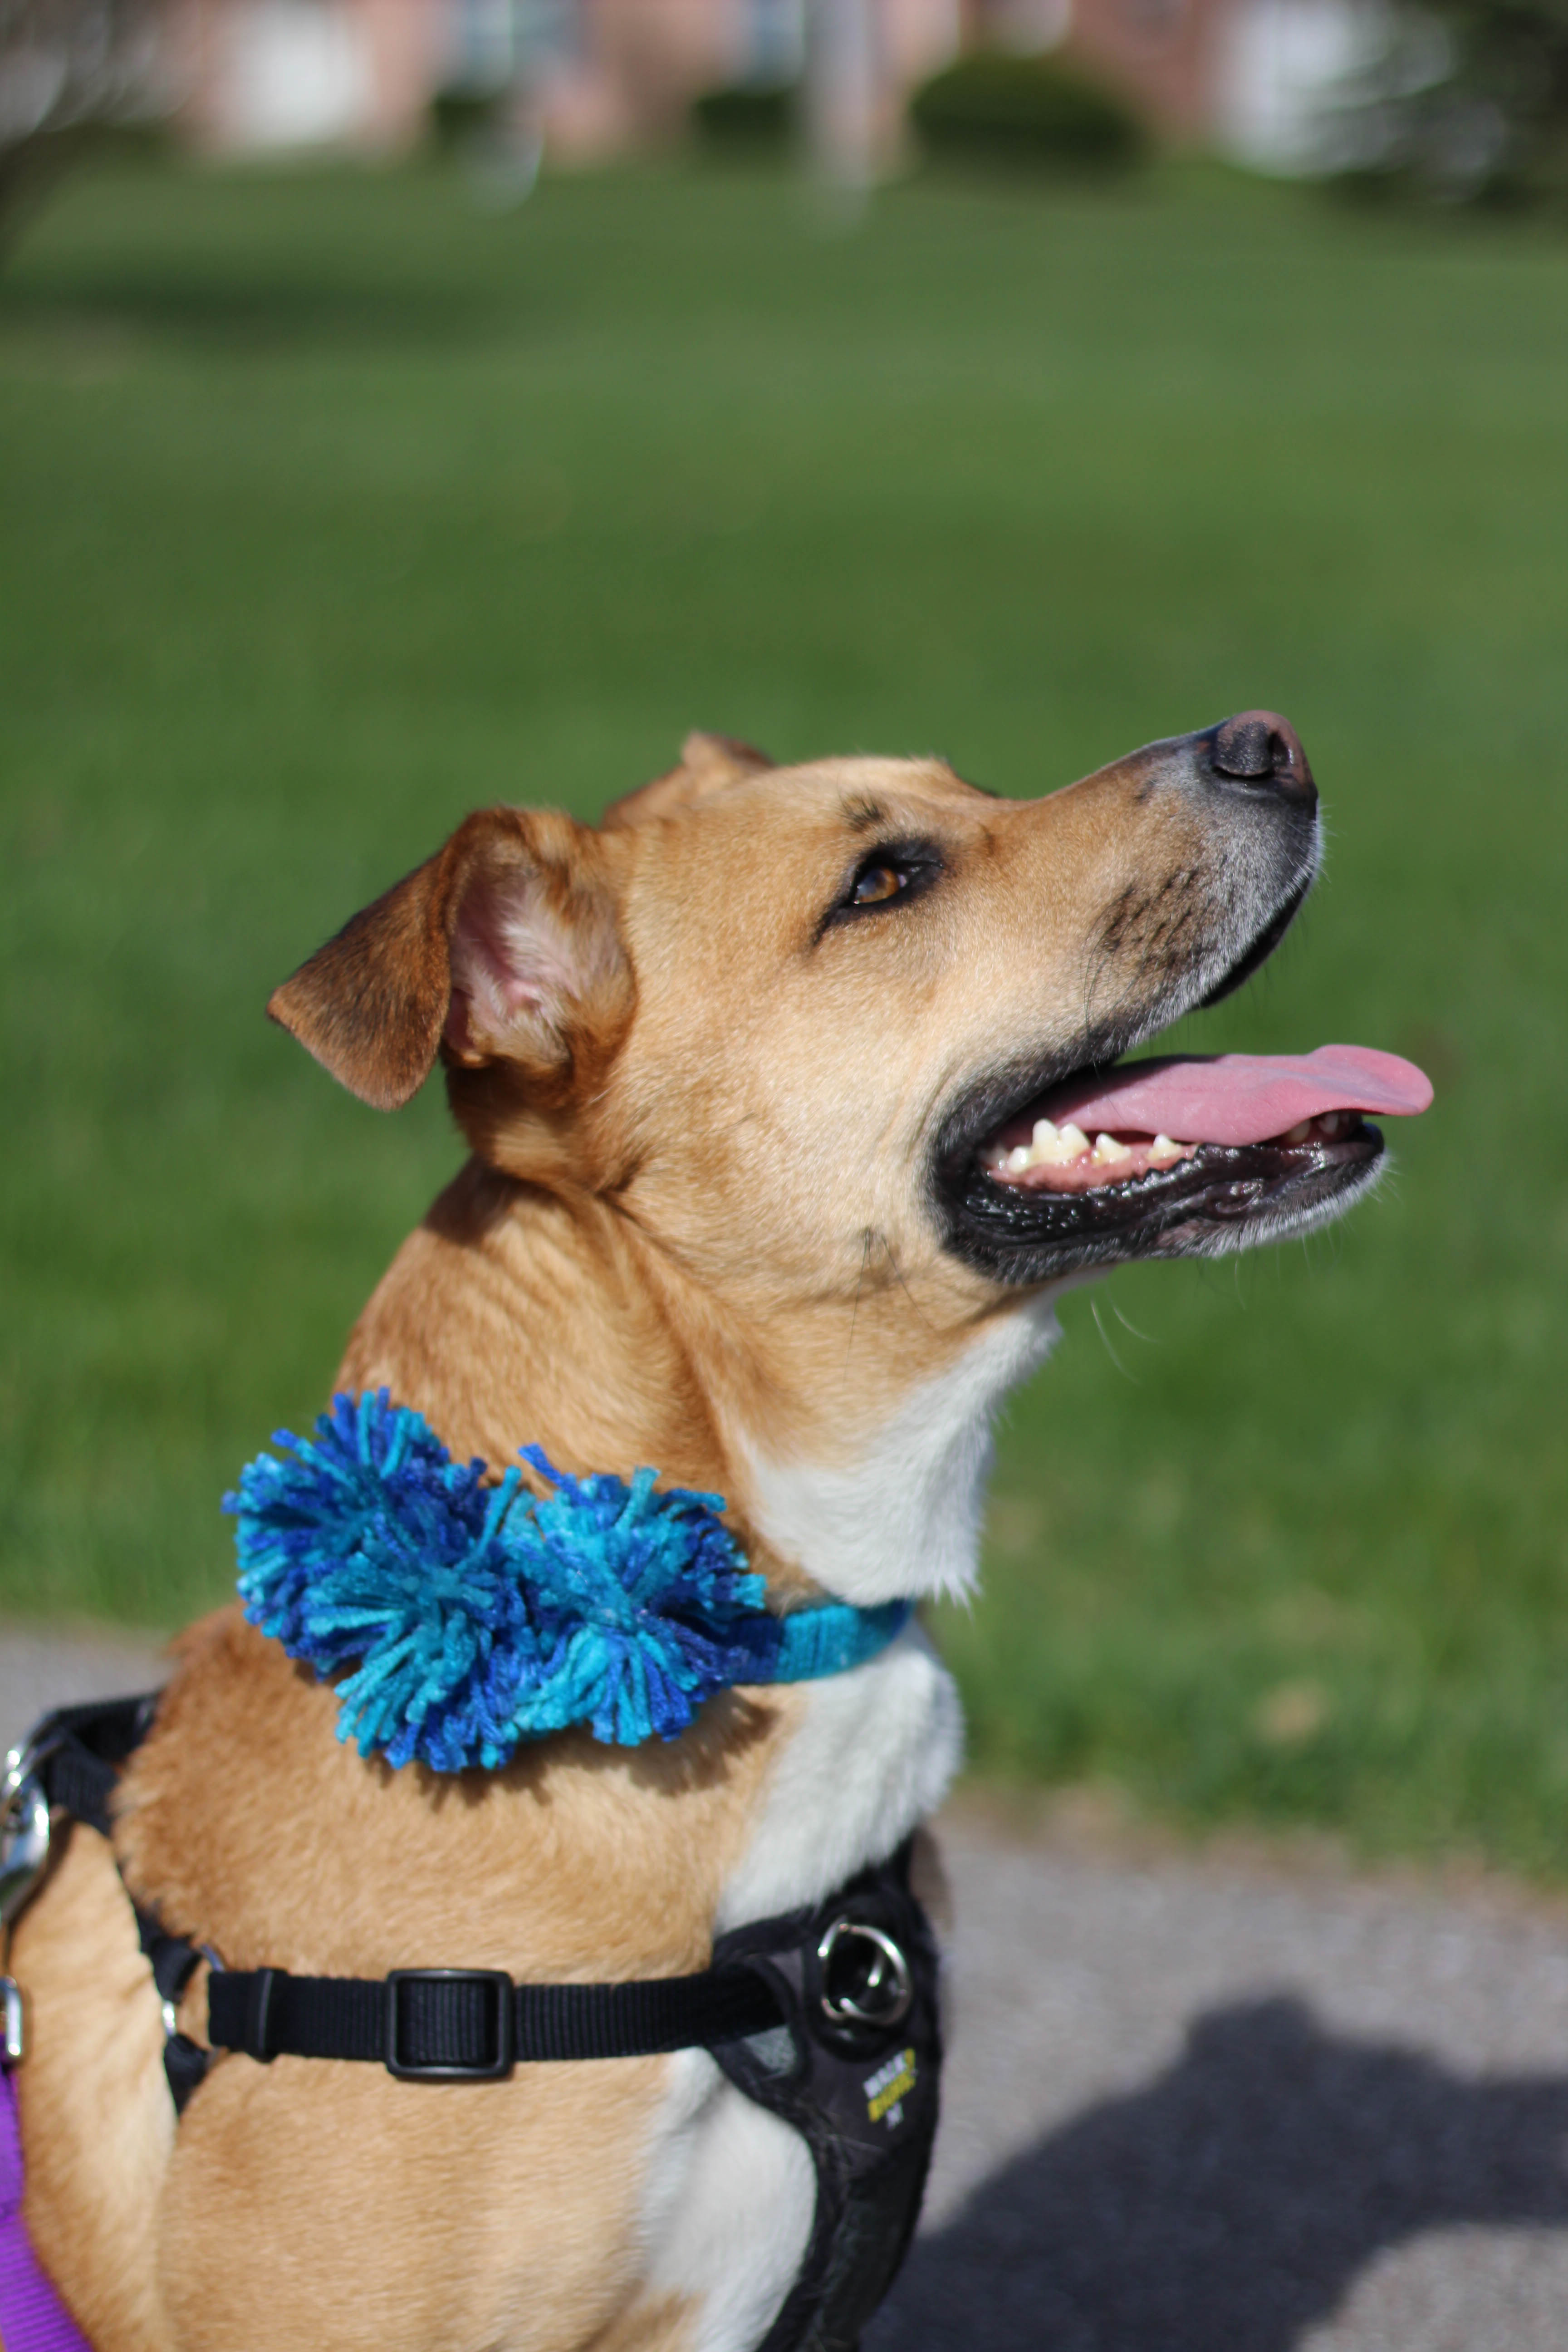
Pom-Pom Dog Collar DIY
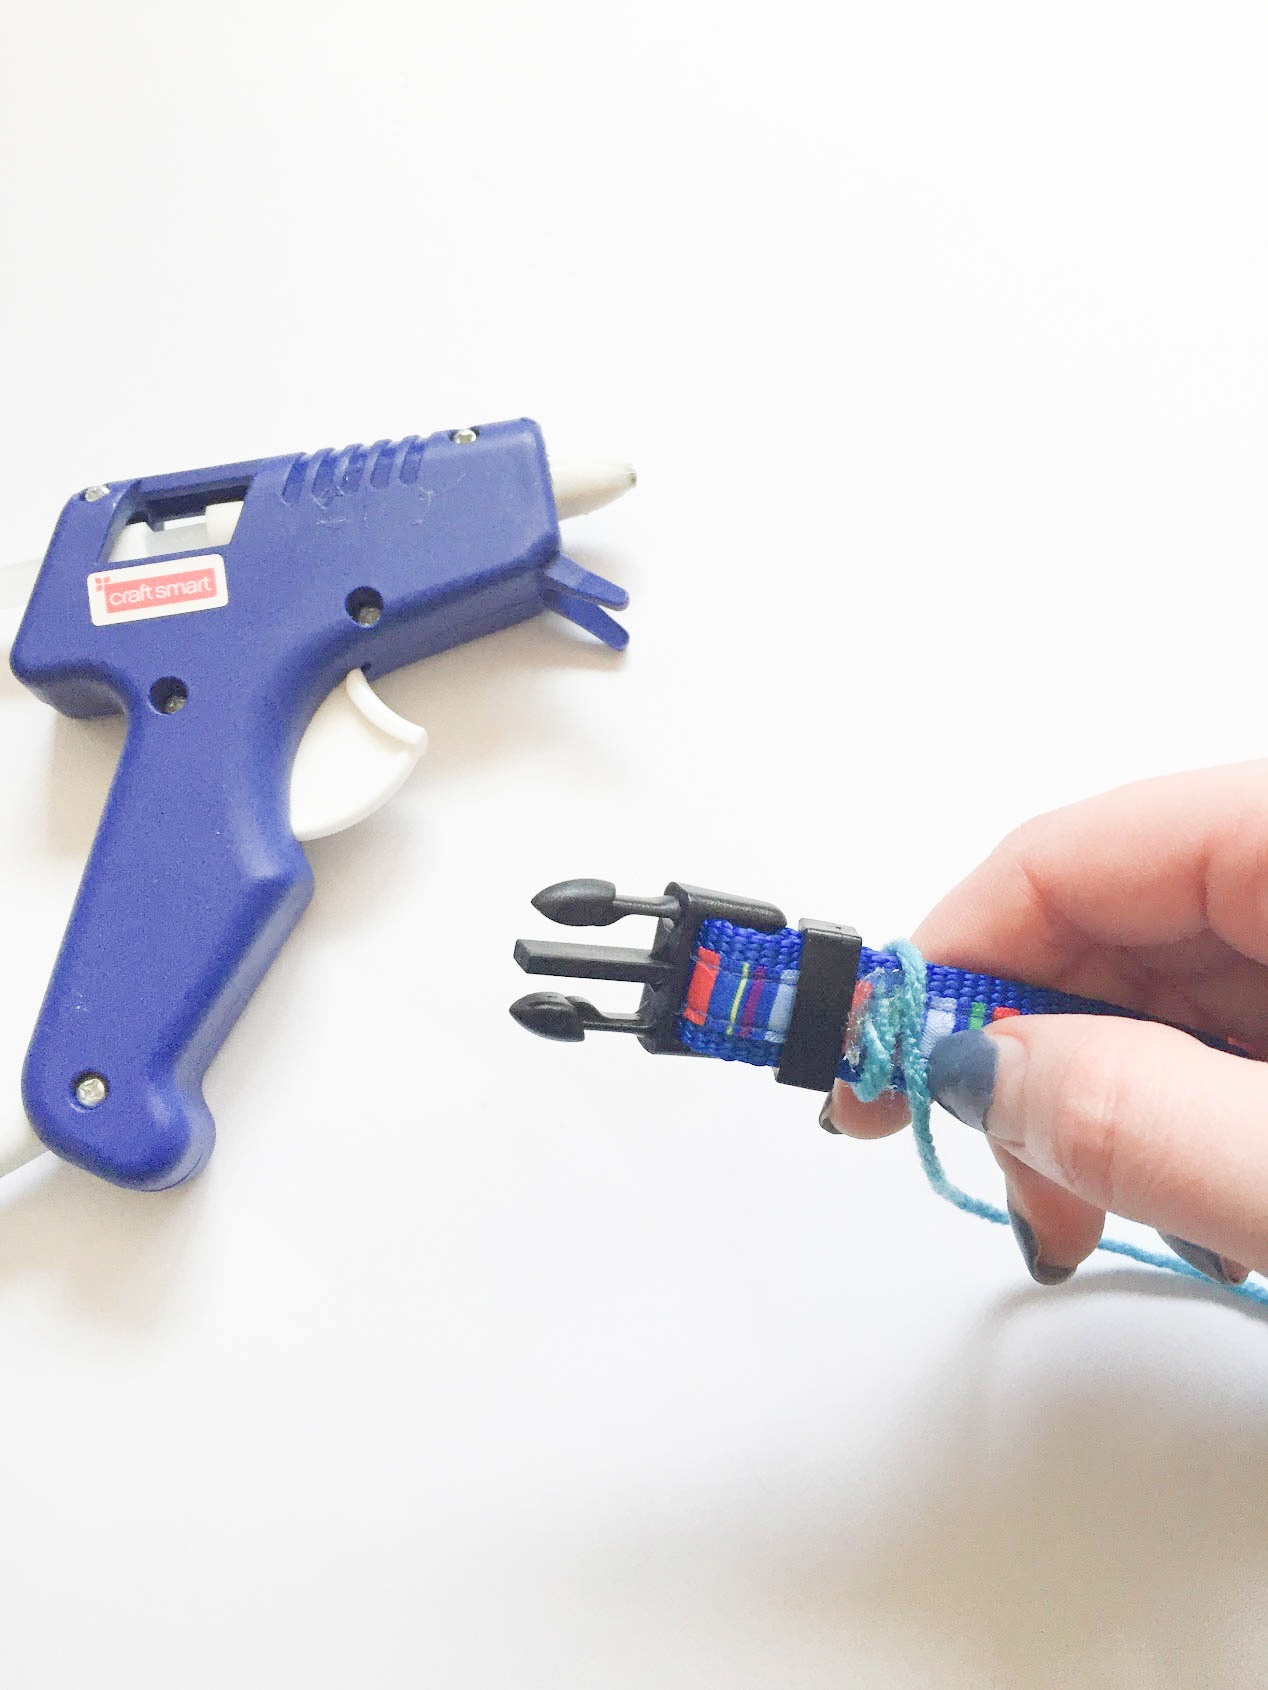
01. Find the best fit for the collar on your dog. Depending on the style of your dog collar, it may not be able to be adjusted again after gluing on the yarn
02. Apply a dab of hot glue to the back of the collar and start winding the yarn around it tightly
(I applied small dabs of hot glue to the back as I worked, to avoid having the glue harden before I got to the end. Just keep adding little dabs as needed)
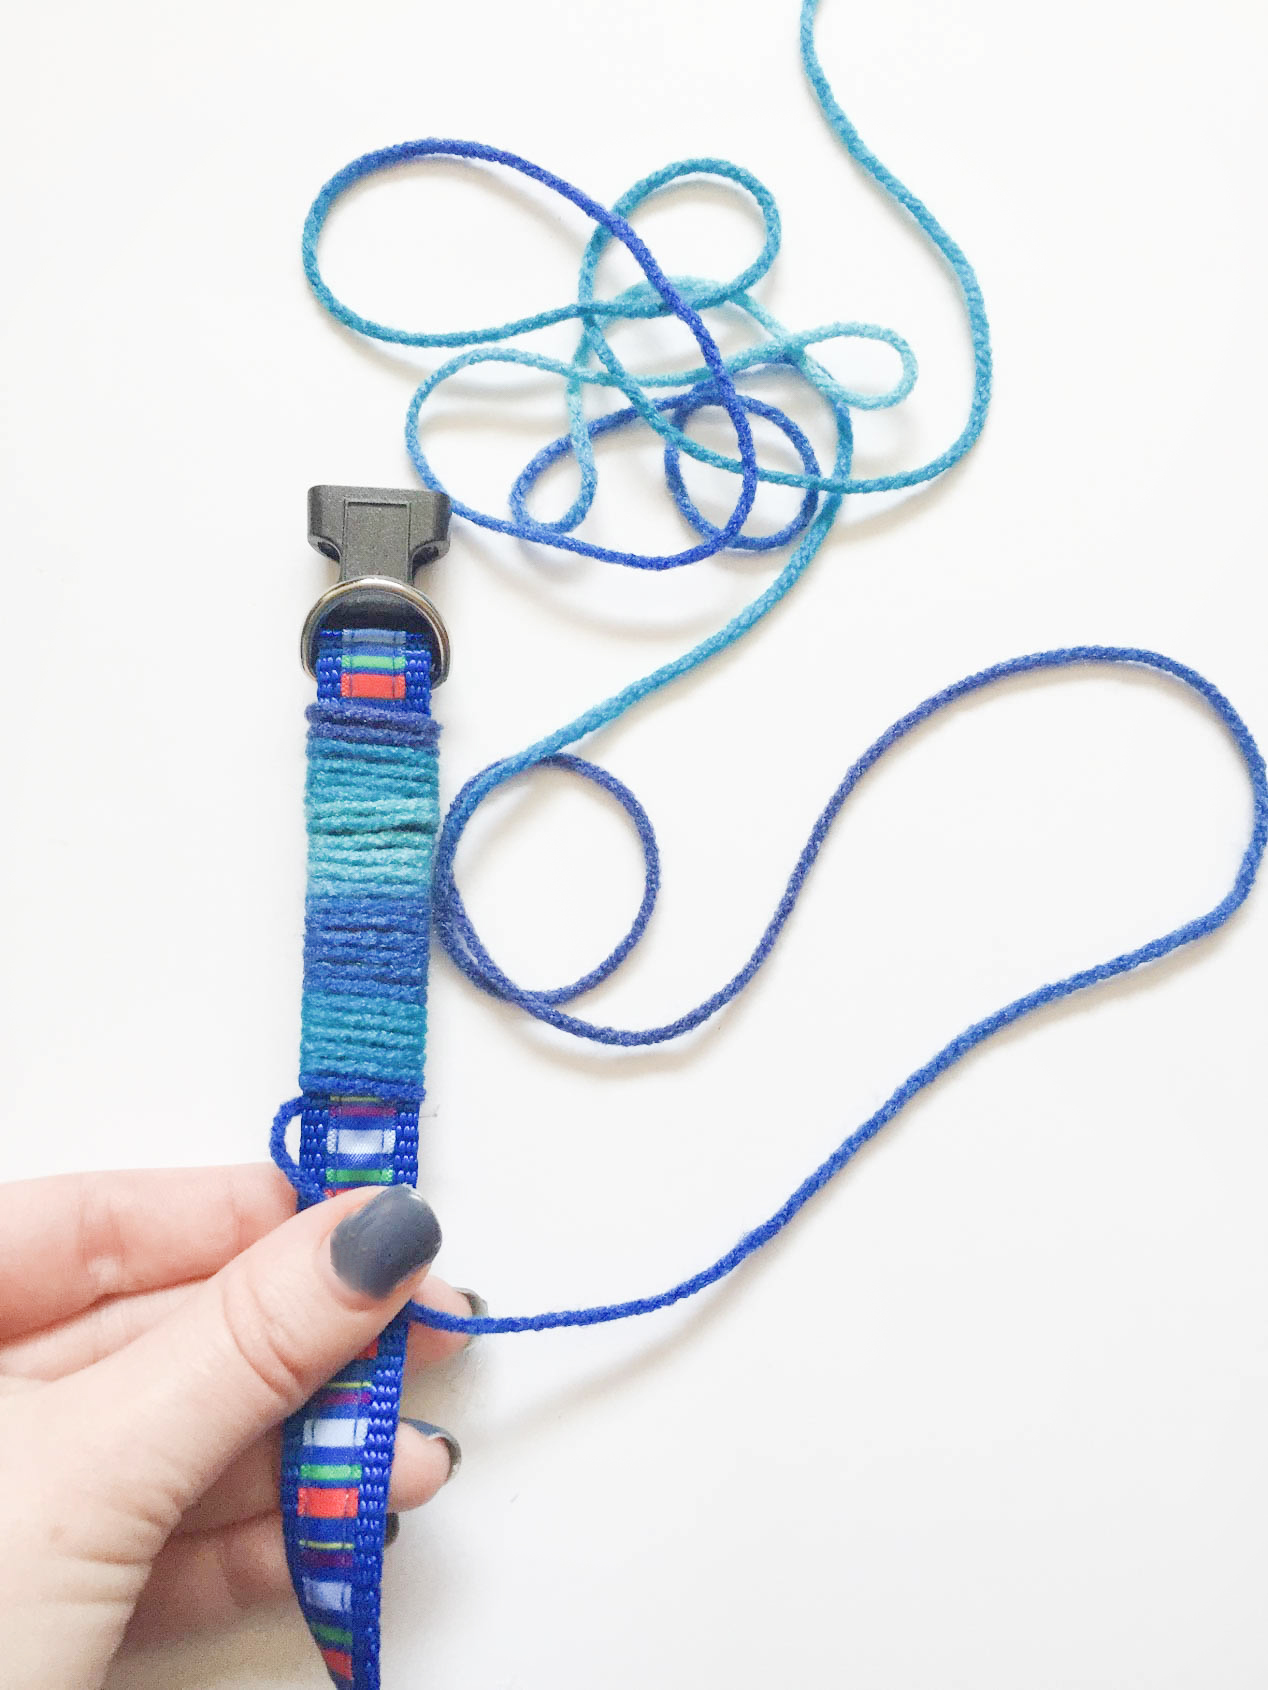
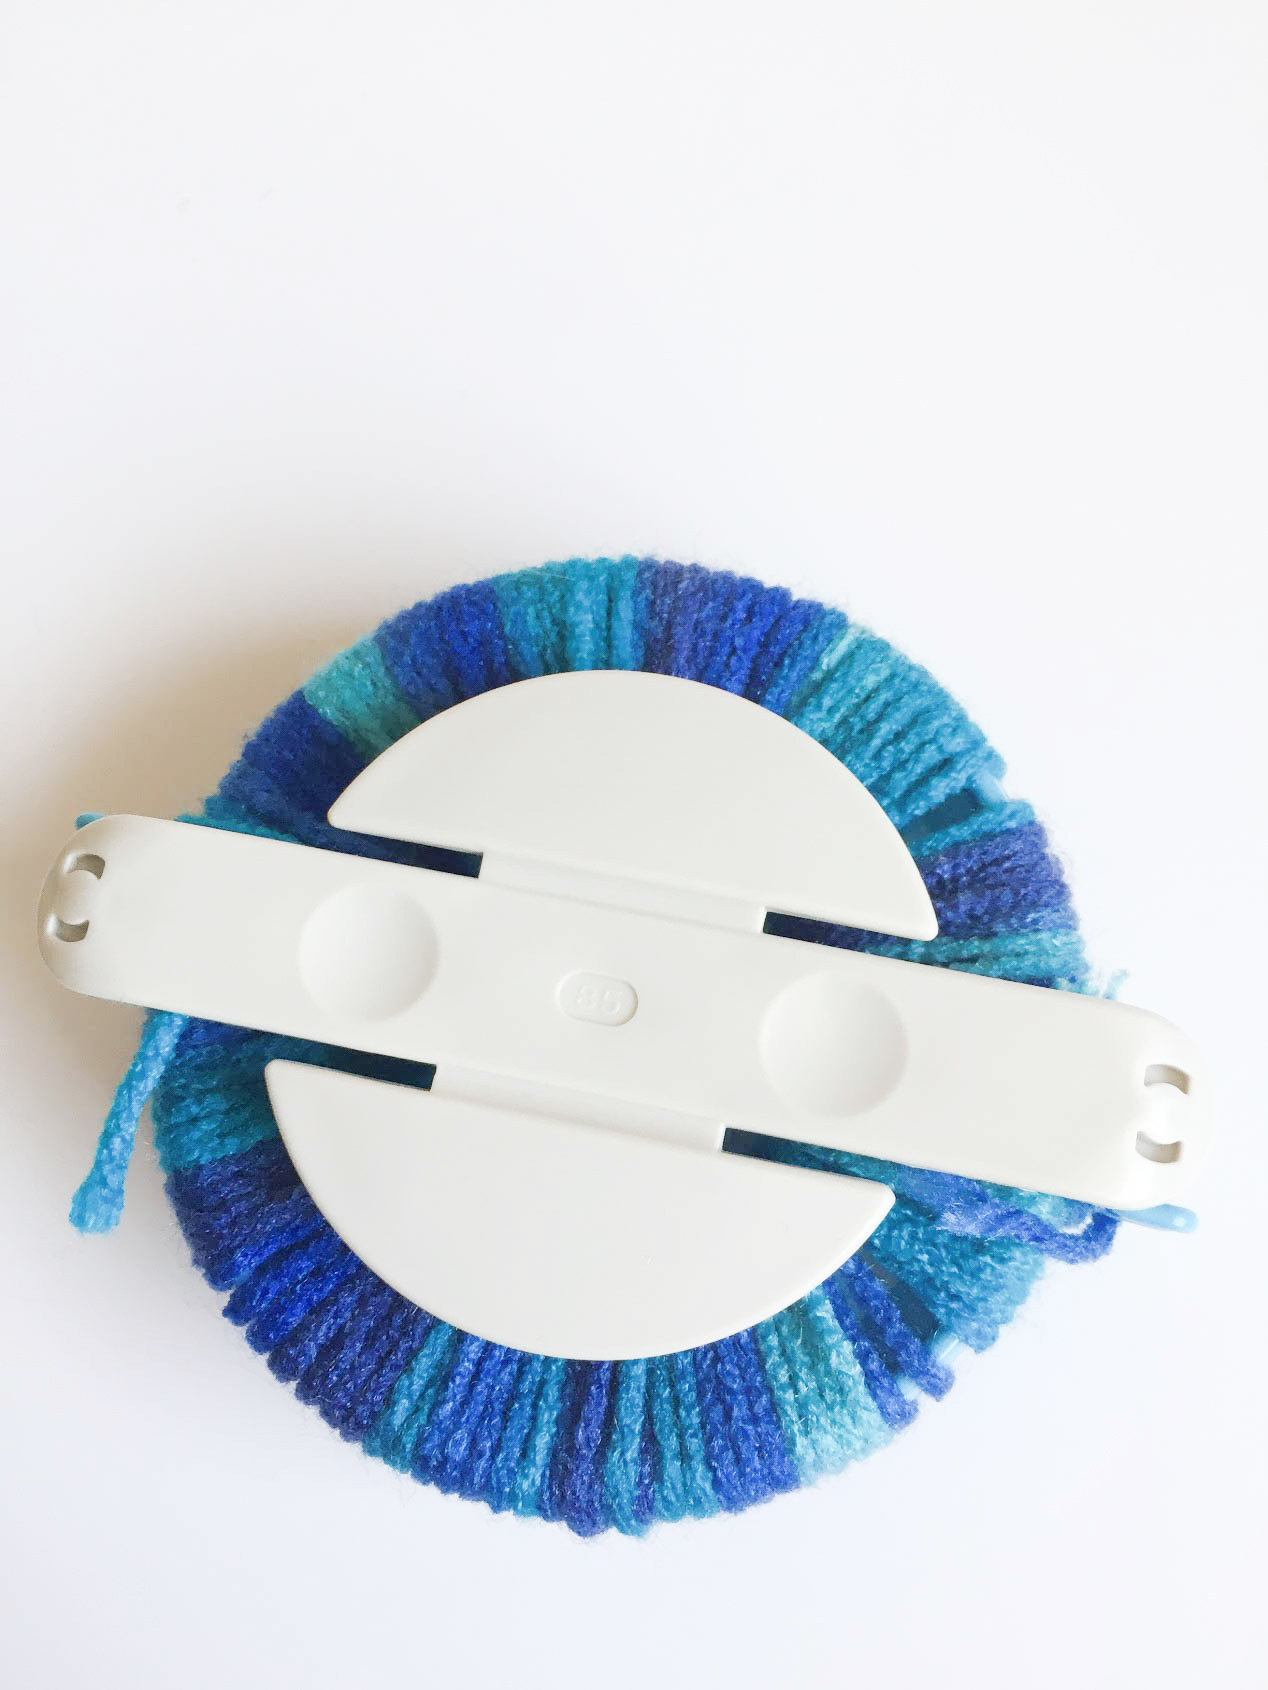
03. Once the collar is completely wrapped, start making the pom – poms by following the instructions for your pom-pom maker
(For this collar I made three pom-poms in various sizes, but you can make as many as you’d like!)
04. If your pom-poms are looking a little limp, take some of the hot glue and apply it to the center “seam”, where the yarn is tied around the middle to hold it together. Then push the sides of the pom-pom together. This not only makes the pom-pom fuller, but it also secures it
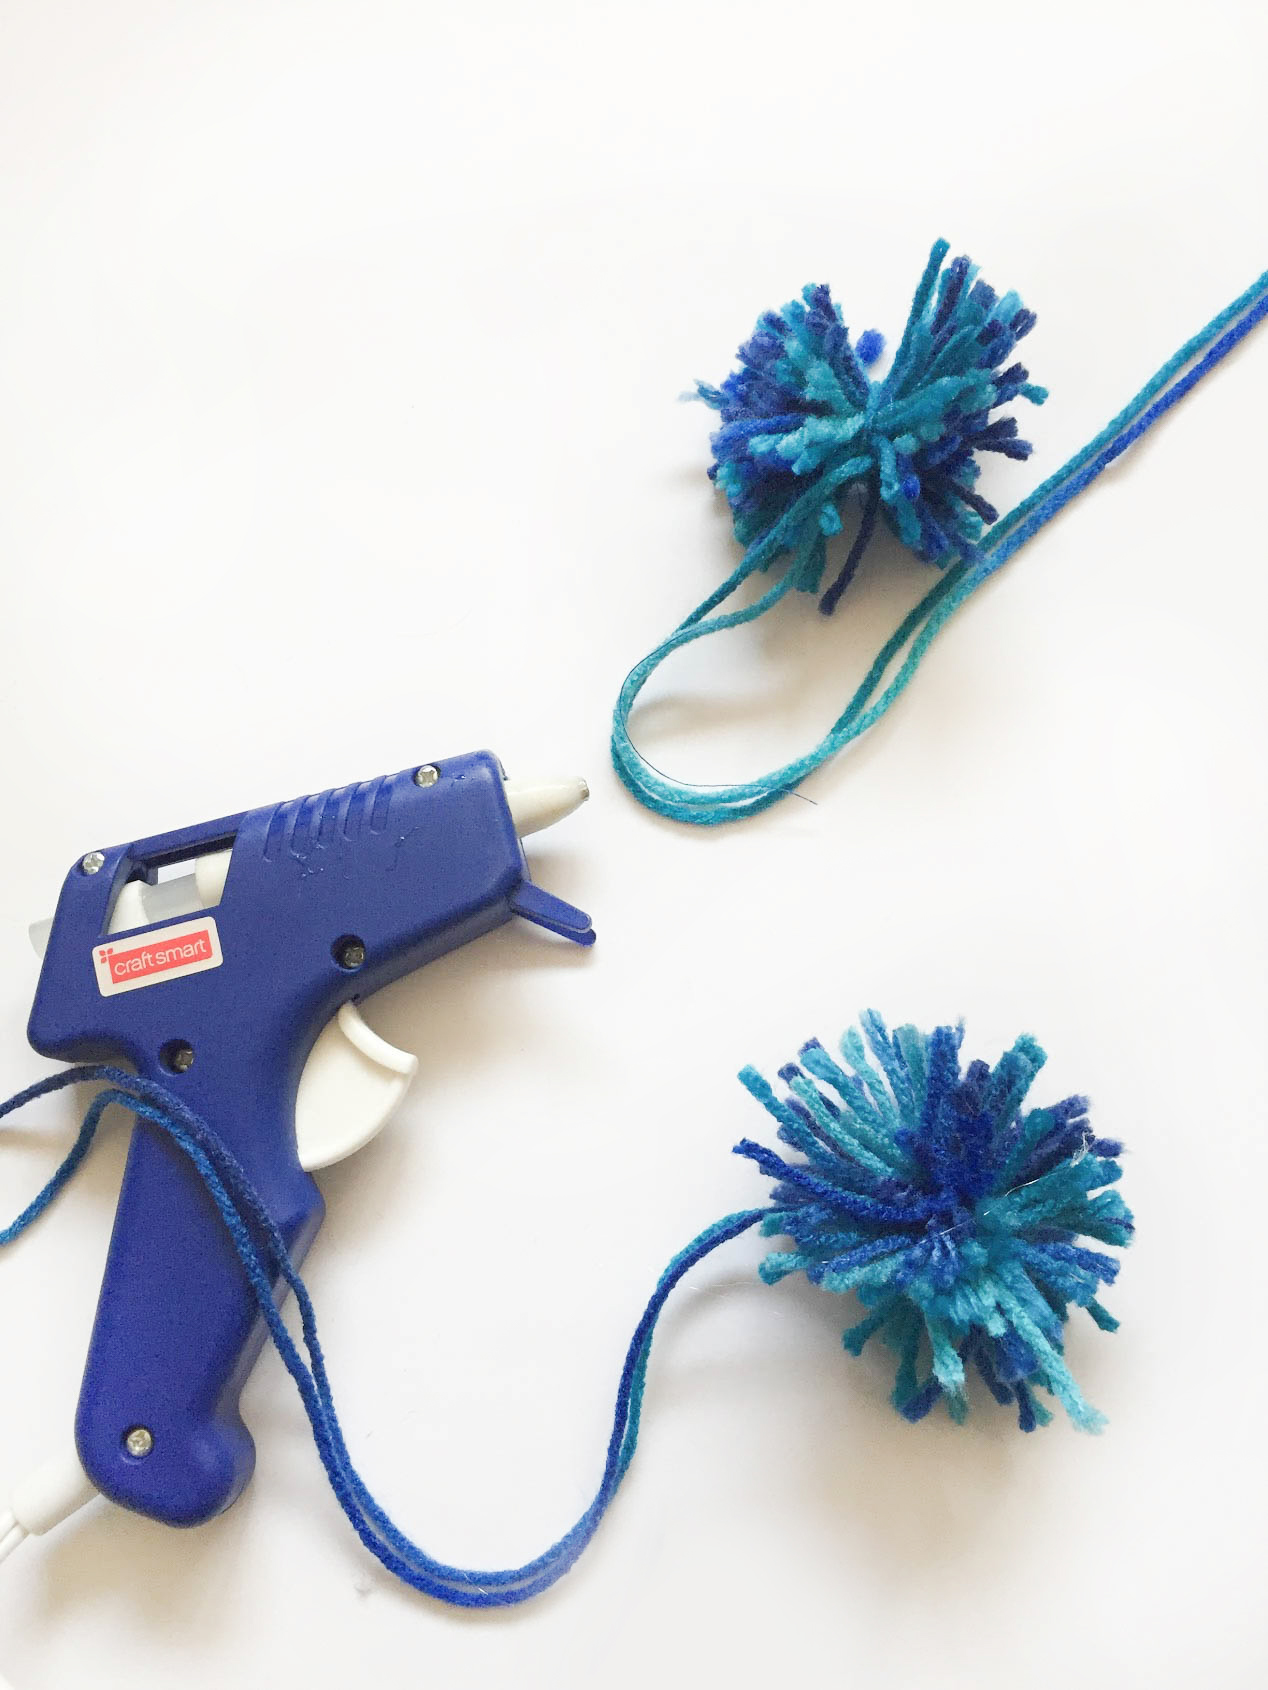
05. Add a generous dollop of hot glue to the front side of the collar, where you want to place the pom-pom and the back of the collar. After setting the pom-pom on the front, take the longer strings where it was tied, and secure it with the glue on the back
06. Repeat for the rest of the pom-poms and cut off any excess yarn from the pieces glued to the back, and trim any strings that are too long

I’d love to see your Trinkets and Love DIYs. If you’ve made your own dog collar show me on Instagram using #mytrinketsandlove. Like what you see here? Follow along on Twitter and Pinterest and don’t forget to subscribe to the newsletter for exclusive access to the latest news!