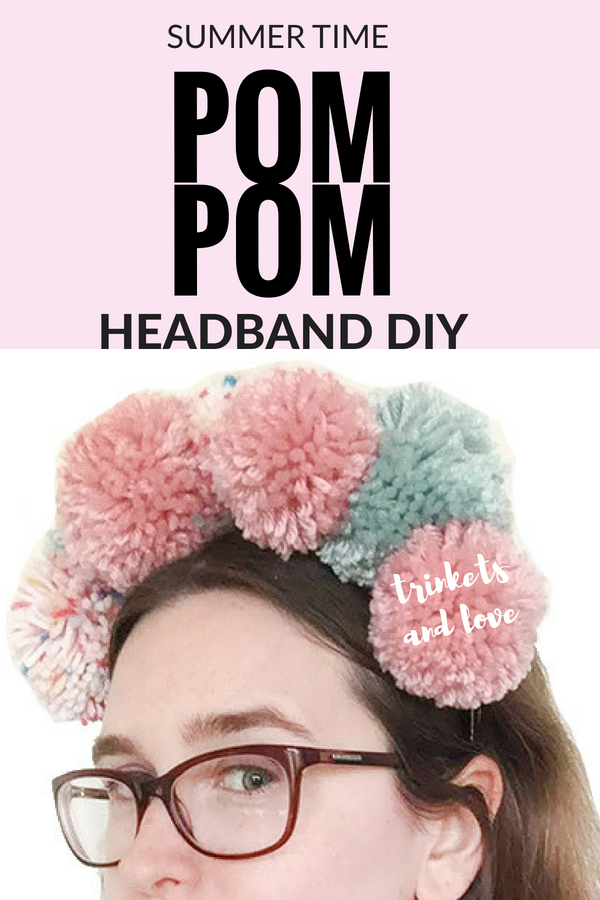
SUMMER POMPOM HEADBAND DIY
YOU GUYS! Did you know that pompom headbands are all the rage this summer? Did you know that pompom headbands are one of the simplest and one of the most fun DIYs you’ll ever make in your life??
Okay, maybe I’m exaggerating a little… BUT I can’t help it! I’m just so excited to share my summer pompom headband DIY with you all!
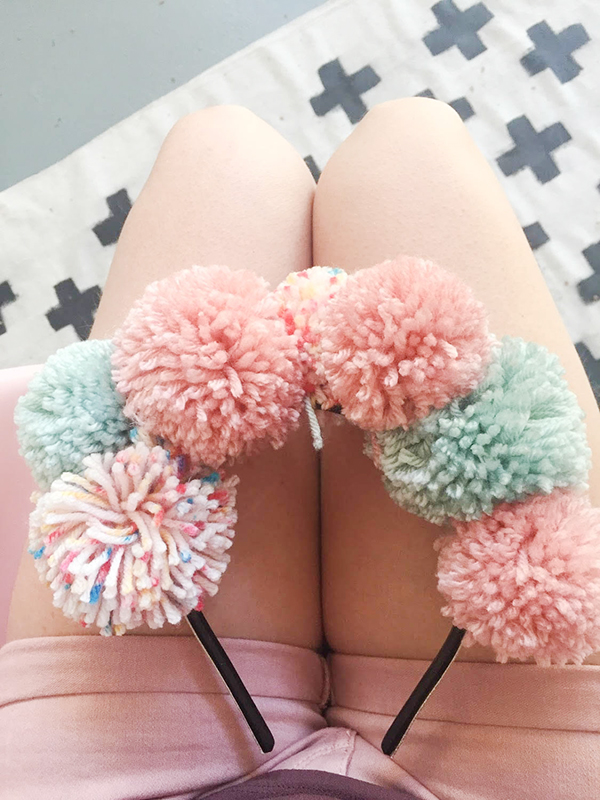
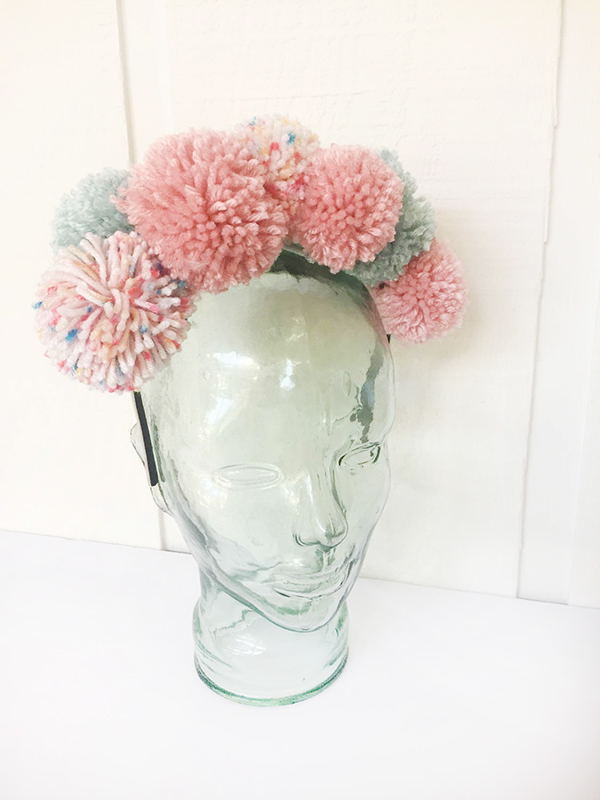
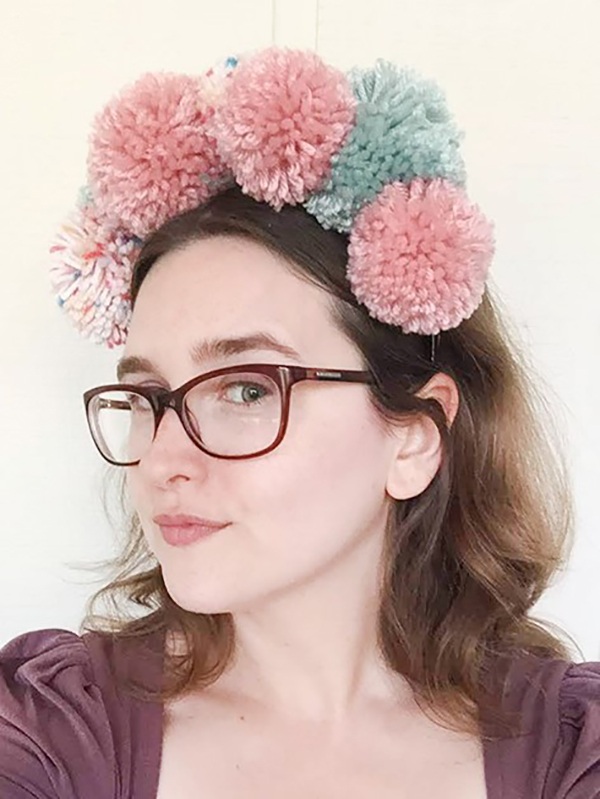
So, I admittedly am a bit obsessed with pompoms, like seriously obsessed…can’t get enough, so it was no surprise that when I first saw a pompom headband I knew that I would have to make one for myself. There are so many cute ones out there that look like mouse ears or are just plain huge pompoms for your noggin. For mine though, I was inspired by summer and by the idea of the idea of Frida Kahlo at Coachella. So, I went for floral colors with a mixture of sizes.
In this summer pompom headband DIY, I will break down how simple it really is to make this fantastic summer accessory. For extra fun, get together with your friends and make some for your whole crew. Just imagine this, you and your gal pals wearing cute summer dresses, you all have your summer pompom headbands on, and you are touring a vineyard. What a perfectly sublime day!
Supplies:
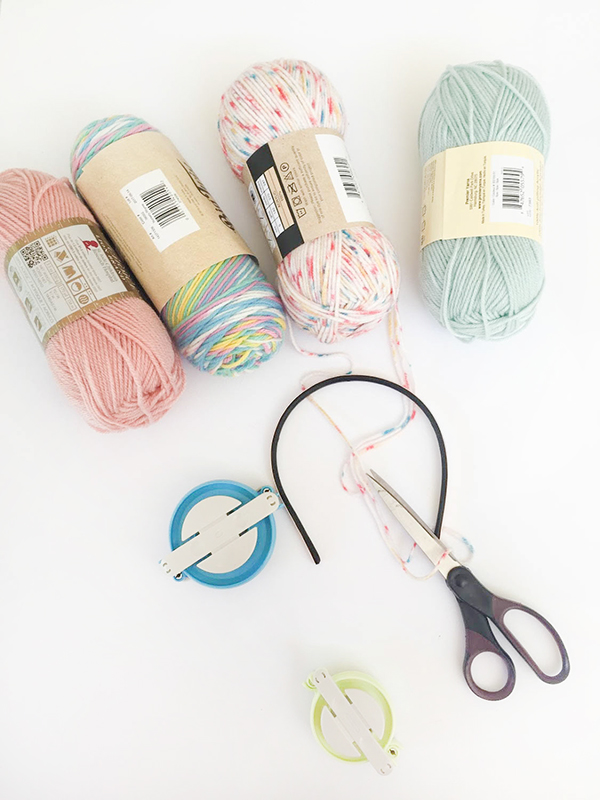
Headband
Three different colors of yarn
Pompom makers
Scissors
Summer Pompom Headband DIY
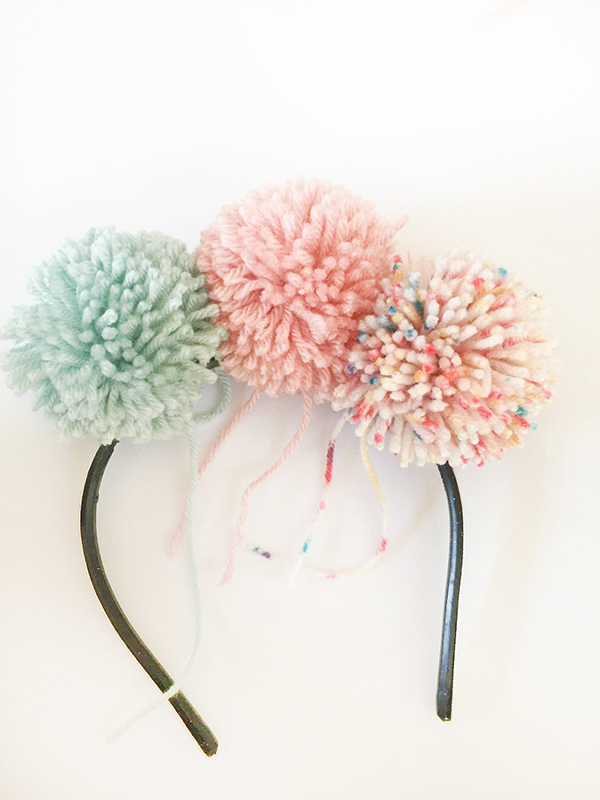
- Pick out three different colors of yarn that are complementary to each other. I love pale blue and pink together, and I also selected a multicolored yarn that had blue and pink in it
- For the headband pick a color that will either go with your hair color or goes well with the colors of your pompoms
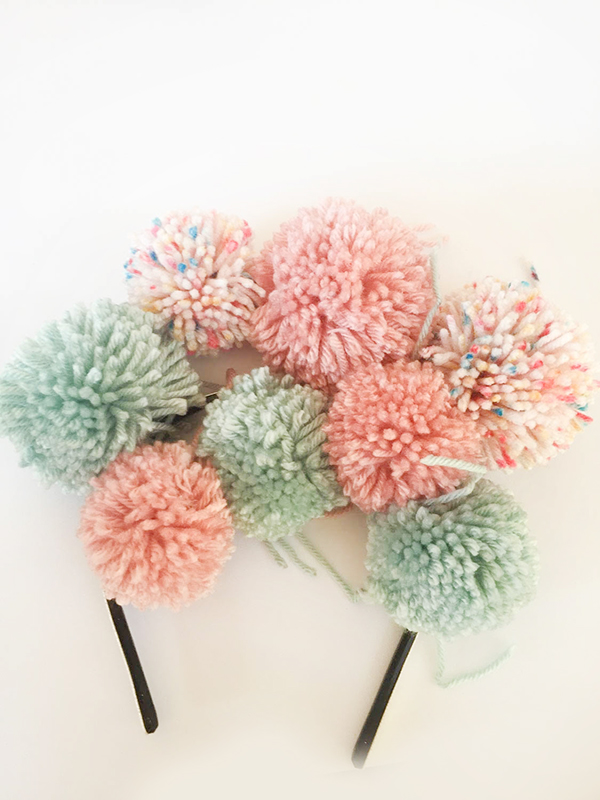
- Using the largest pompom maker you have and a smaller sized one, make a variety of sized pompoms
How to Make Pompoms:
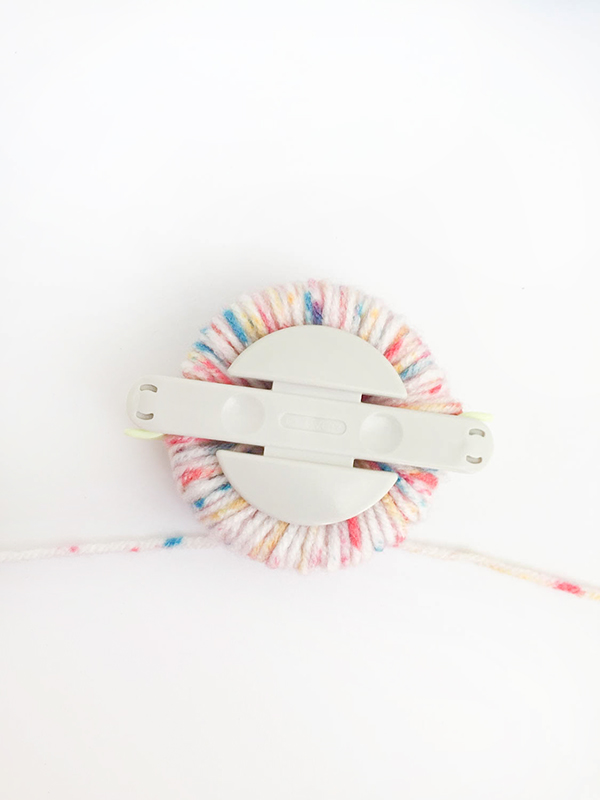
01. Open the arms to the pompom maker
02. Start wrapping the yarn around both arms on one side
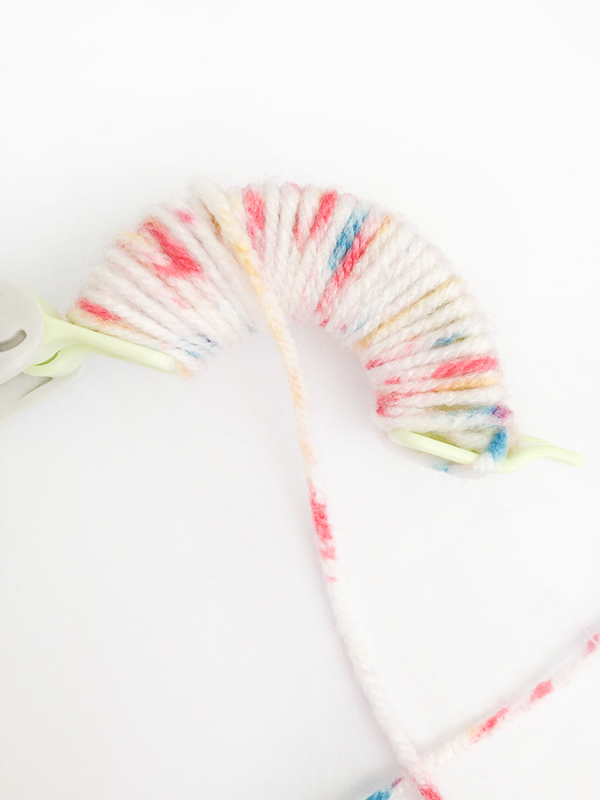
03. Fully wrap three times and close the arm of the pompom maker
04. Continue wrapping around the two arms on the other side, fully wrapping it three times
05. Snip yarn and close the pompom maker
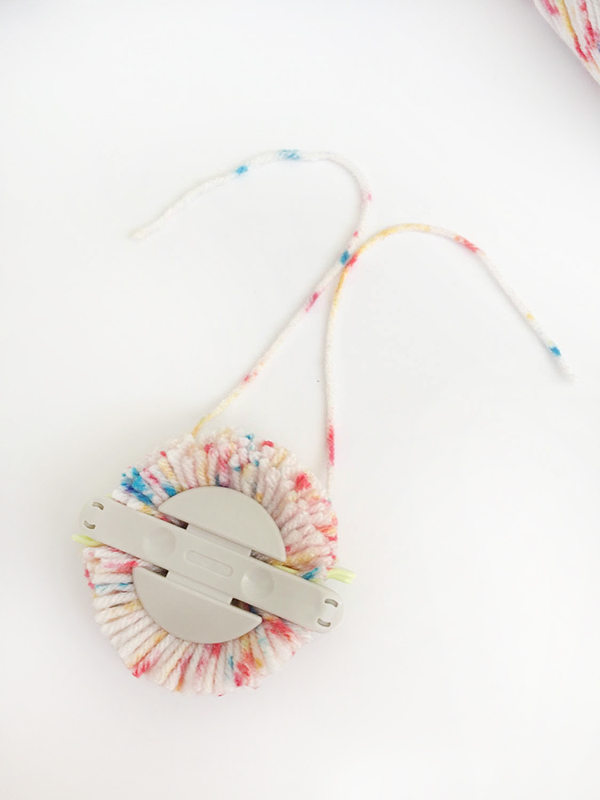
06. Cut off a short length of yarn from the skein (this will be used to tie the pompom)
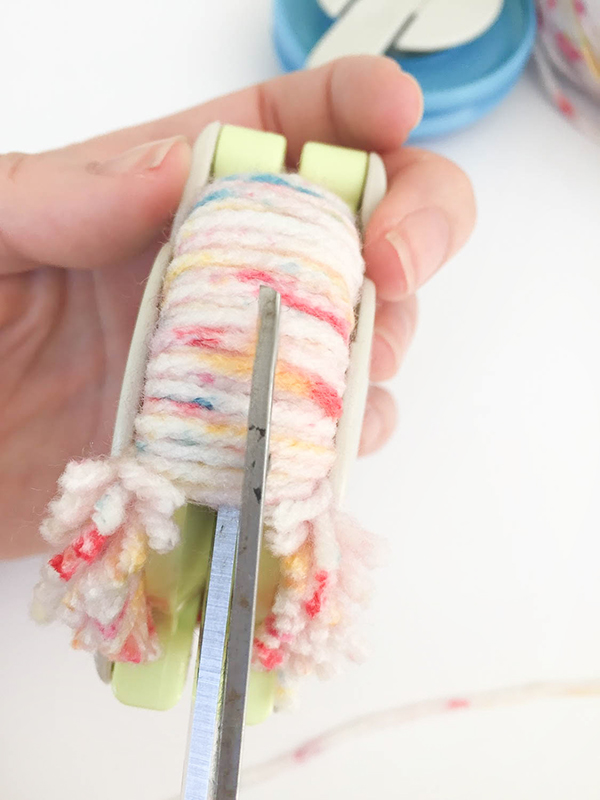
07. Holding the maker tightly, cut the yarn up the seam of the pompom maker on both sides
08. Taking the extra bit of yarn, do what I like to call a triple tie on the pompom. Pull the yarn through the seam of the maker and knot it tightly. Flip the maker over, and repeat on the other side, and flip it one more time and tie it again

09. Pull maker apart and remove pompom
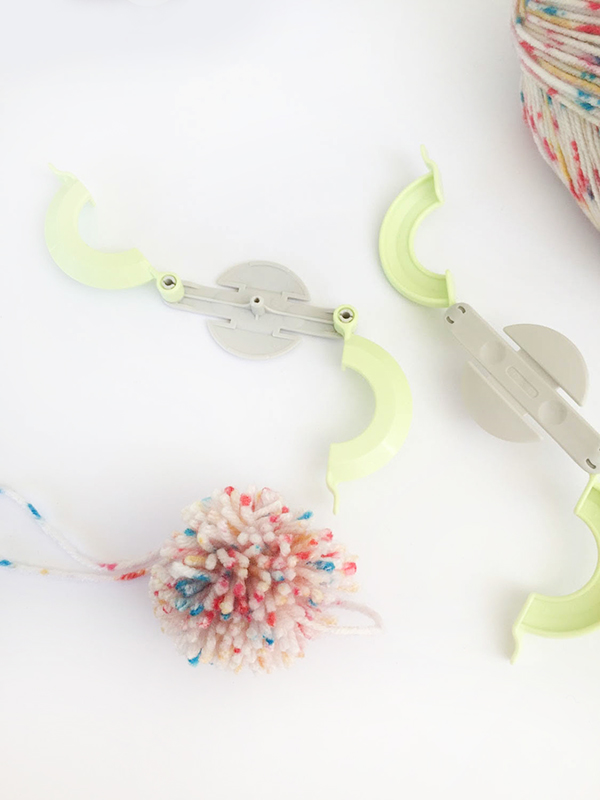
10. Fluff the pompom out by giving it a bit of a shake. This will help you see what needs to be trimmed down
11. Trim pompom down as needed, but keep the two long strings intact
12. After making all the pompoms, lay them out to decide how you want to arrange them
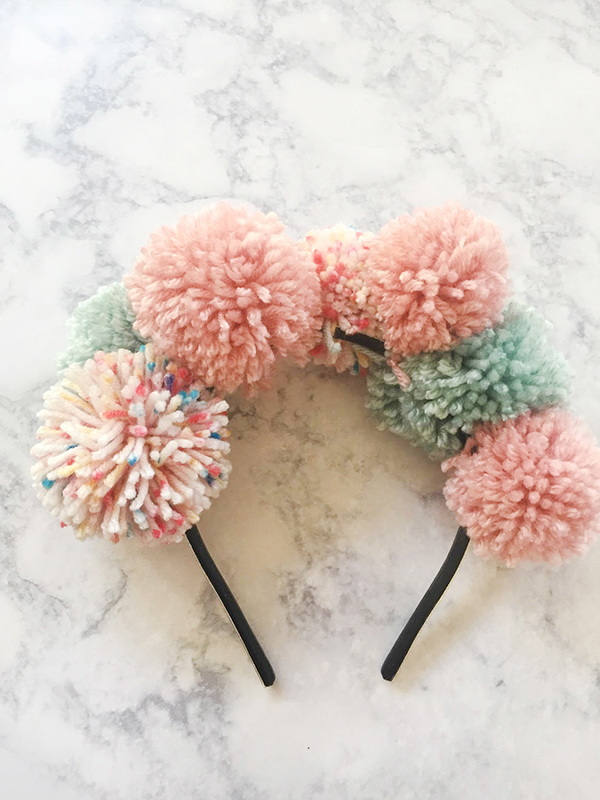
13. Once you find the perfect arrangement, begin tying them to the underside of the headband
Snip off any extra yarn and enjoy!
I’d love to see your Trinkets and Love DIYs. If you’ve made your own summer pompom headband, show me on Instagram using #mytrinketsandlove. Like what you see here? Follow along on Twitter and Pinterest and don’t forget to subscribe to the newsletter for exclusive access to the latest news!


8 Comments
Olivia
July 12, 2018 at 9:48 pm
This is adorable! I love the colours that you chose for this DIY! 😀
Deanna
July 17, 2018 at 3:33 pm
Thanks so much, Olivia!
Deeksha
July 12, 2018 at 9:59 pm
Beautiful headband!!!!
Deanna
July 17, 2018 at 3:33 pm
Thank you and so are you!
Elly’s Diary
July 13, 2018 at 10:25 am
Loved it! <3 Brought me back to my childhood! <3 I will give it a try! 🙂 xxx
Deanna
July 17, 2018 at 3:32 pm
So glad you enjoyed it! There is something about this headband that is very nostalgic!
Paige Harker
July 13, 2018 at 11:05 am
OMG how cute is this!
Not sure when, but, I’ll def be making myself one!!
Thanks for sharing xx!
https://www.thatblondebikinigirl.com/blog/guide-to-packing-like-a-pro
Deanna
July 17, 2018 at 3:31 pm
I hope you do, Paige! Be sure to let me know what colors you pick!
Comments are closed.