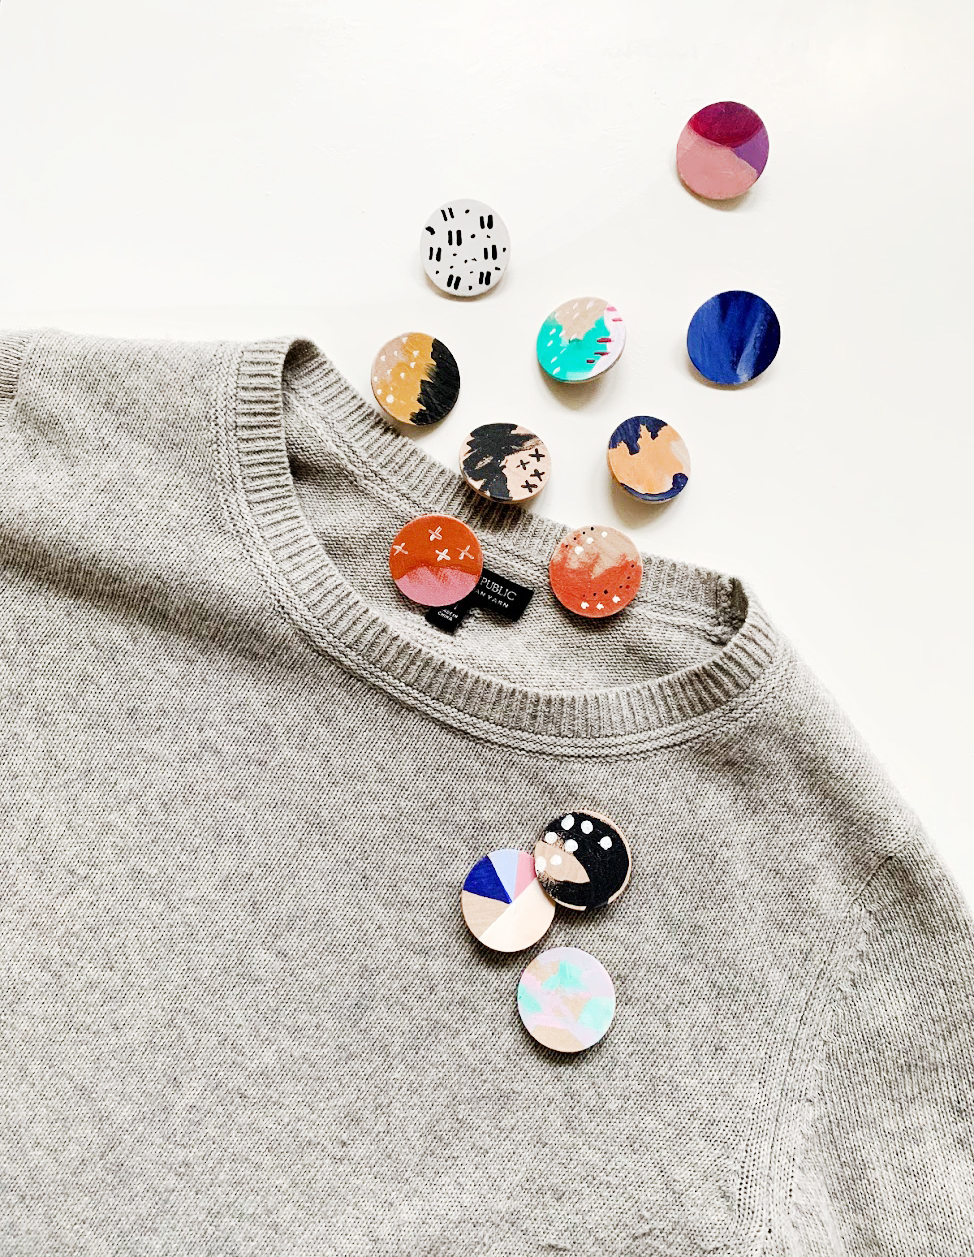
Make Your Own Colorful Wooden Pins
Colorful Wooden Pins —No matter what time of year it is, you can pretty much bet that I am looking for a creative way to spruce up an outfit. This winter, I found a wonderful way to perk up any jacket or scarf, with these colorful wooden pins..
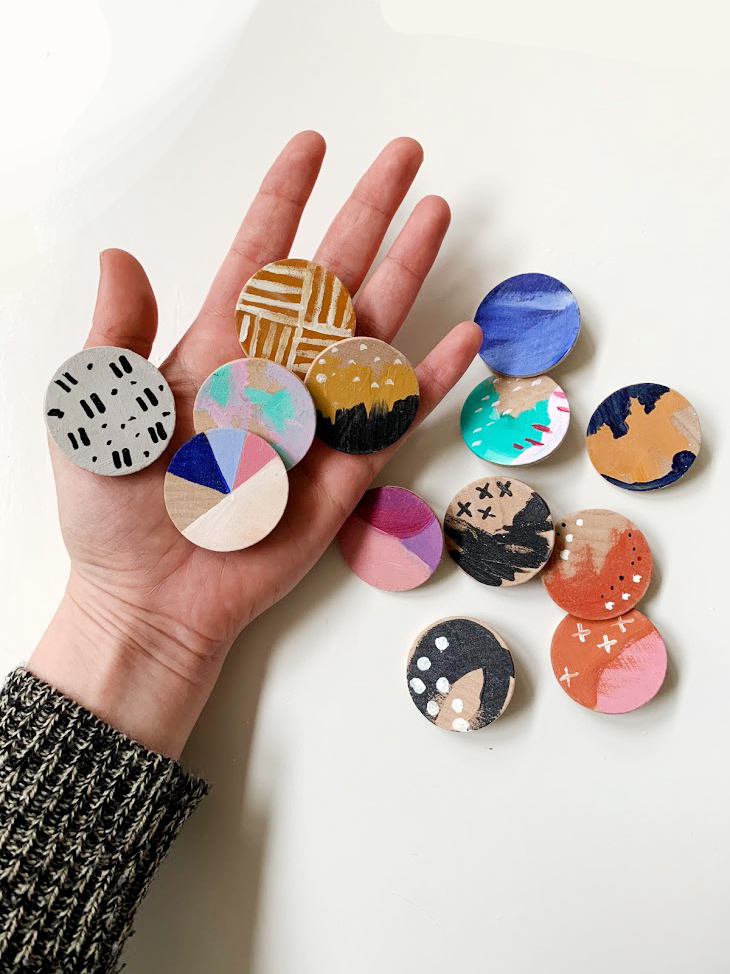
While a peacoat or decorative scarf makes quite the statement of their own, they often scream for a little extra pop of color!
In this case, that comes in the form of these hand-painted circular wooden pins.
Now that Christmas is over, these pins reflect the beautiful, and often moody, quality of winter, and are little beacons of color in this dark season! These pins are sure to get you a ton of compliments, and when they do, you’ll be able to proudly say that you made them.
Supplies:
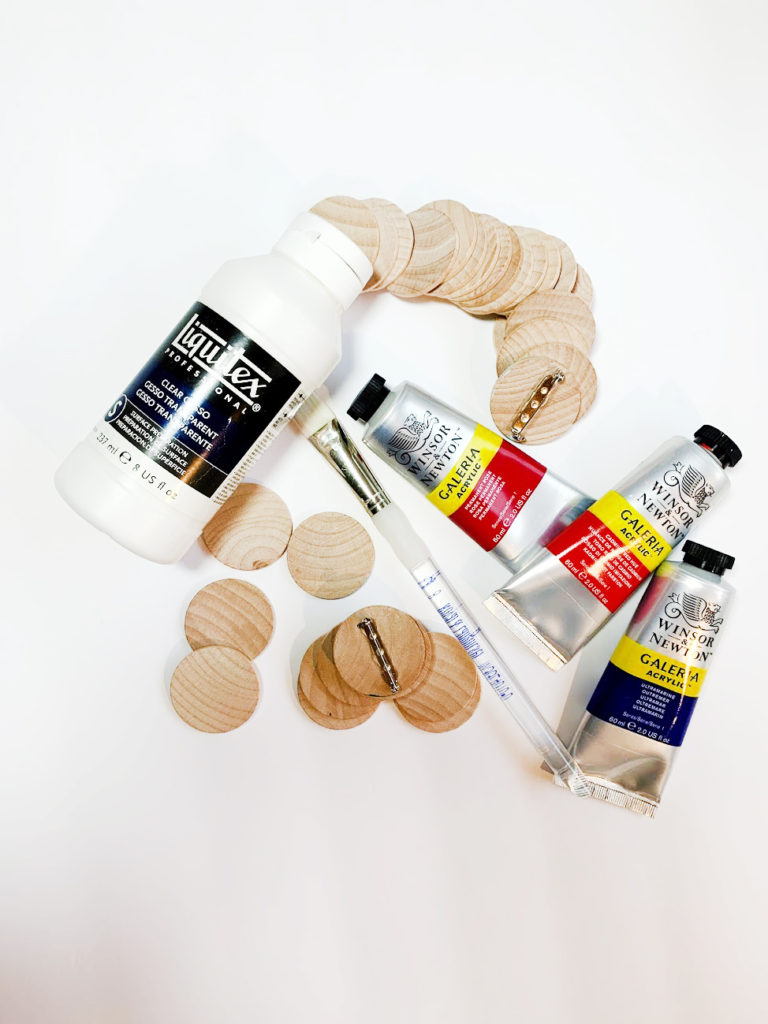
How to make colorful wooden pins:
1. With a paintbrush, apply a coat of clear gesso to the side of the wooden disc that you will be painting and let dry
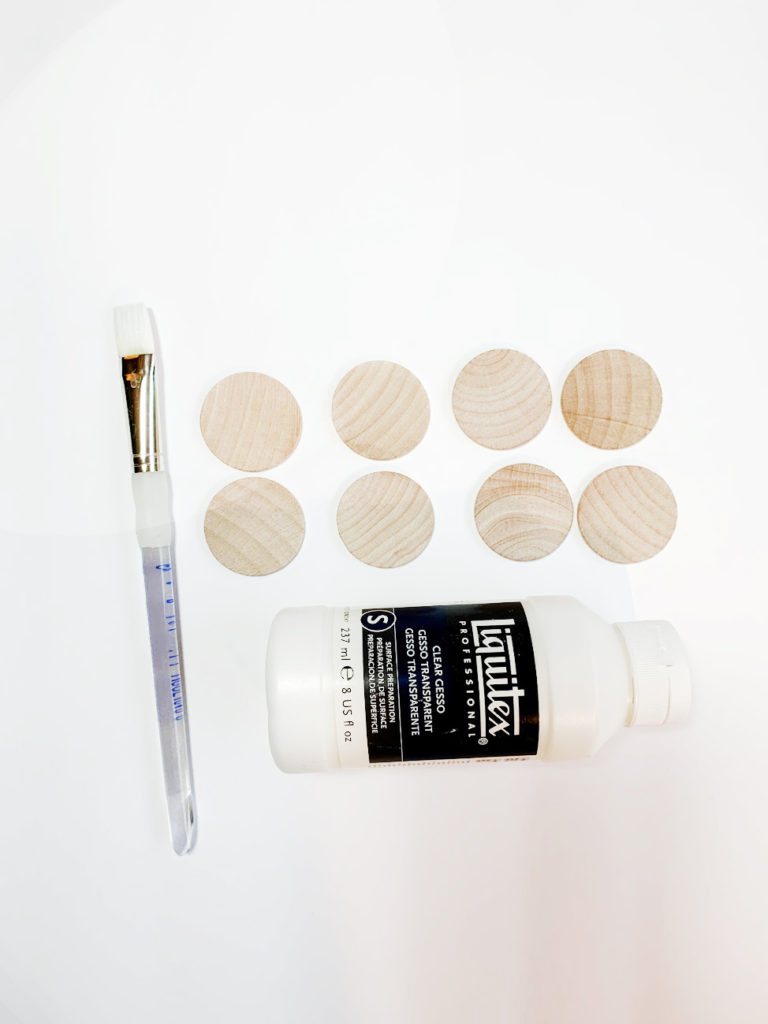
2. While the gesso dries, pick your color pallet and mix your paints
3. Now that you have everything set up, it is time to paint! This is all up to you, if you want to do abstract designs, geometric shapes, dots, dashes, faces….really whatever you want!
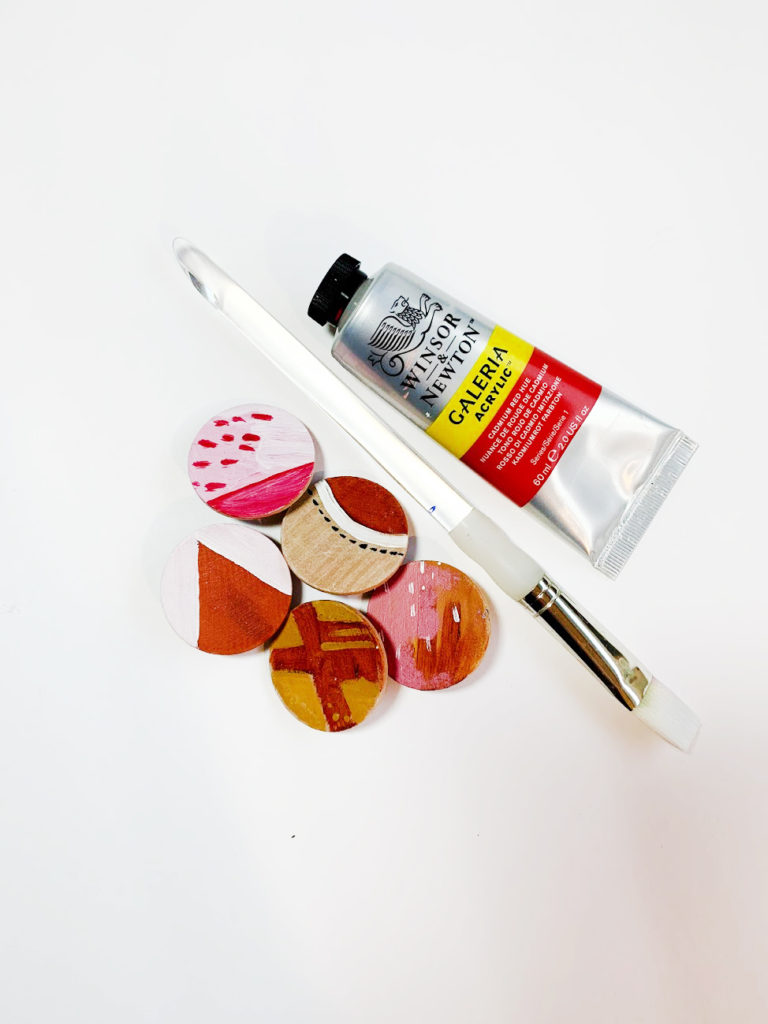
Tips: Use painter’s tape to get clean lines
Markers and pencil can be applied over acrylic paint
If you don’t like your design, you can always paint over it to start again!
4. Let the paint dry, and then apply another coat of gesso
5. Once you are sure EVERYTHING is dry, flip the pin over so the back is facing up
6. Take your hot glue gun and add a generous amount to your pin back and firmly press it onto the back of the pin before the glue hardens
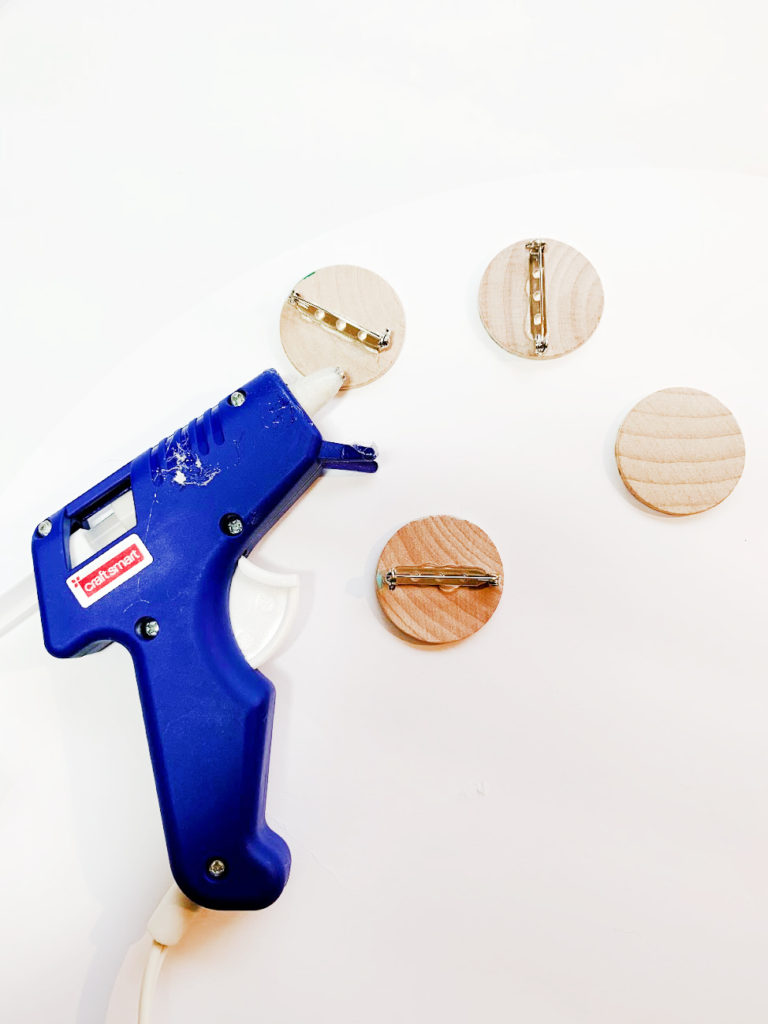
7. Once the glue is set you can wear it around!
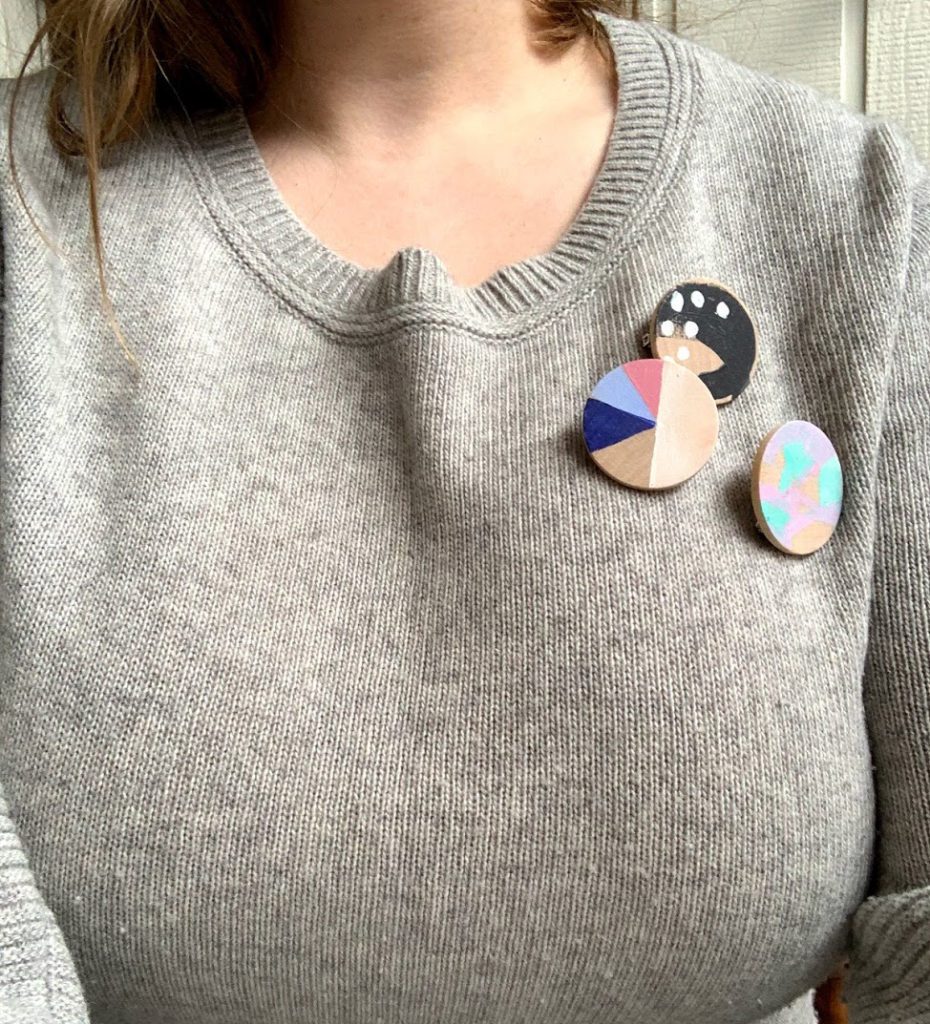


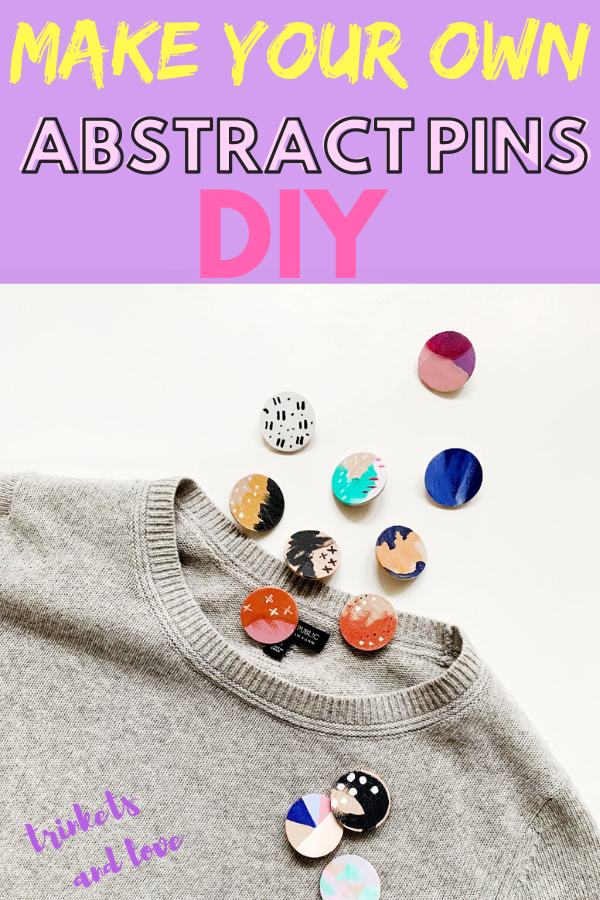
Don’t want to make your own, or do you want one of the pins you see in the pictures? These pins are on sale now in my store!
If you liked this DIY, here are some other posts you’re sure to love:


