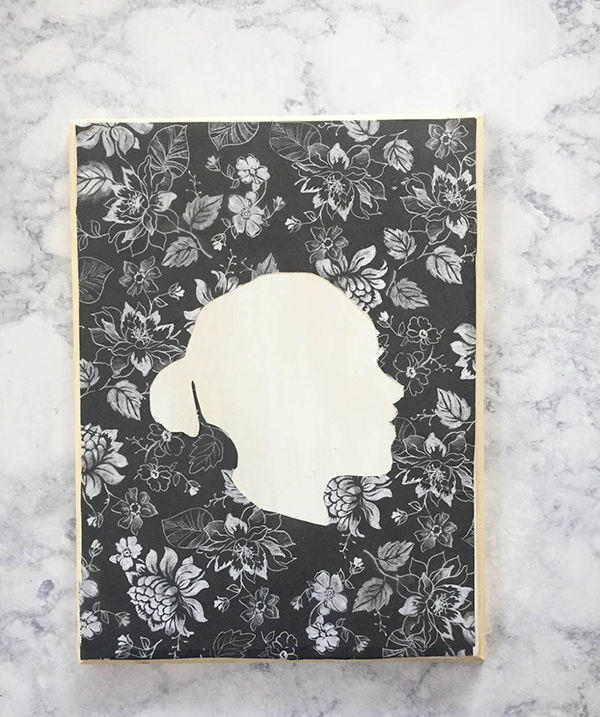
FLORAL SILHOUETTE PORTRAIT
There is something magical about silhouette portraits, wouldn’t you agree? They are so classic, and a great way to capture a moment in time in a whimsical way that a photograph can’t. It used to be that a person had to sit very still to have their silhouette portrait done, but with modern technology, the process is easy peasy!
I first learned about silhouette portraits during my first trip to Disney World. While walking around Magic Kingdom, my boyfriend and I came across a cart with an artist who created classic silhouette portraits. I instantly knew we had to have them done, and we both sat for our own. It became my favorite souvenir from our trip, and it is something I plan on doing for my future children!
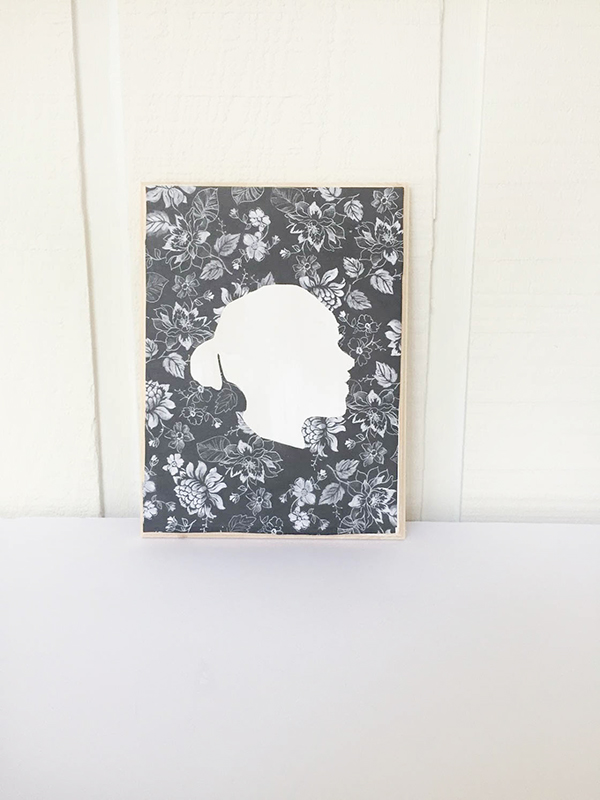
For my silhouette portrait tutorial, I am doing a twist on the classic version. Typically the subject of the portrait is cut out from black paper. With my silhouette portrait tutorial, I am doing the reverse, cutting out the subject from decorative paper, and mounting that to a board. I used floral scrapbook paper, for this tutorial, but feel free to find something that feels right for your subject. Do one for yourself and your loved ones!
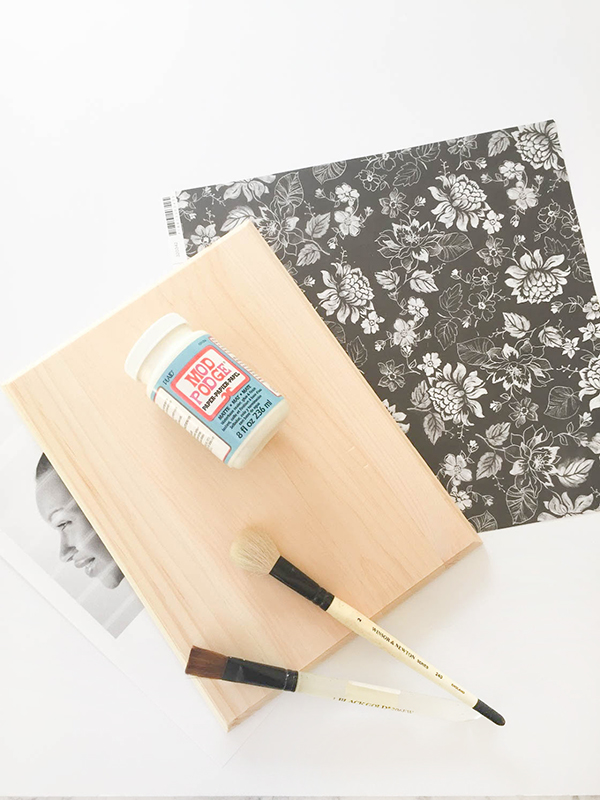
Supplies
floral scrapbook paper (I purchased mine at JoAnn Fabric)
Paintbrush or craft sponge
picture print out
scissors
Floral Silhouette Portrait
01. Measure the surface of your board, and cut your floral paper down to size
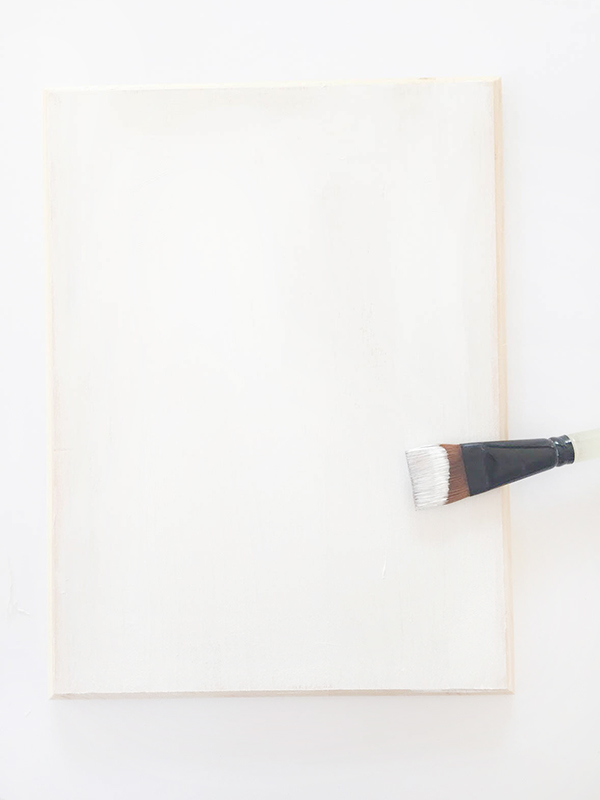
02. Prep your board by painting it white, (I think this makes a nice contrast to the black paper), and set aside to dry
03. Pick out a picture of your subject standing profile
04. Print out the picture, making sure the subject’s size works for the size of board you are using
05. Using an X-Acto blade or scissors, cut out your person’s face
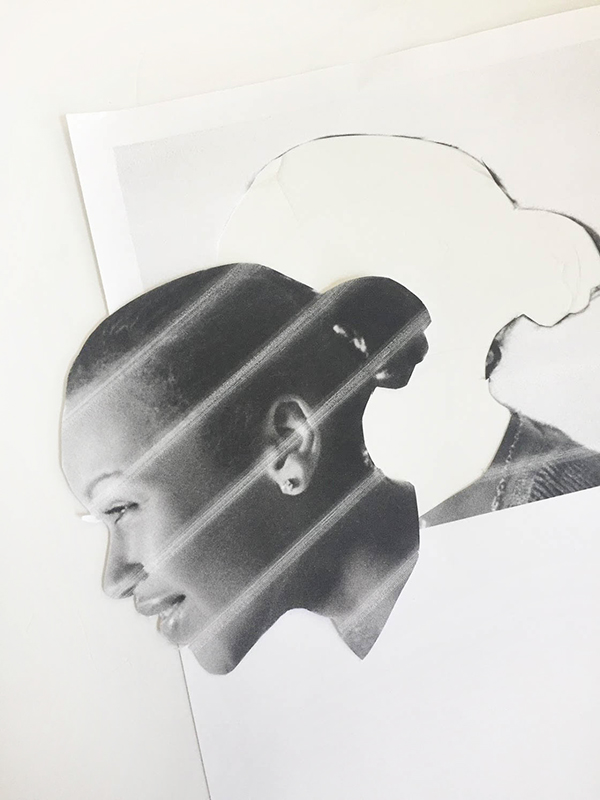
06. Flip your floral paper backside up and trace around your picture
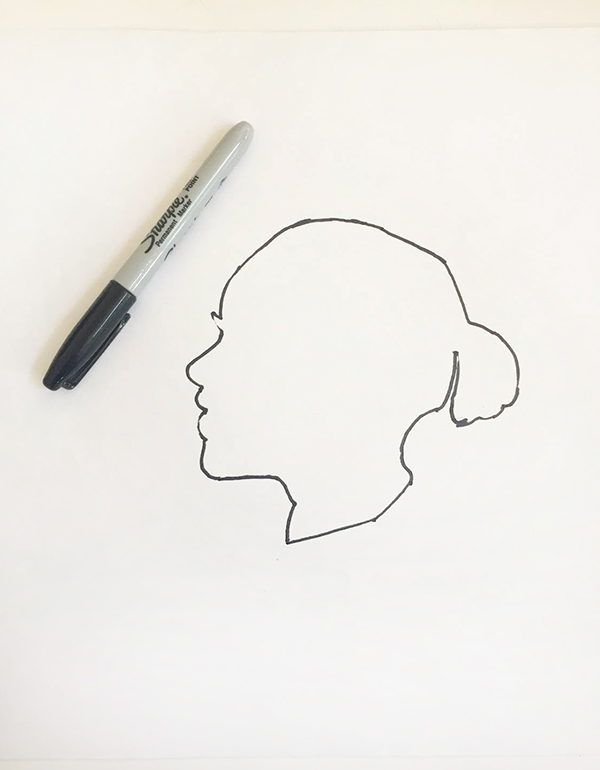
07. Using an X-Acto blade, cut out the subject from your paper
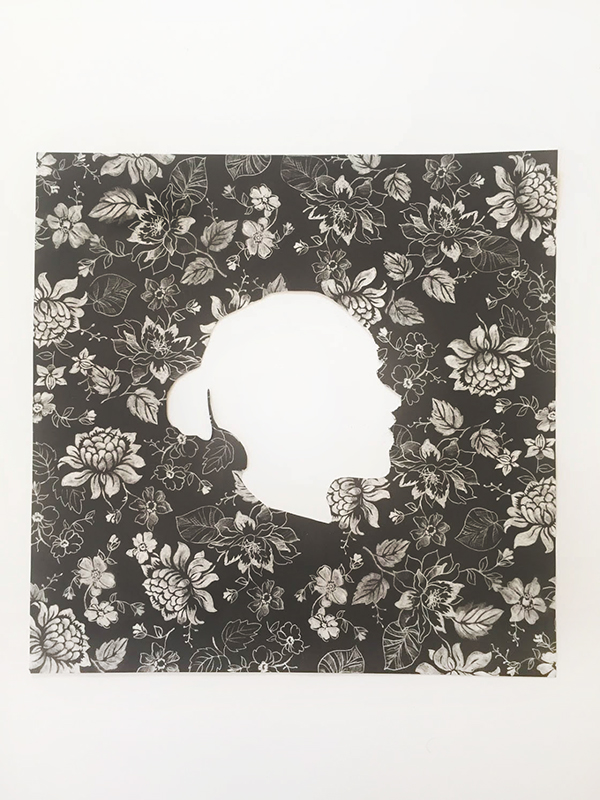
08. Be sure to capture as many details as possible. You won’t need the subject for the rest of the project. Feel free to throw away or keep it as a friend
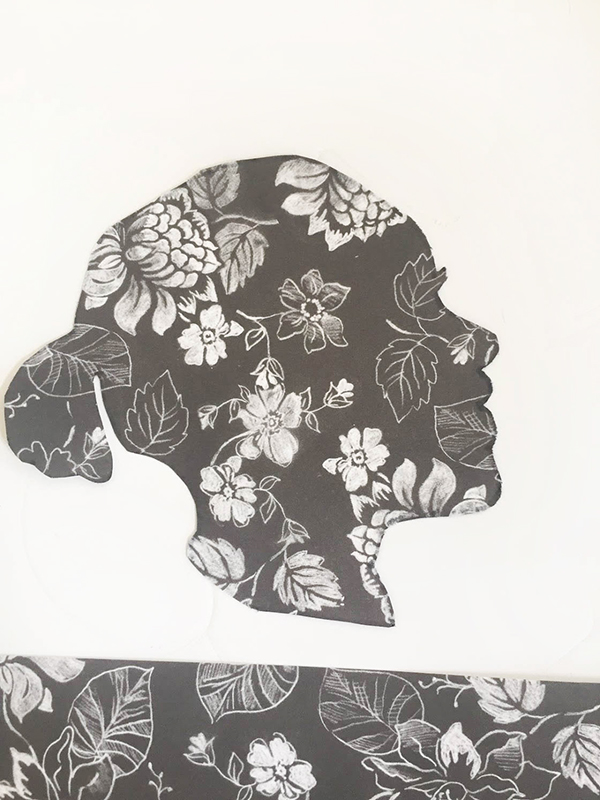
09. Apply a thin layer of Mod Podge to the backside of the paper
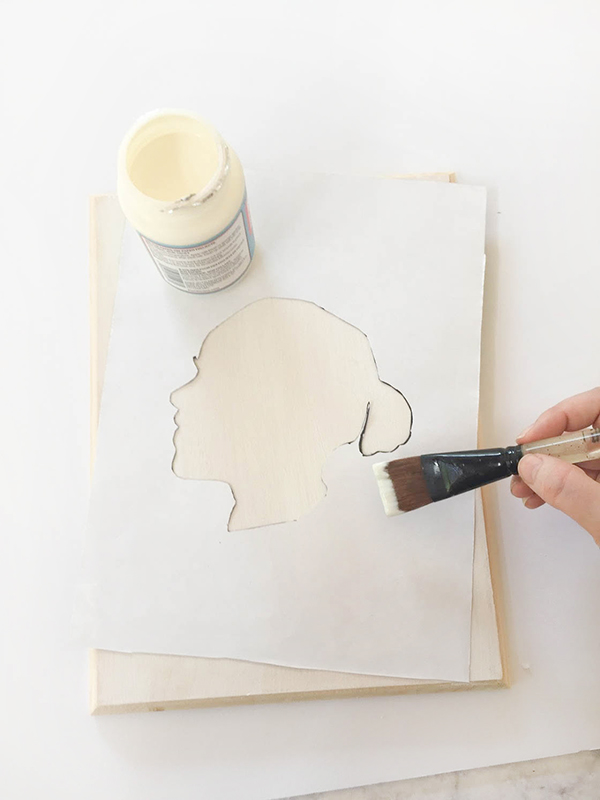
10. Lay paper, pattern side up, on top of the board and smooth out any wrinkles or bumps, using your hand or a paintbrush. If any excess glue seeps out, wipe away with a paper towel
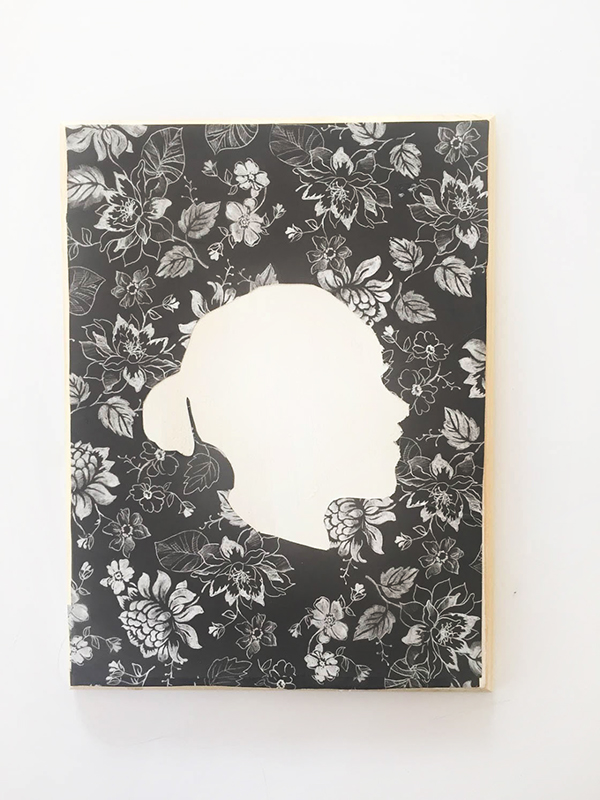
11. Let dry
12. Attach any hanging wire to the back, if desired, and enjoy!

I’m so grateful for the opportunity to share what I make with others! Thanks for stopping by my blog! Here are a few posts you may enjoy: Bird Magnet DIY, Shimmery Rose Petal Bath Salts DIY. Also, you can follow me on Pinterest and Instagram for more fun ideas!


2 Comments
Stephanie Arnold
July 5, 2018 at 1:24 pm
OooOOOooo I like this, I like that you “reversed” it. Putting a modern look on a classic look, love it!
admin
July 5, 2018 at 5:06 pm
So glad you liked it, Stephanie!
Comments are closed.