

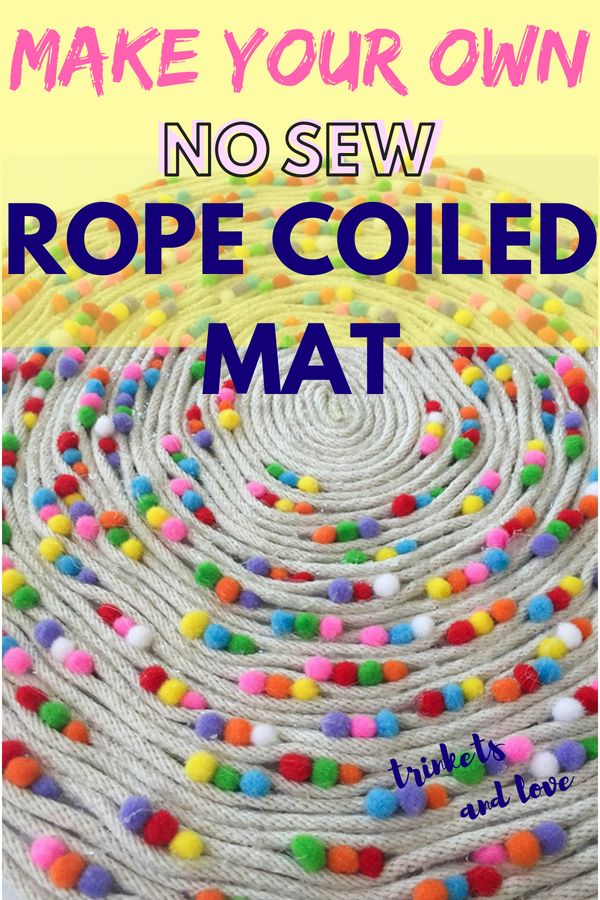
ROPE COILED MAT DIY
Being an introvert that likes to stand out, is a little bit of an oxymoron; however, I think that is a great way to explain my taste in design. Minimal patterns and soft and natural colors can be given an extra edge and kick of personality with additional bold colors or design elements while maintaining that understated presence of softness.
While walking through a local hardware store (hardware stores are a crafter’s paradise!), I came across some linen colored rope. Loving the softness of the linen color, I immediately thought that I had to incorporate it into my home! It took some time to figure out what my little rope friend should become, but I remembered something that helped me find the right inspiration:
When creating something for yourself, be sure to make it as fun and funky as you are!
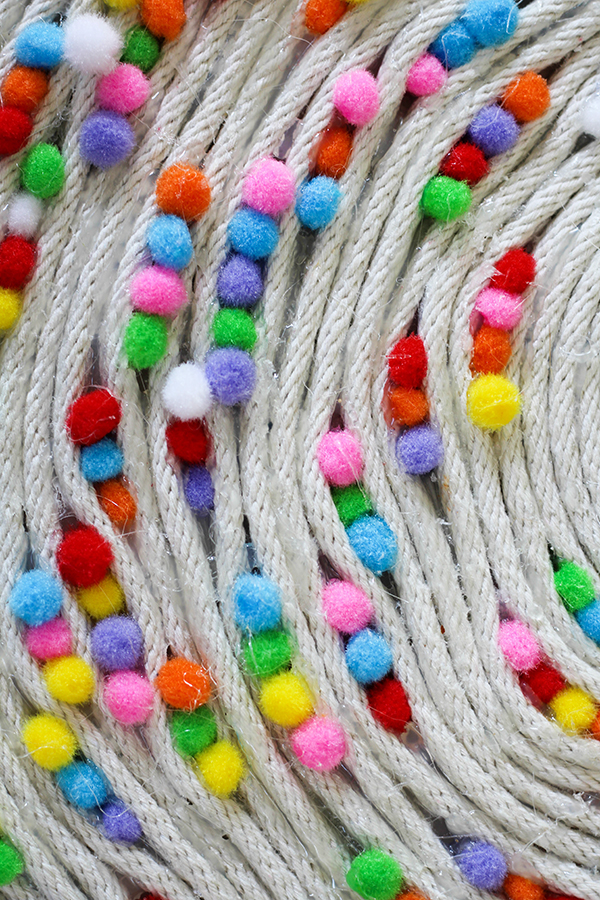
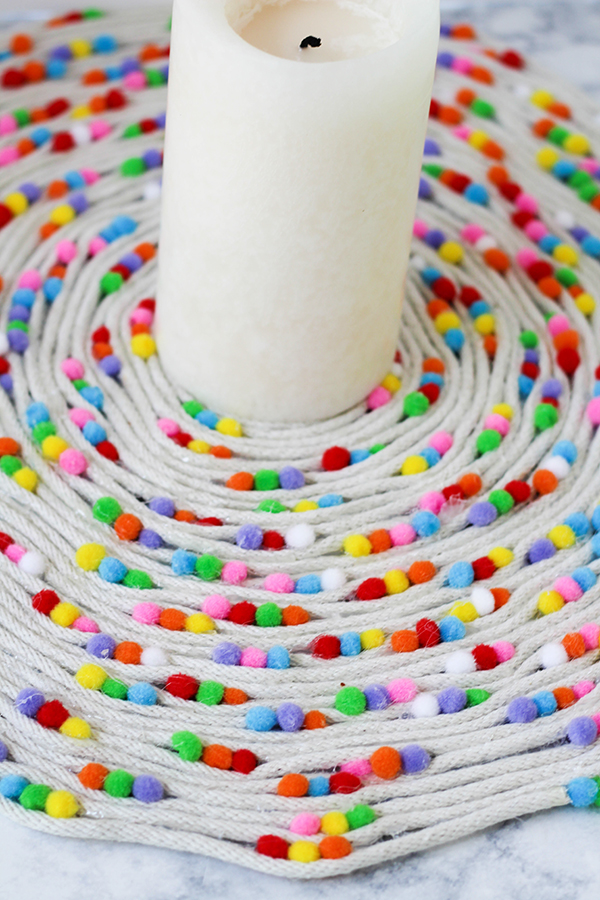
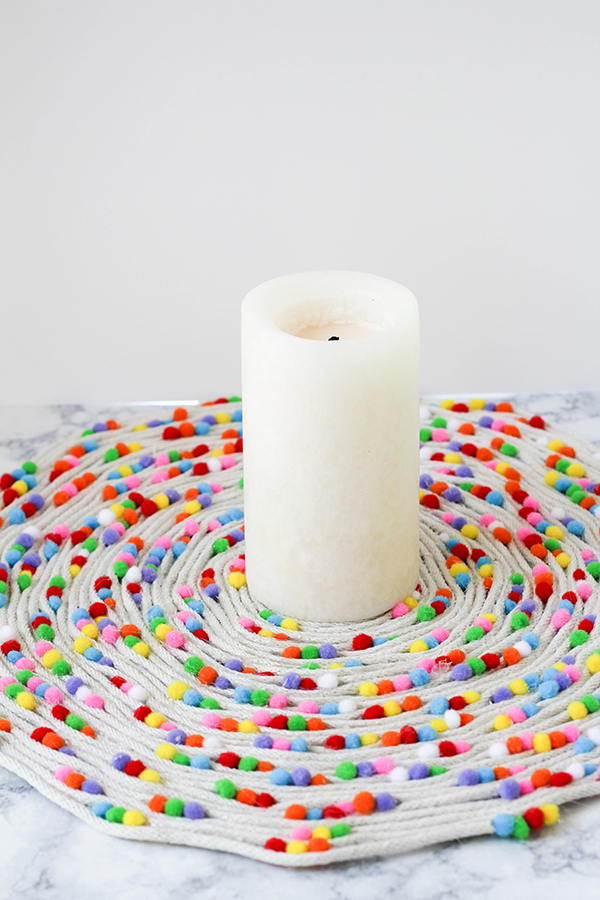
And that is what I decided to do when I thought of the idea for this rope coil mat! This tutorial highlights some of my favorite qualities of home decor – understated and bold at the same time. When I incorporated the brightly colored mini pompoms with the soft linen rope, it created that contrast and its wavy design gave it a whimsical look.
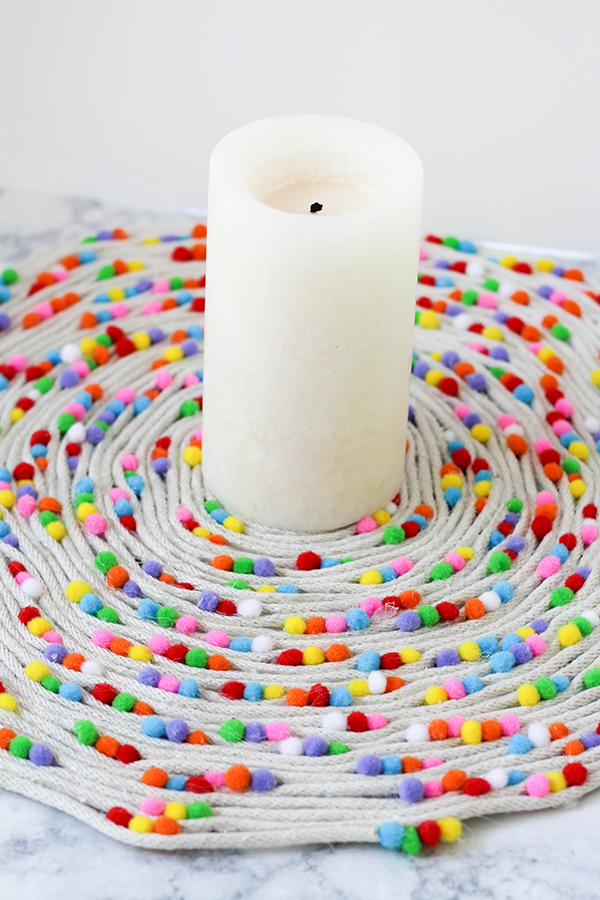
This rope coil mat has become the perfect centerpiece for my table, and I think you will find that you will love making it for your space, as much as I did! Extra bonus, THERE IS NO SEWING INVOLVED! What could be better than some good old quality time with your hot gun?!
Supplies:
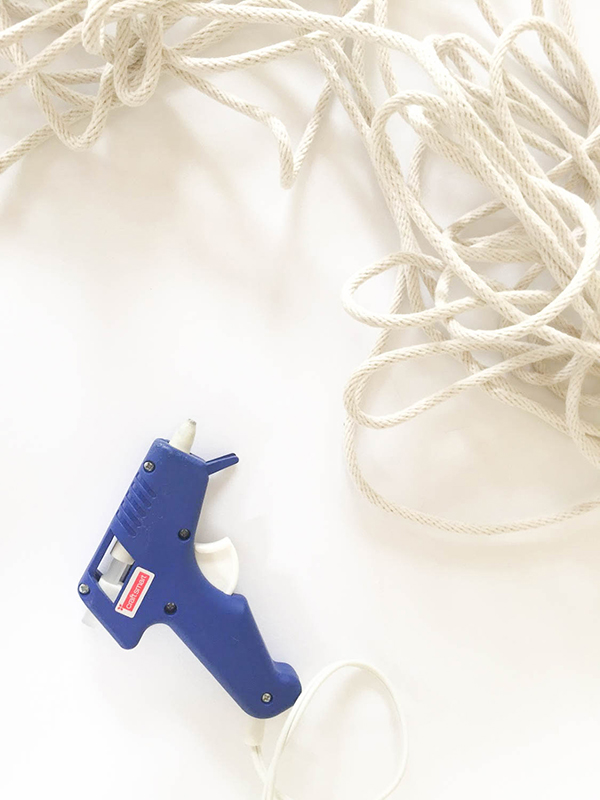
1/4″ x 100′ Rope clothesline
Hot Glue Gun and Glue Sticks
Mini Pompoms
ROPE COIL MAT DIY:
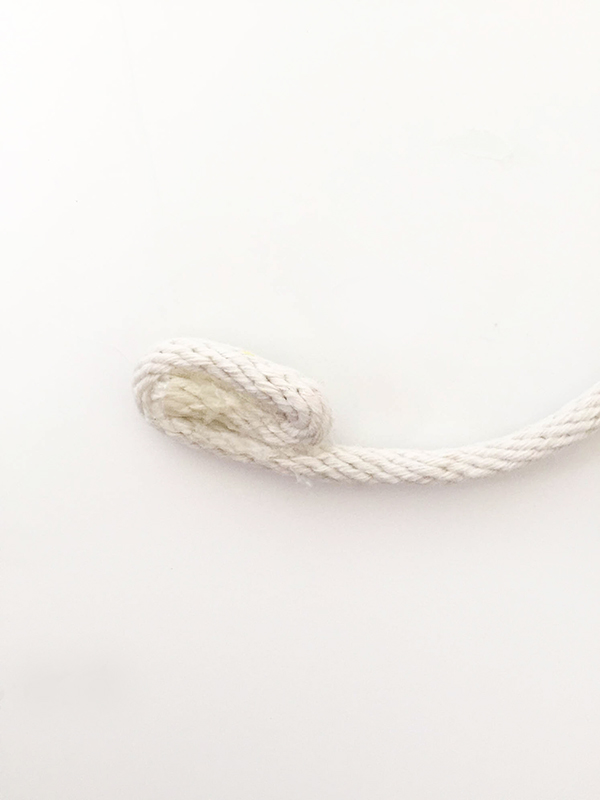
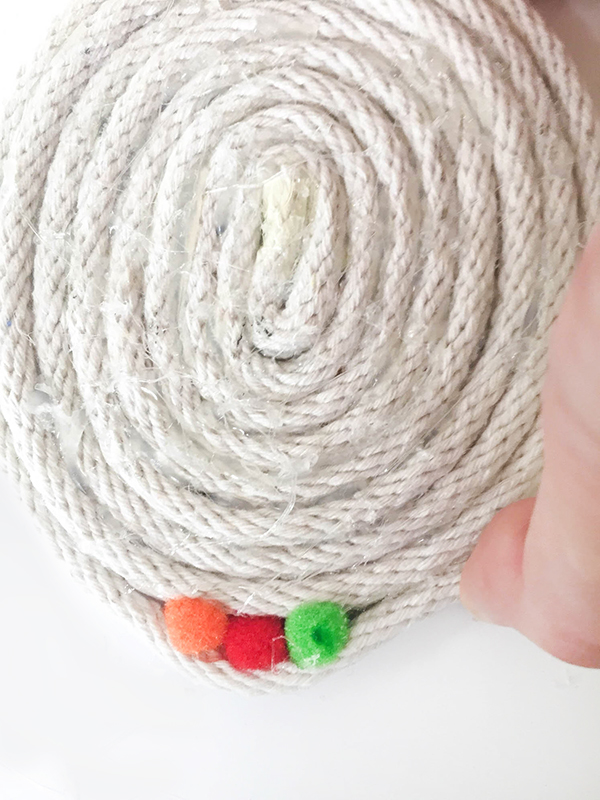
01. Once your hot glue gun is warmed up, take the end of the rope and add a dab of glue and fold a small length of the rope over itself. Pinch it tightly to ensure the glue holds
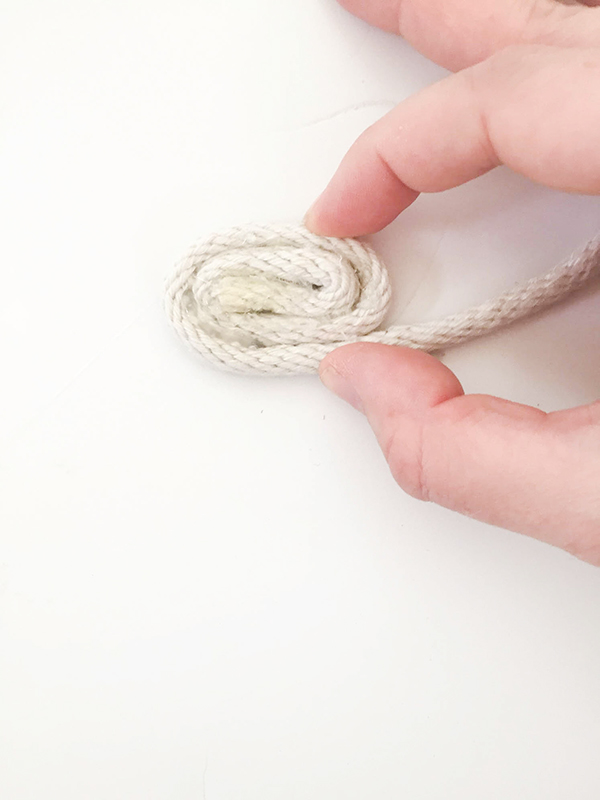
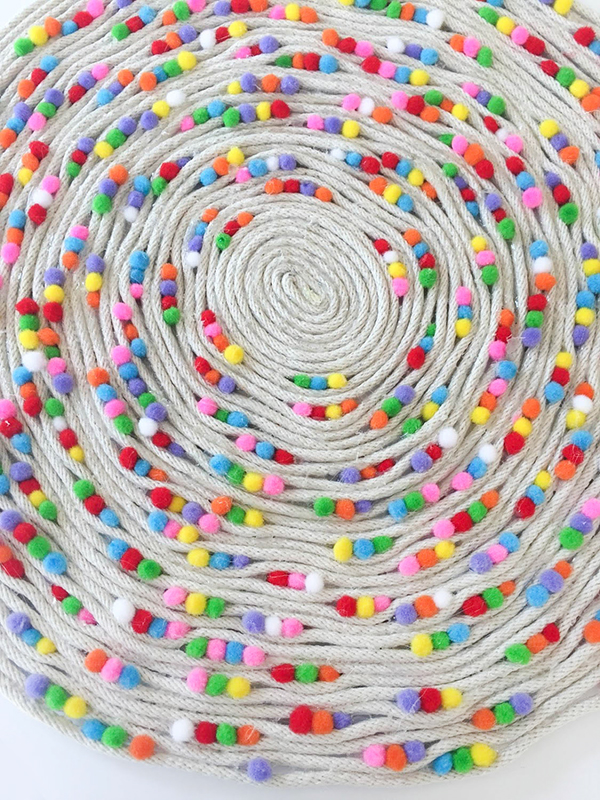
02. Start coiling the center of the mat, by applying glue to the outside of the first coil
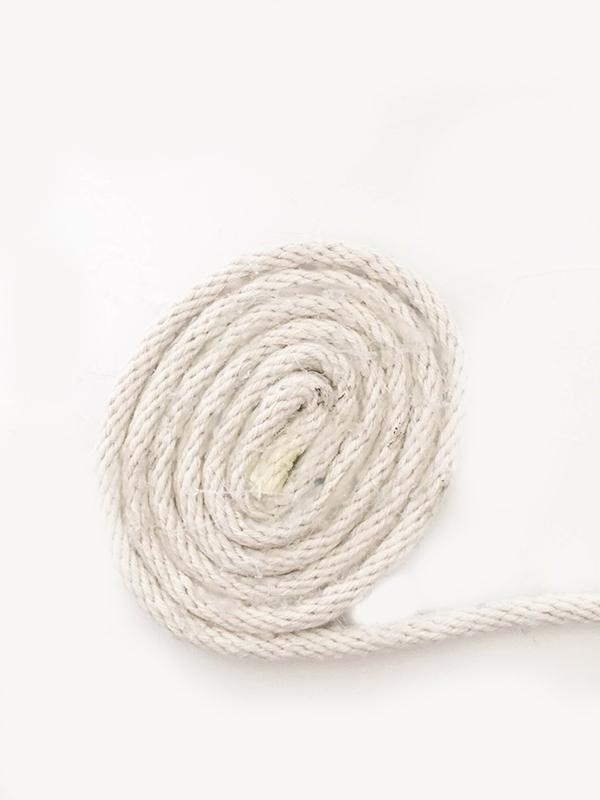
03. Repeat those steps until you have a coil that is about four inches across. This part will give you a nice flat surface to rest any decorative items on
04. Now it is time to start adding the pompoms! To start, add enough glue for 3-4 pompoms on the previous coil and the next bit of the rope
05. While the glue is still wet, place your pompoms into the glue, and squeeze the outer rope tightly against the coil to make sure there aren’t large gaps at the ends of the pompom group
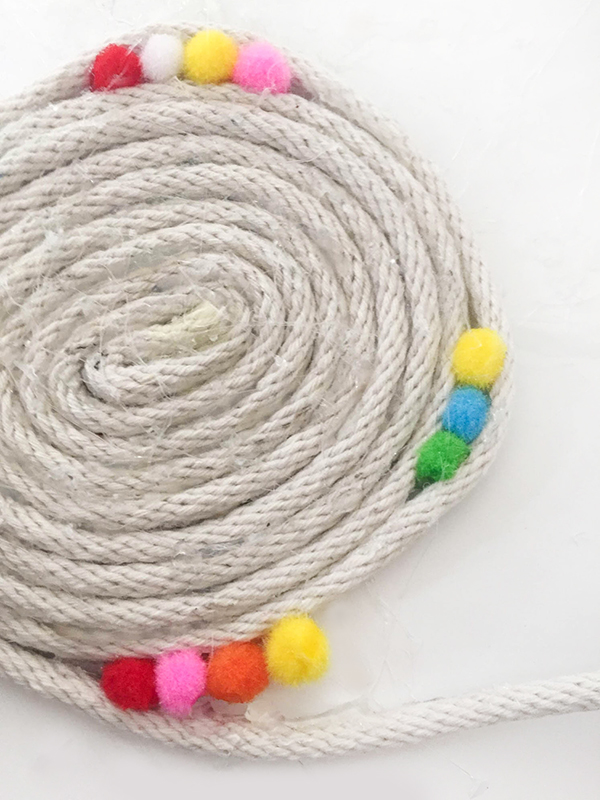
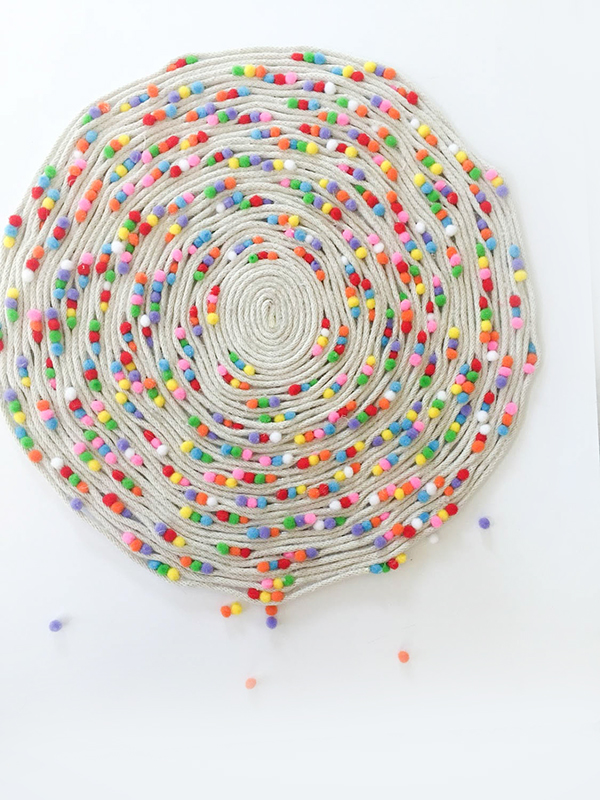
06. Continue this process while building out the mat. I encourage you to try to vary the colors and placement of the pompoms for each grouping. There will be “dips” in the rope around areas that have a pompom line. This would be a good place to put a new line of pompoms on your next coil
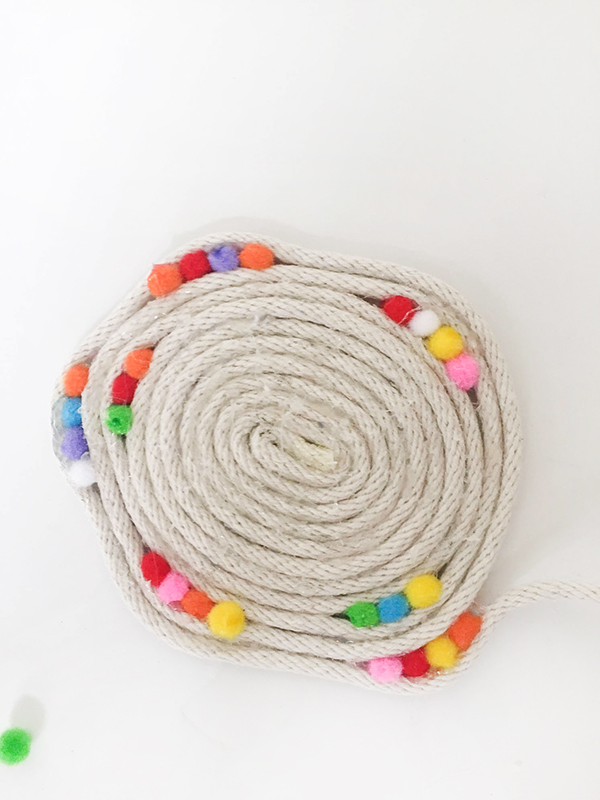
07. When I reached the end of my rope (literally not figuratively – HA), and added just a few pompoms to the end
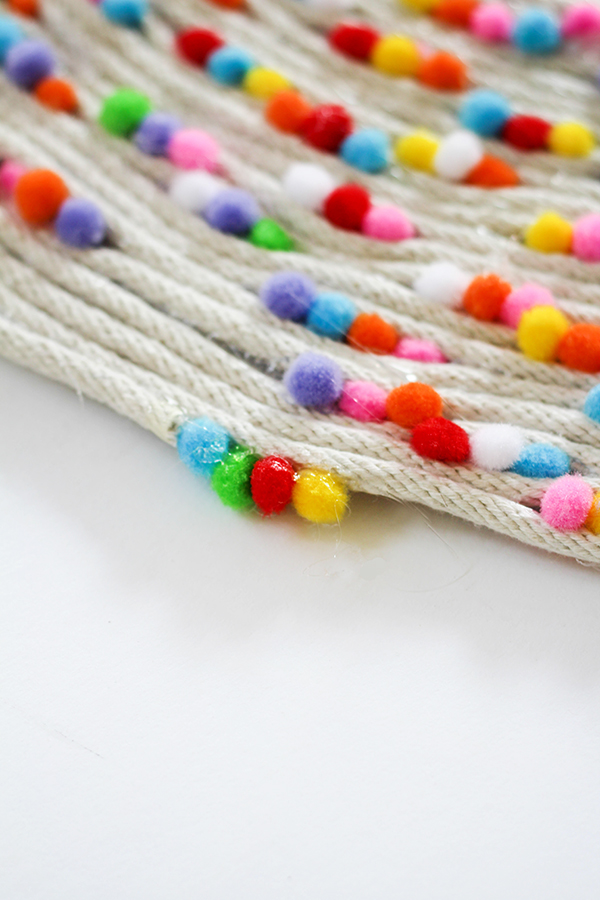
08. After the mat completely dries, and if you find that there are a few gaps near the pompoms, flip the mat over. Then fill the gaps with hot glue. Let dry
09. The last step to do, before you can put on your table, is to remove any hot glue “hairs”. These are any little strings that come from the hot glue. You can either snip them or pull them off
I’m so grateful for the opportunity to share what I make with others! Thanks for stopping by my blog! Here are a few posts you may enjoy: DIY Drop Cloth Rug, DIY Pompom Serving Tray, and DIY Mother’s Day Tote Bag! Also, you can follow me on Pinterest, Twitter, and Instagram for more fun ideas!


4 Comments
Kristina Gavigan
August 16, 2018 at 4:29 pm
Very cool! I have never seen an idea like this before (fellow crafter here:) Great job explaining and good photos, love it!
Deanna
August 16, 2018 at 4:49 pm
Thank you very much, Kristina! I love sharing with fellow crafters!
Tasha
August 16, 2018 at 5:35 pm
What a cute idea! I would love to use this for my daughter’s birthday party! It reminds me of funfetti cake!
Deanna
August 16, 2018 at 5:59 pm
Oh my gosh, it does look a bit like funfetti cake!! Love it!
Comments are closed.