PERSONALIZED LETTER WALL ART
If you are like me, then you are always looking for ways to make your home pop with your personality, and to make your space a celebration of YOU! This is what inspired me to create this personalized letter wall art. This DIY LITERALLY spells out your name!
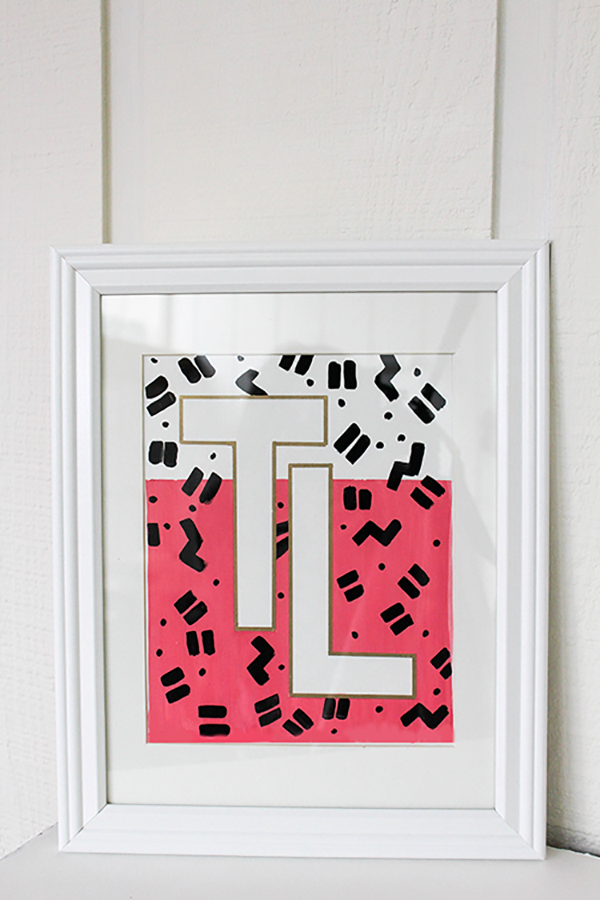
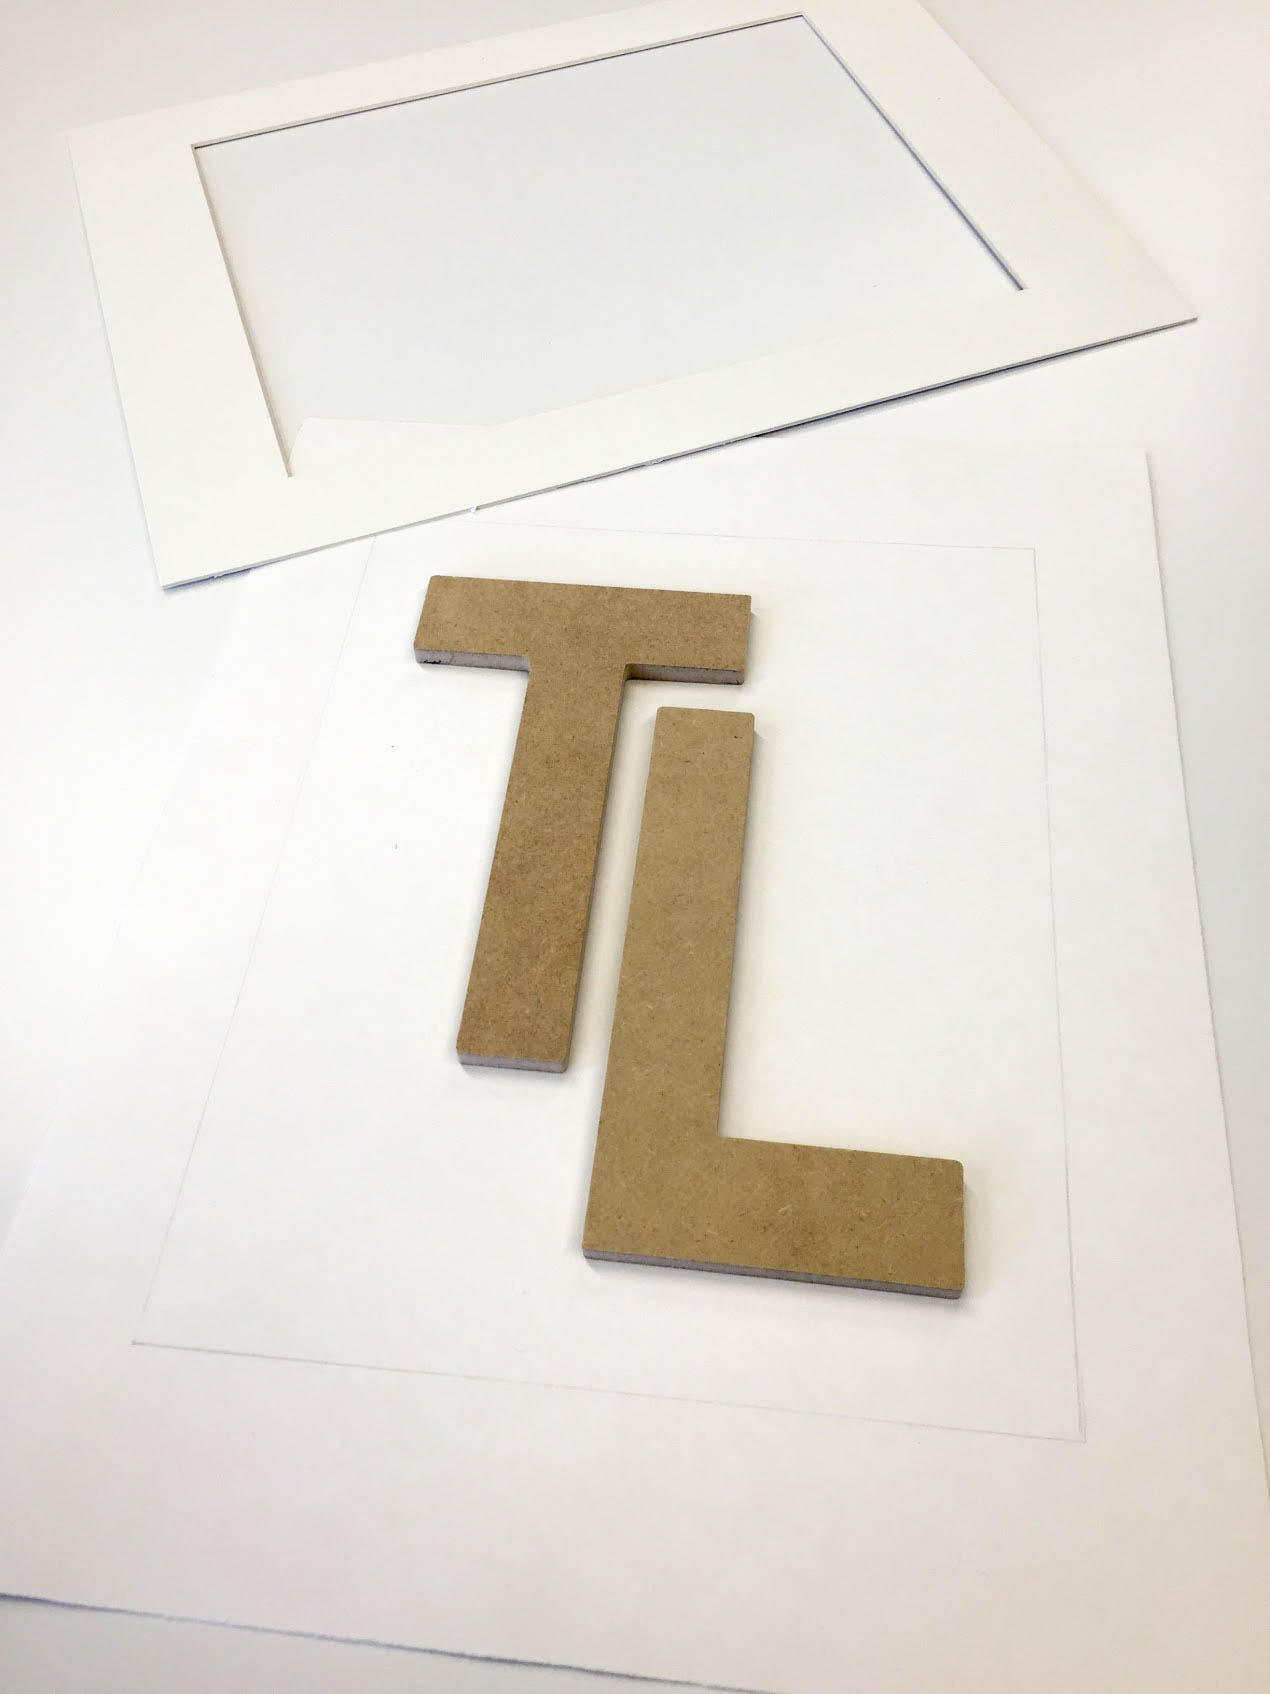
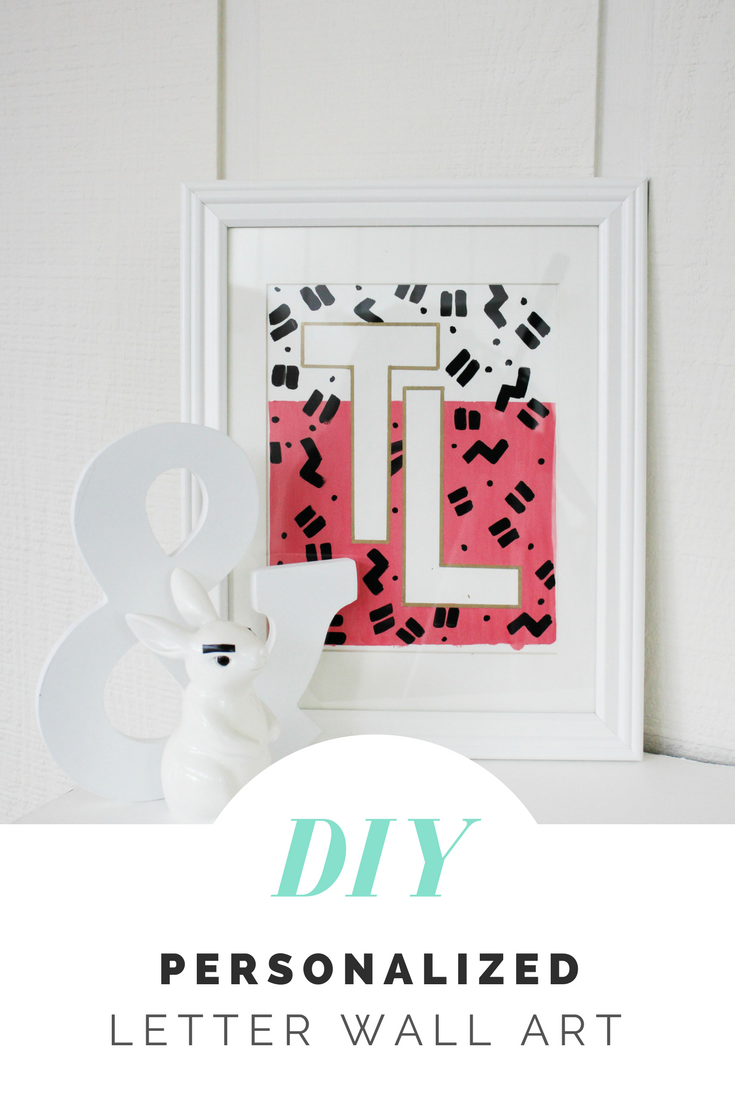
I chose to do the letters T&L to showcase the spirit of Trinkets and Love, and I think this simple and creative DIY would be perfect for anyone looking for a personalized touch in any room of your home.
Supplies Needed:
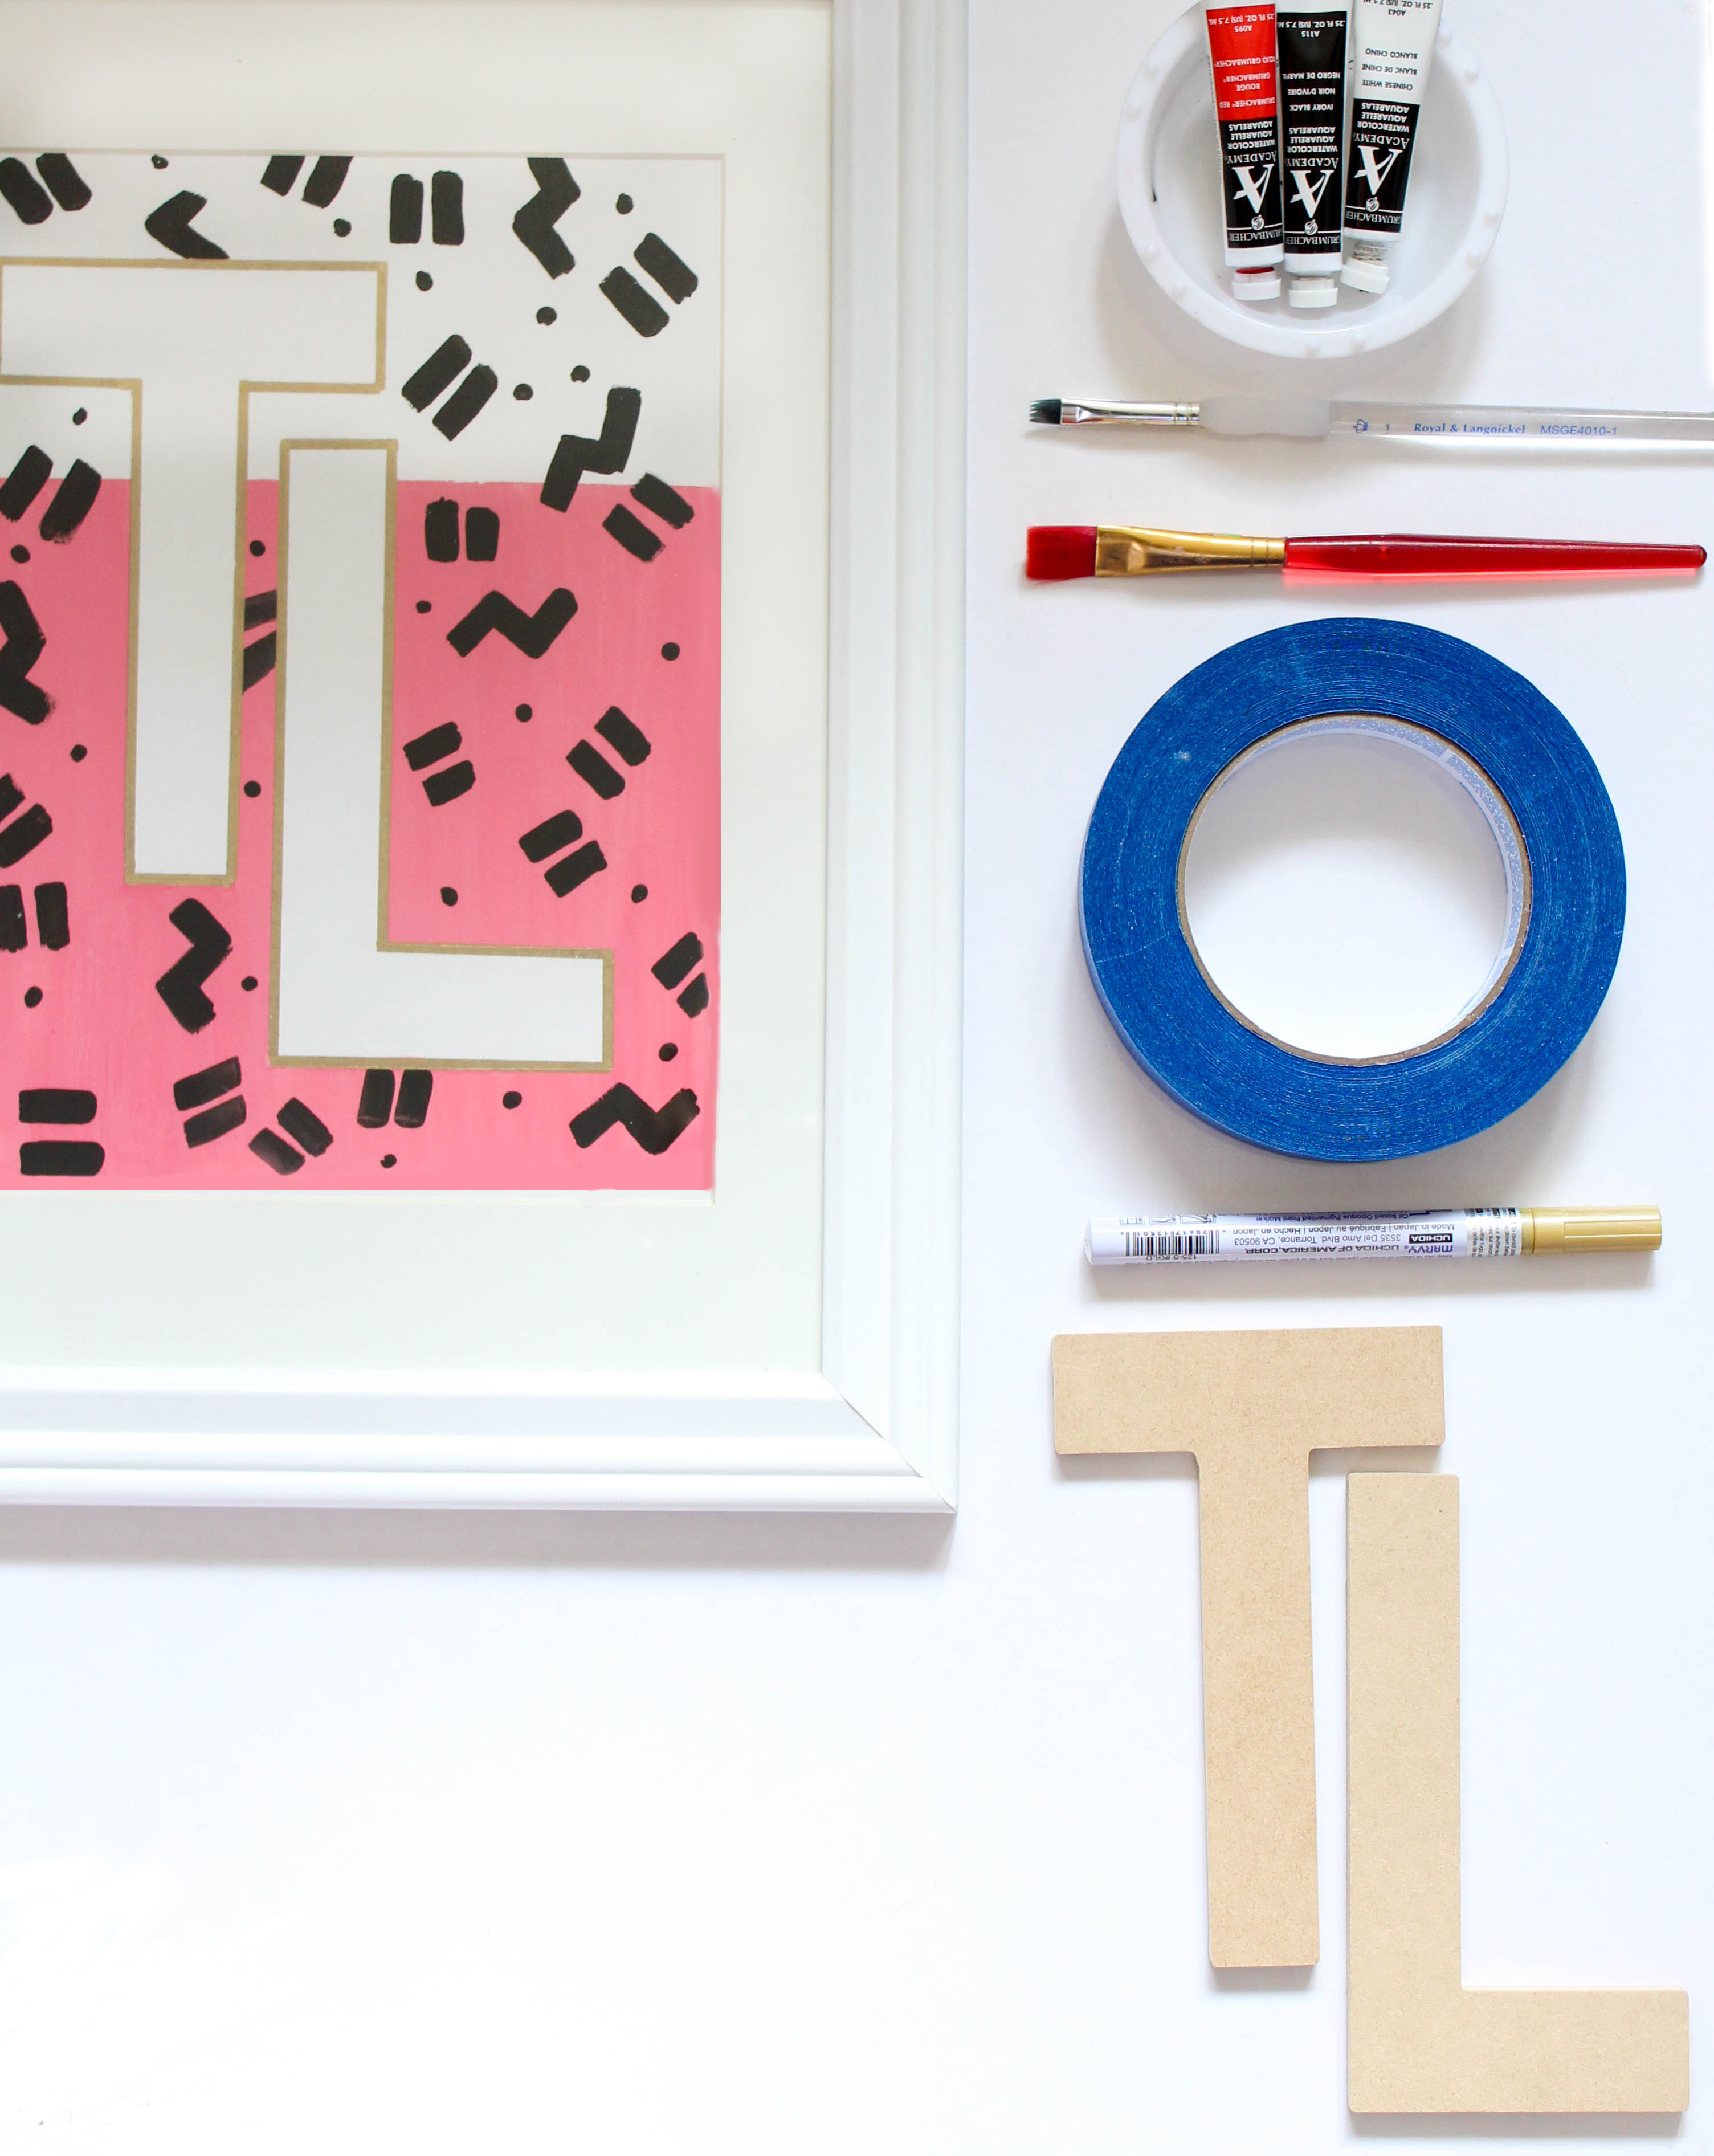
Water Color Paints ( Red, white, black)
Watercolor Brushes (one thin, one wide)
Optional: Ruler, q-tip, pencil
Personalized Letter Wall Art:
01. To start, cut the paper to fit in the frame. If using matting, be sure to leave space, and lightly trace the window of the mat on to the rough backside of the poster board.
(To make your personalized letter wall art, you are going to need a letter or two. Here, I am using wooden letters that I purchased at a local craft shop. If you don’t have anything handy, you can go online and print (dafont.com) your letter using your favorite font. Cut it out, and trace it onto a piece of cardboard, and cut out the letter. Viola! You have a stencil! If you have lovely handwriting (I don’t), you can alternatively draw the letters freehand)
02. Start placing letter(s) on the page, using a ruler to make sure that the page margins have even spacing.
03. Trace around the letters, and clean up any unwanted pencil marks.
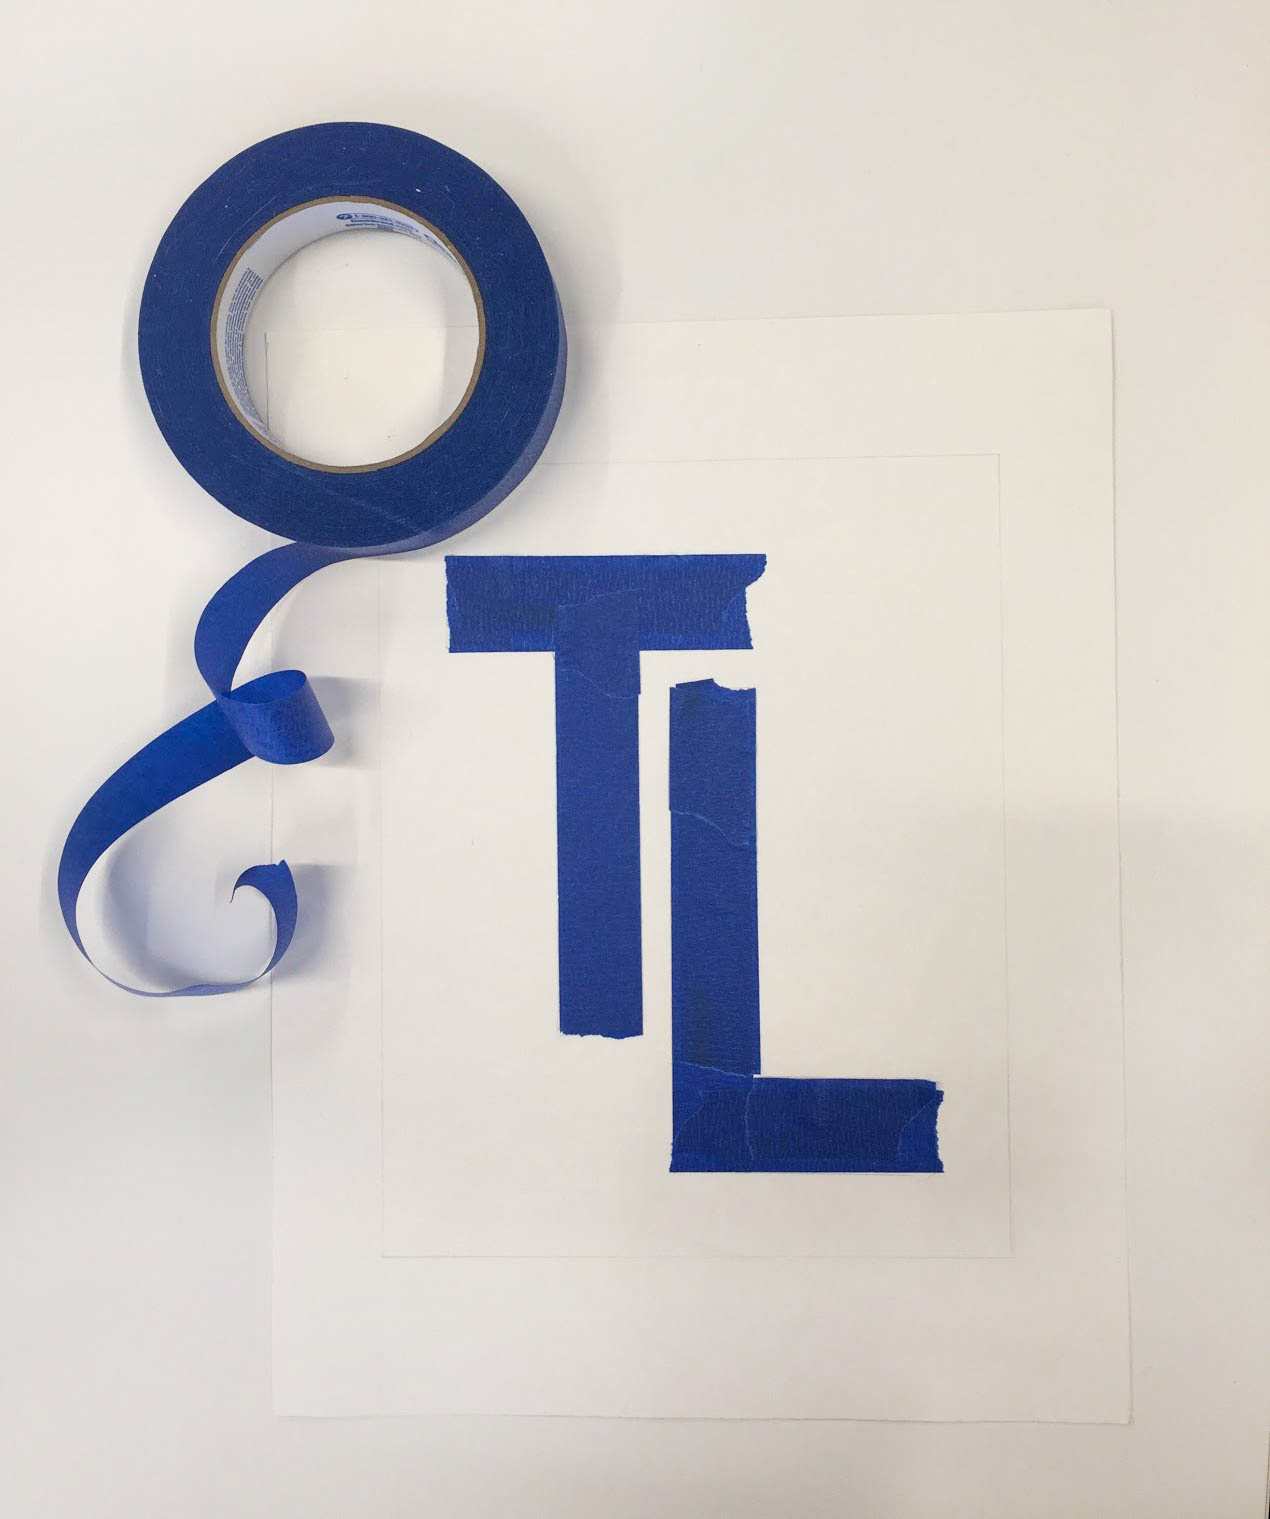
04. Next, to protect the beautiful looking letters, cover them with painter’s tape. Make sure all the surface area is included to keep the lines crisp and avoid accidental splatter.
( If you are using curvier letters, I recommend using smaller pieces of tape and cutting them to go with the curve of your letter. )
05. Place a strip of tape at the level the color blocking will start. Doing so will keep the paint edge clean. Tape can be added around the edges to keep the paint tidy if you are not going to be using matting.
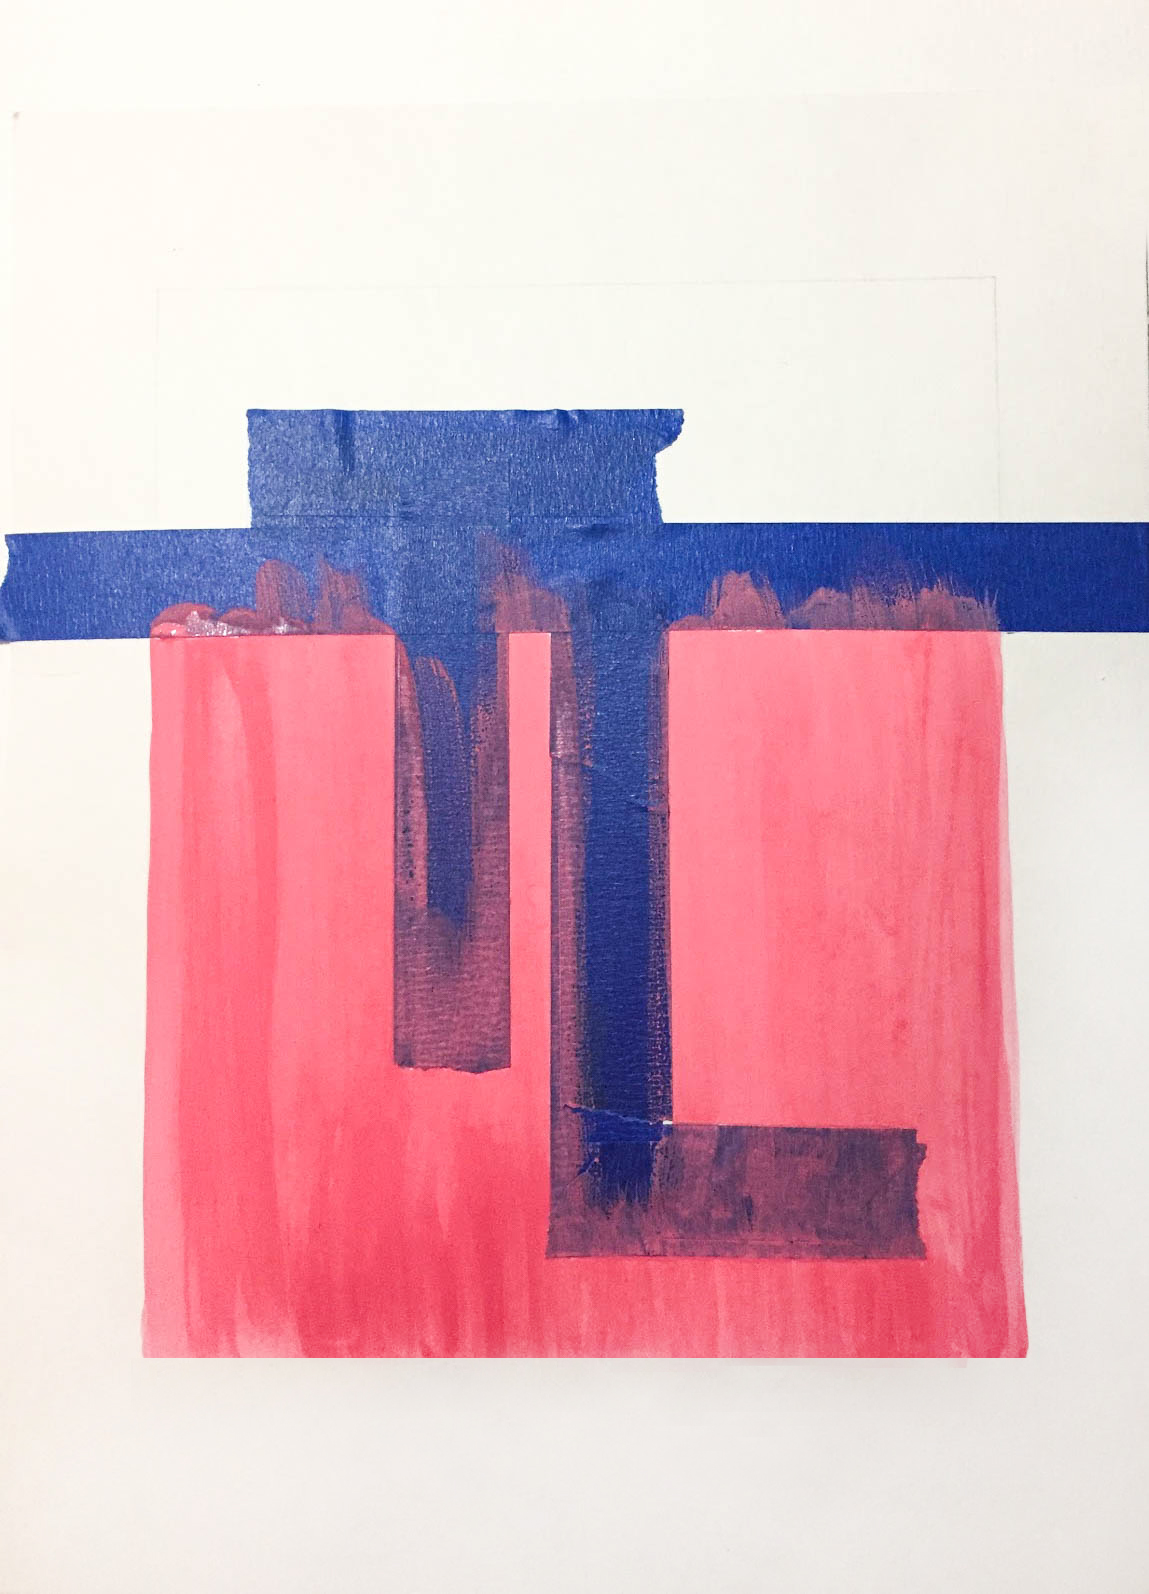
06. Mix paint to the desired color. Using a wide brush, apply the paint using even brush strokes going in the same direction.
07. Let the paint dry before removing any of the pieces of tape.
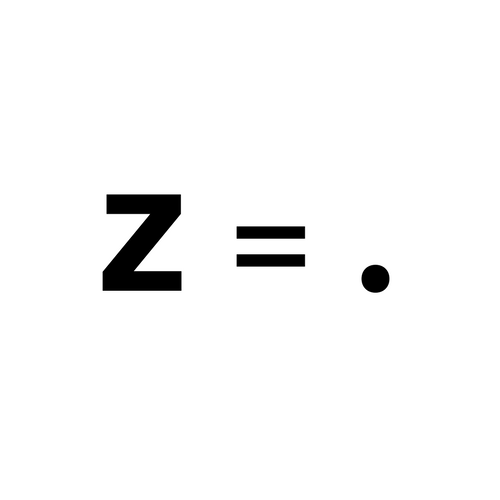
(Now it is time to paint the pattern. As you can see, for the pattern I am using a Z shape, equals sign and dots. I tried to maintain a similar size for each of the symbols throughout the design. For variety, and to avoid it looking too uniform, I rotated each symbol throughout the pattern.)

08. To achieve this look, use a smaller sized paint brush, and dip a q-tip in the paint to make the dots.
09. Let the paint thoroughly dry.
10. Now, either by going freehand or with a ruler, outline the letter’s with the gold pen.
11. Once the gold ink is dry, place the canvas and matting into the frame, and it is ready to be shown off!
What do you think?! This personalized letter wall art DIY would be really perfect for any newlyweds wanting to show off their family name, a nursery, your brand, or your own initials (because let’s face it, you are fantastic).
Be sure to tag your photos with #mytrinketsandlove and #trinketsandlove so I can follow along with your projects, too!